|
Right wing restoration |
|
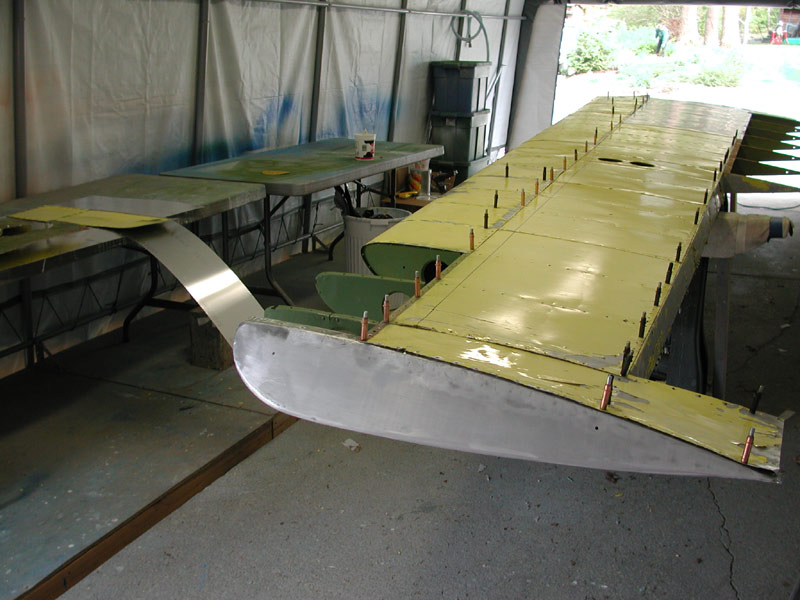
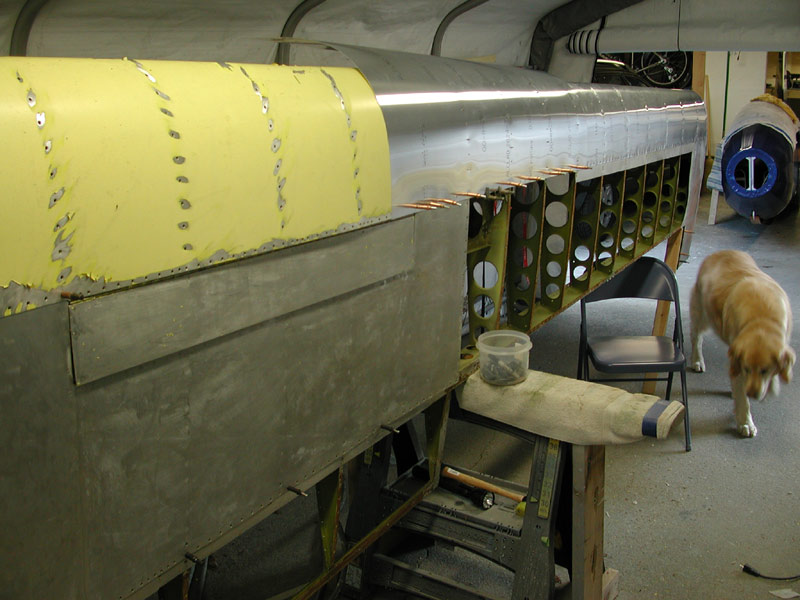
Below - February 22, 2005 - the right wing gets its damaged skins removed. Samson holds the concrete down. |
|
Below - skin corrosion. |
|
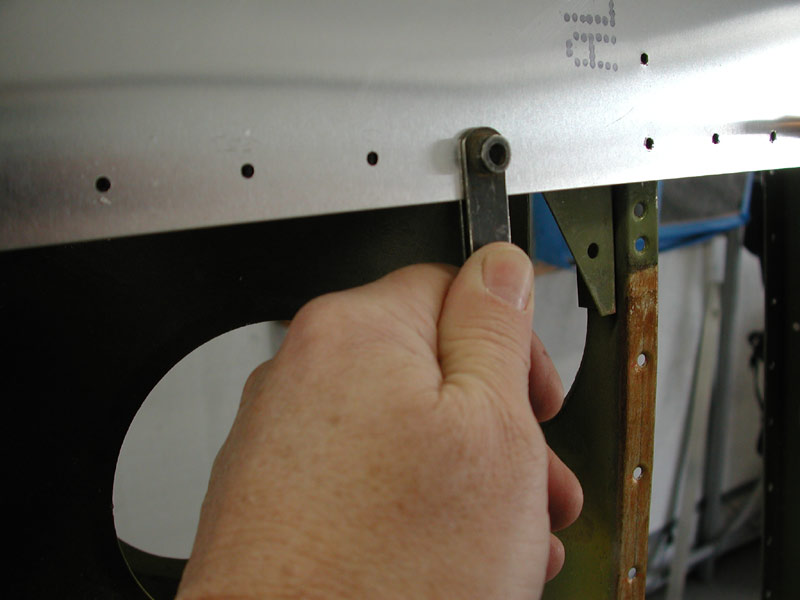
Below -damaged root skin from people sitting on the leading edge is removed. |
|
| |
|
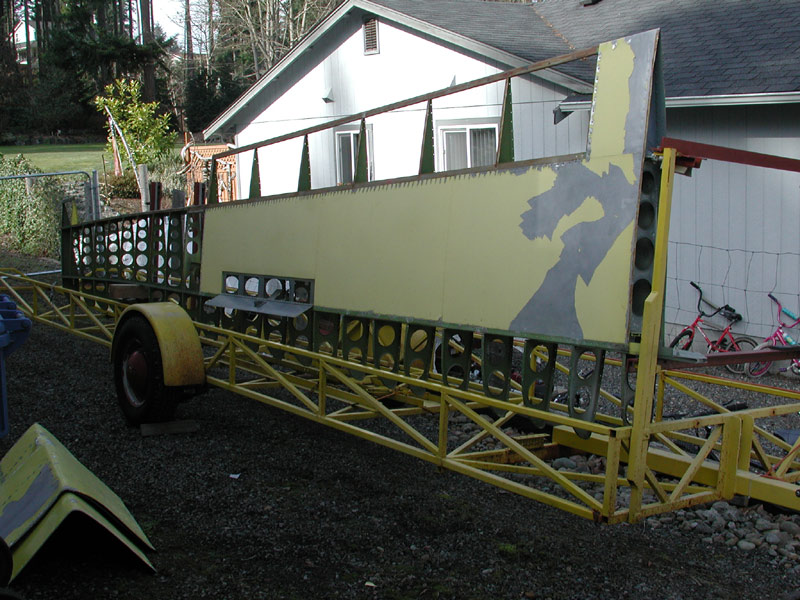
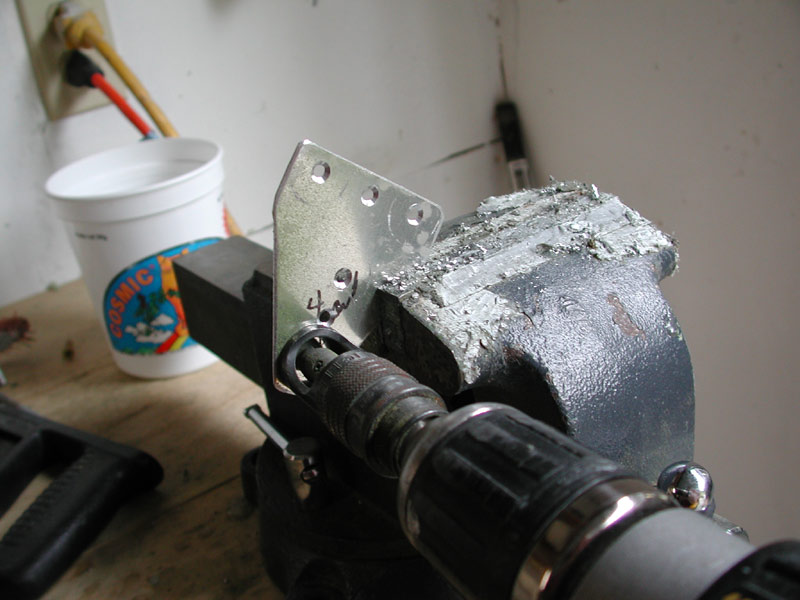
| Above - more tree damage, below - trailer saddle damage - I plan to fabricate a mount for the tie-down holes for rigging to the trailer - this is the second 1-26 that I've had damaged by the trailer saddles. |
|
| |
|
Above and below - there might be one leading edge skin section that does not get replaced - maybe. |
|
| |
|
| |
|
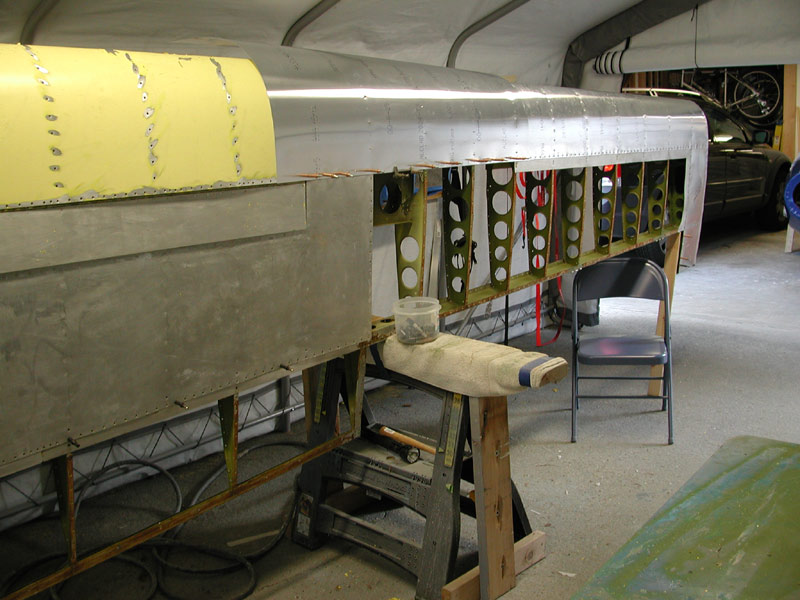
Tomorrow more skins will be removed. |
|
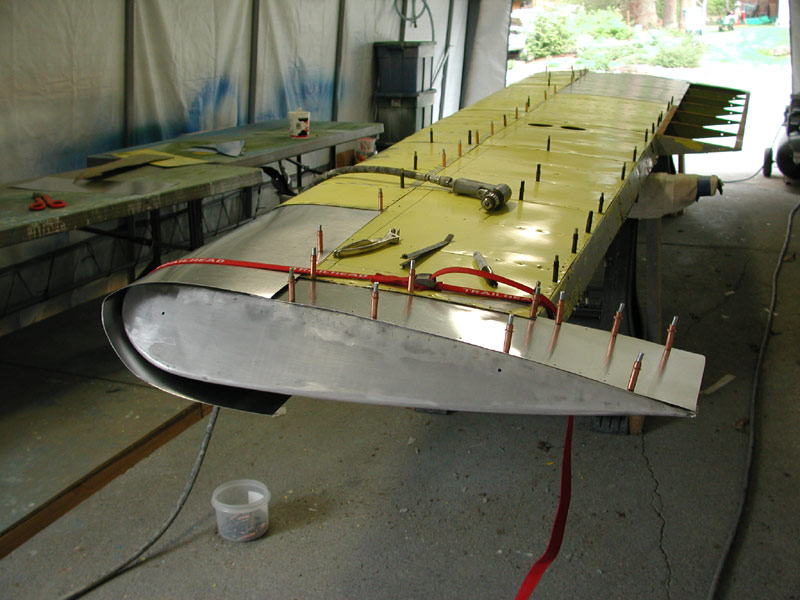
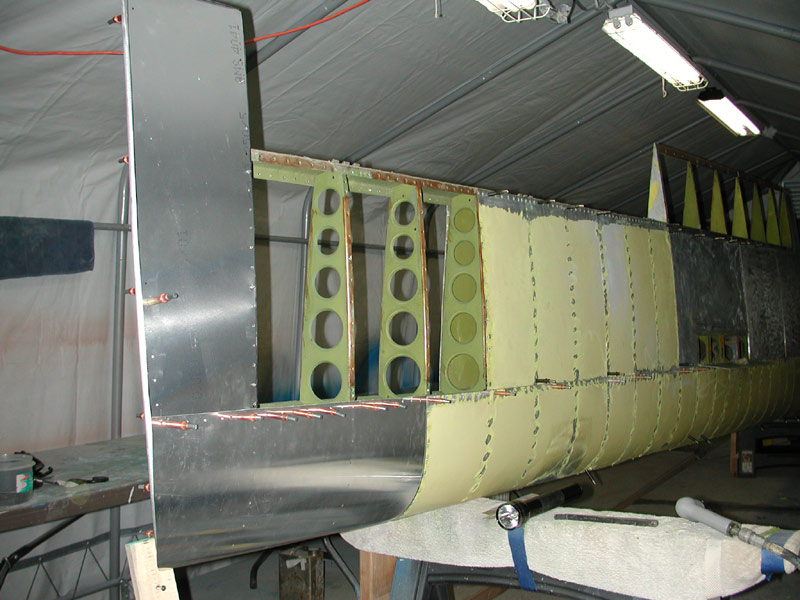
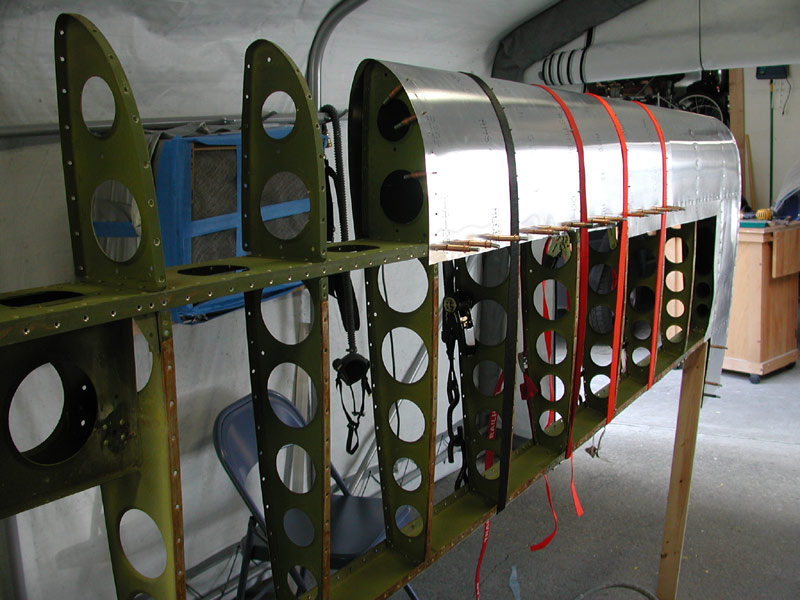
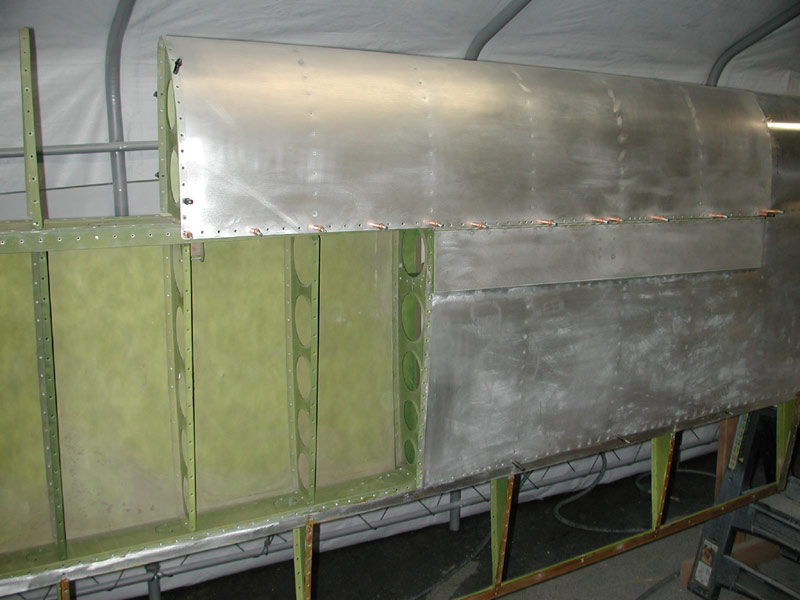
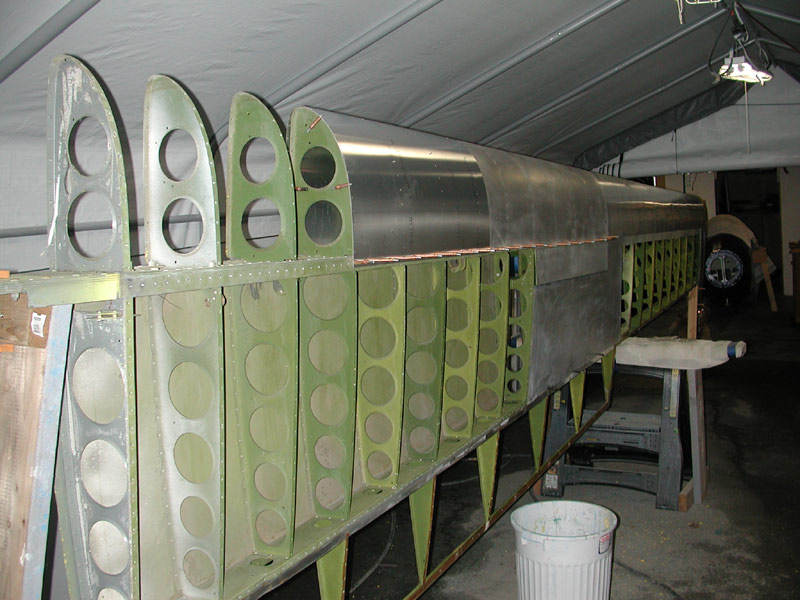
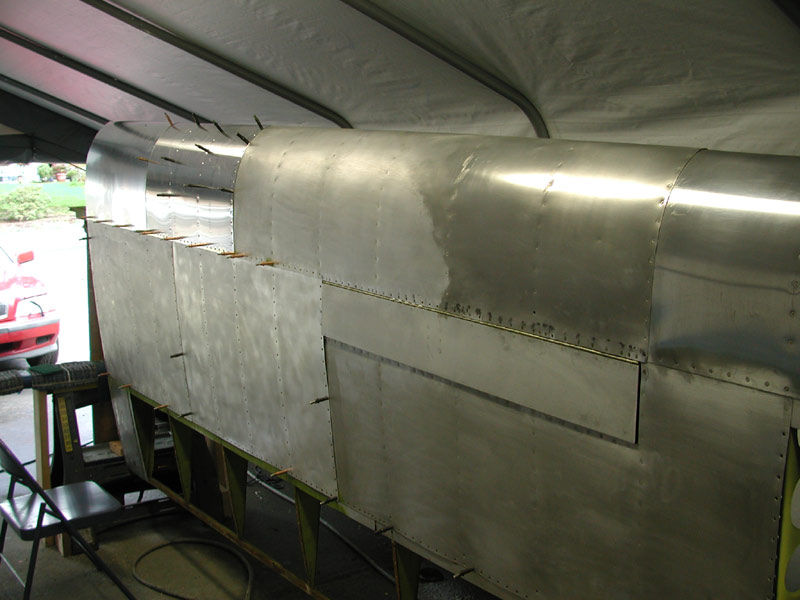
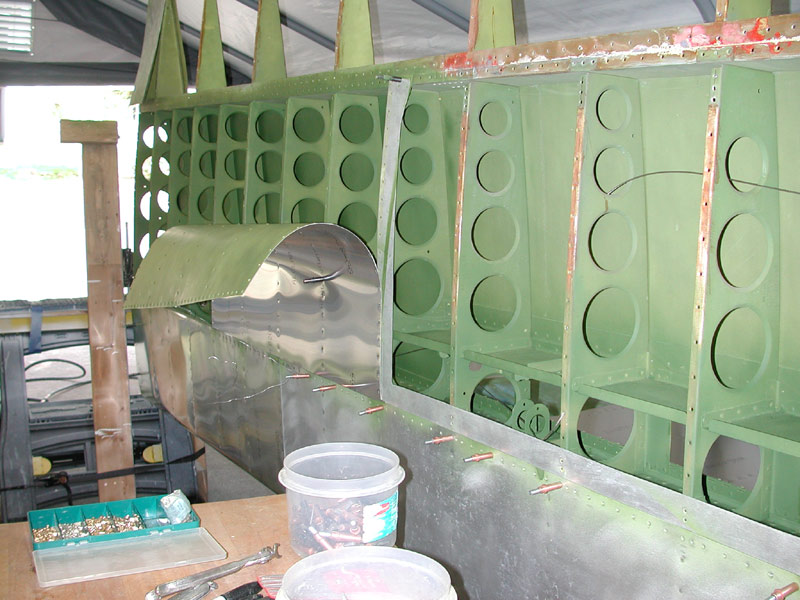
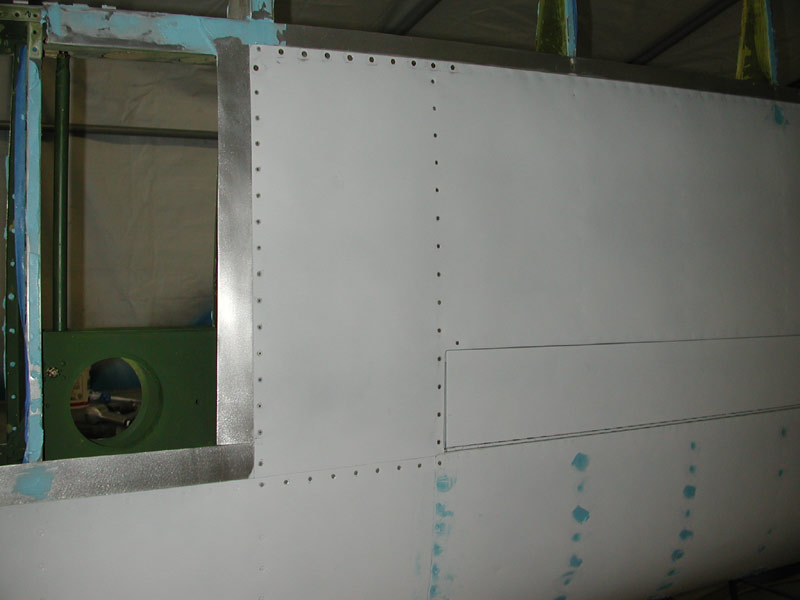
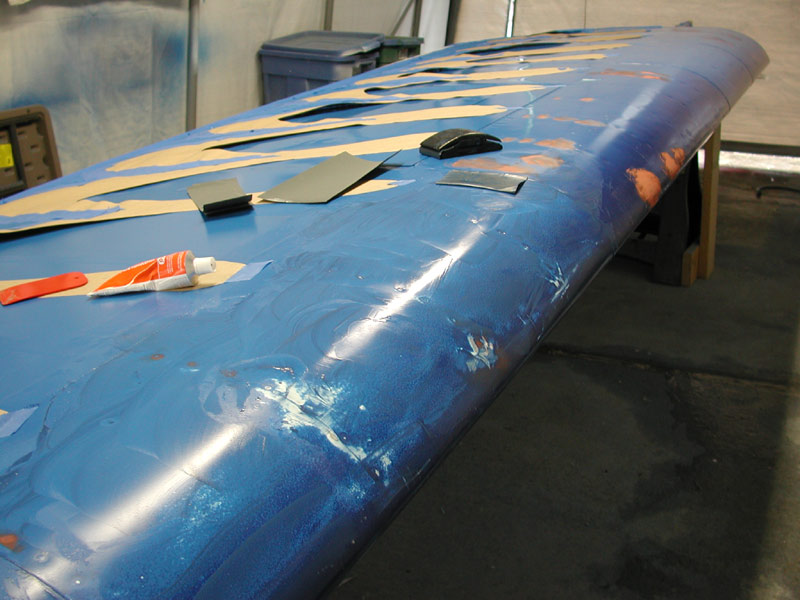
| Above - February 23, 2005 - all damaged skins and skins that will be replaced by fabric are removed, except for the trailing edge skins, I'm tired of drilling out rivets today and I'll save the trailing edges for tomorrow. |
|
| Below - lots of crap in the wing - I found a snail, about one inch in diameter, I wonder where he got on board? This glider has lived all over from NY to NM to MI to VA and CT - now WA. |
|
| |
|
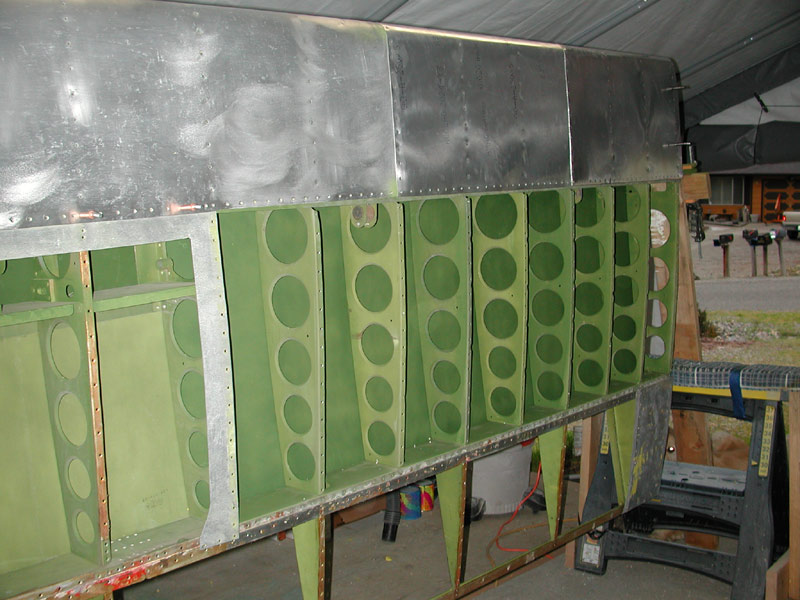
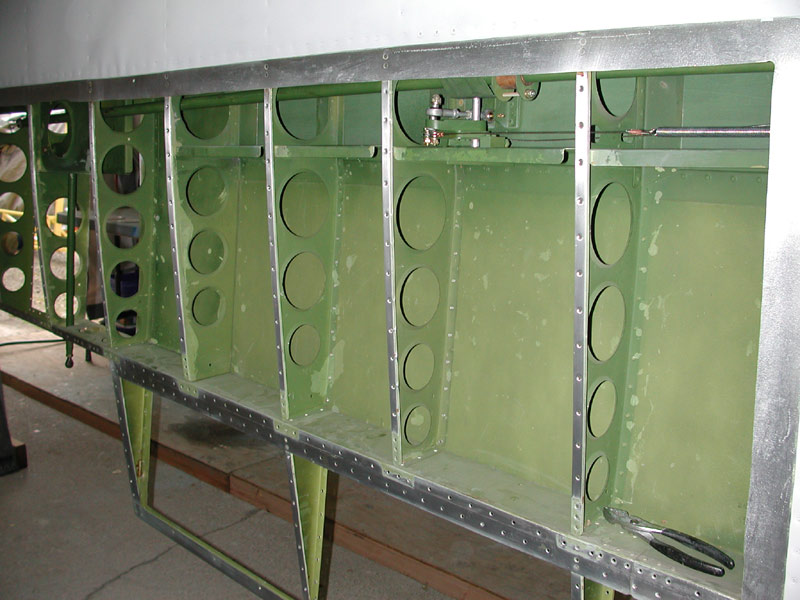
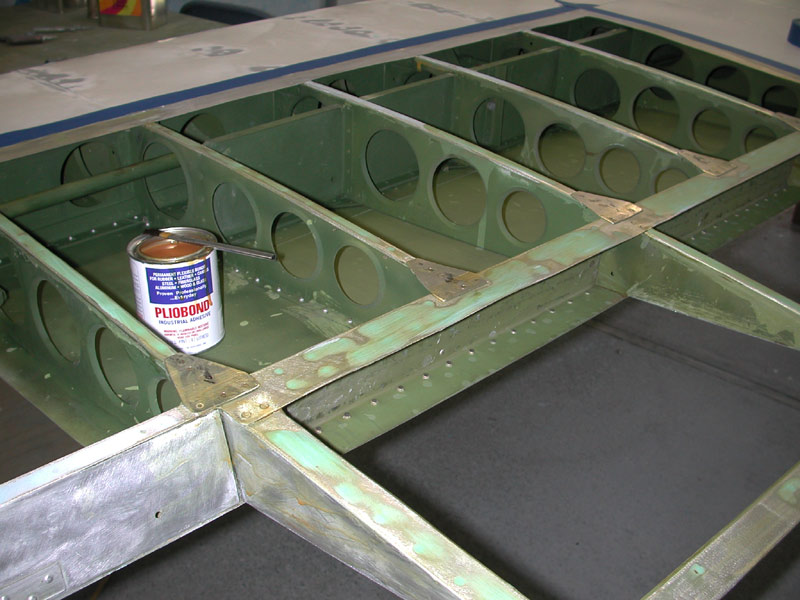
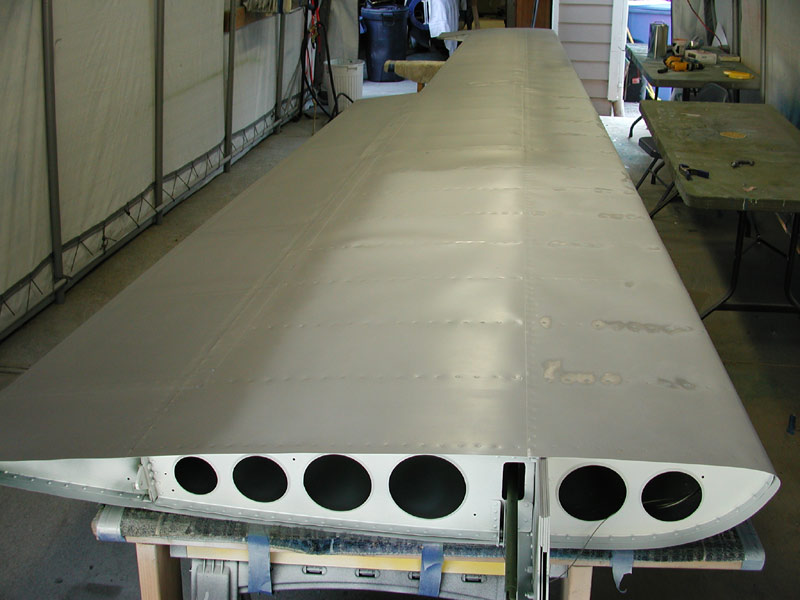
| Above - I use a wire wheel to clean the paint off the rivet heads so I can accurately drill them out. The inboard panels without the cleaned rivets heads will remain on - except the most inboard panel will be removed to allow access to the rear spar dent. |
|
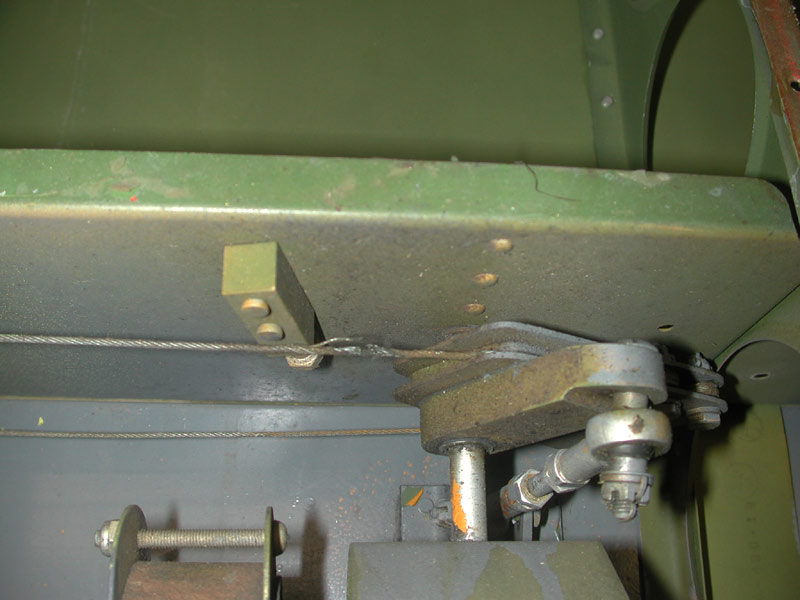
| Above - the aileron bellcrank is dirty, but not rusty, all of the rod ends are good and not rusted except for the rod end that attaches to the aileron - it will be replaced. |
|
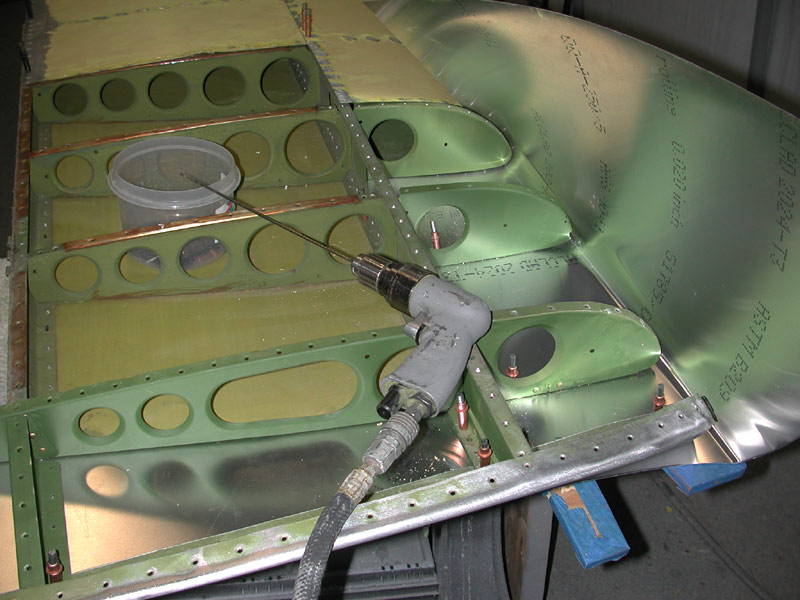
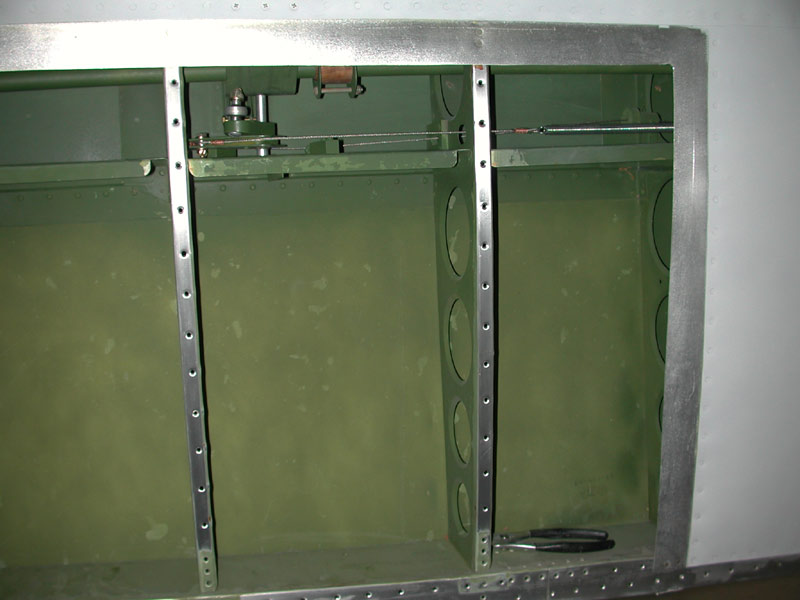
| The internal spar and rib structure is in very good condition with no corrosion or cracking or old repairs, really in excellent shape. The spoiler mechanism looks very good - not worn out, just dirty and the cable and spring are rusted and will be replaced. |
|
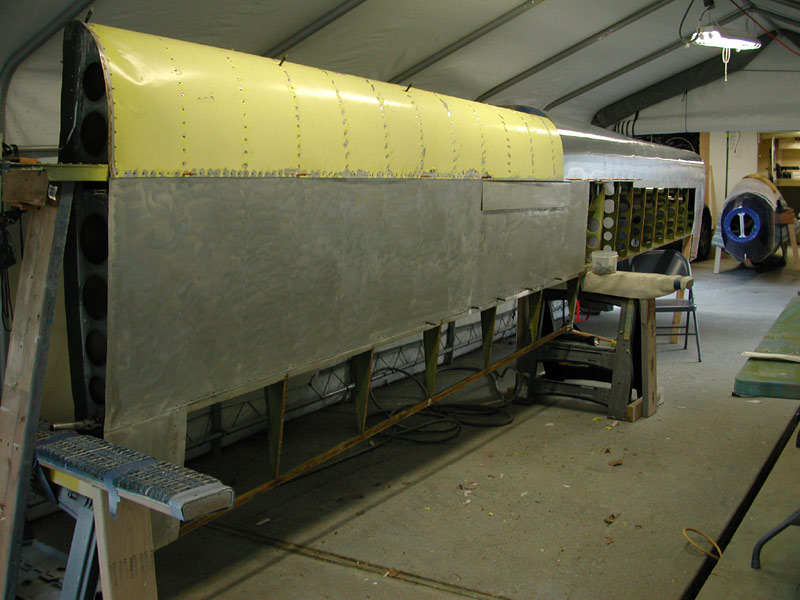
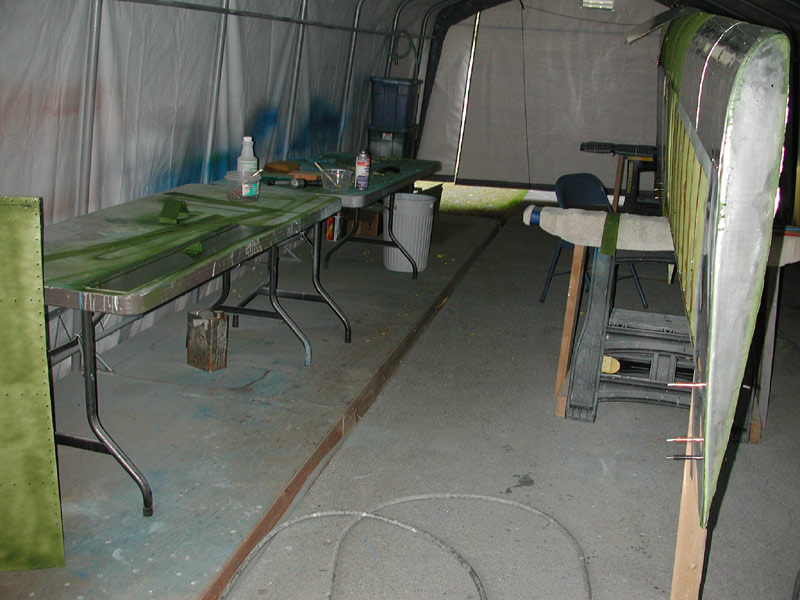
Below - February 27, 2005 - the right wing goes back on the trailer and the left wing comes in. |
|
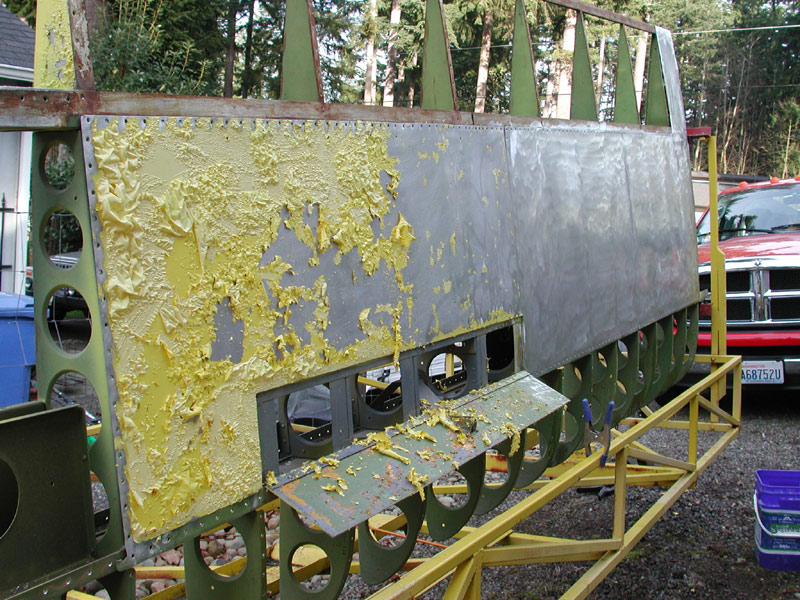
Below - the right wing gets the remaining paint stripped off. |
|
| Below - the cable that is attached to the spring that holds the spoiler closed is frayed through 75% of it's strands. |
|
Below - bottom surface of the right wing is stripped. |
|
| |
|
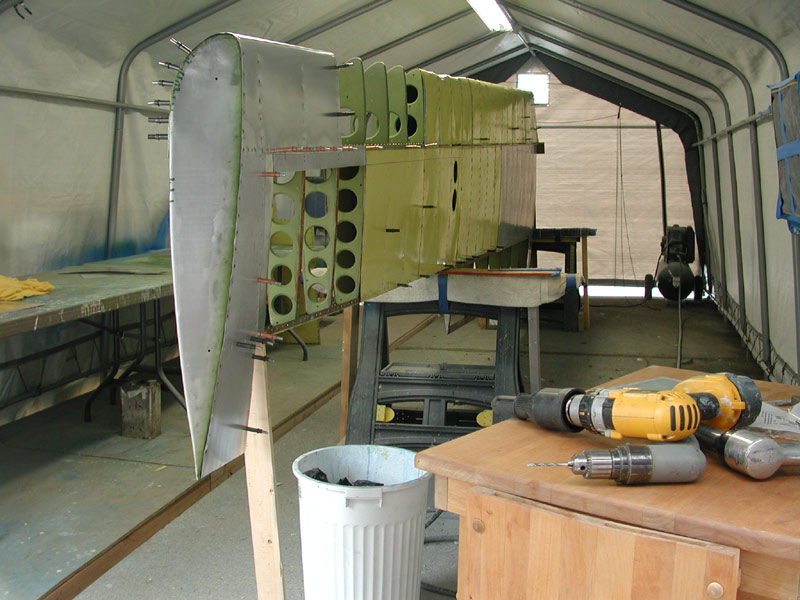
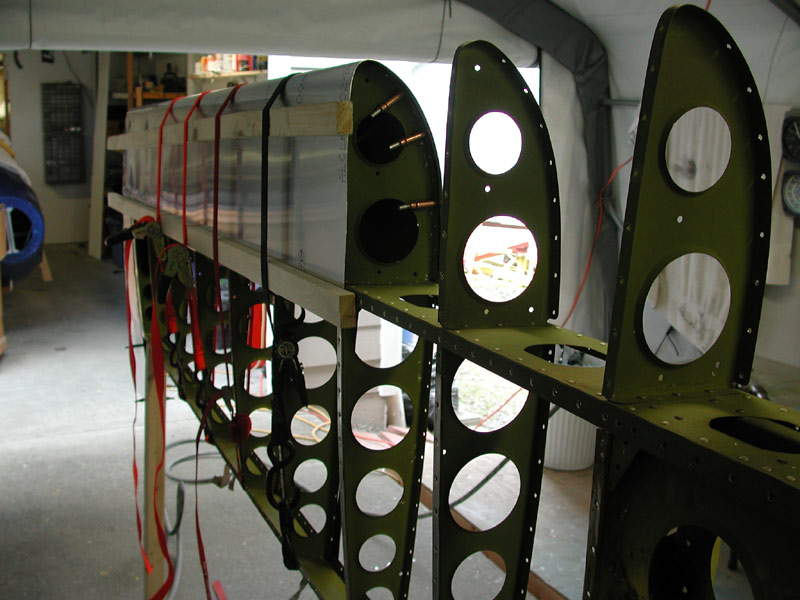
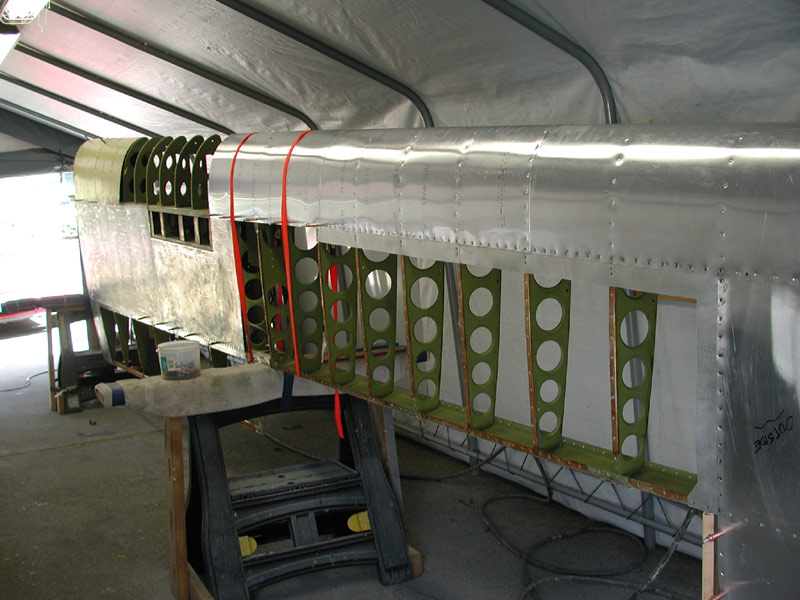
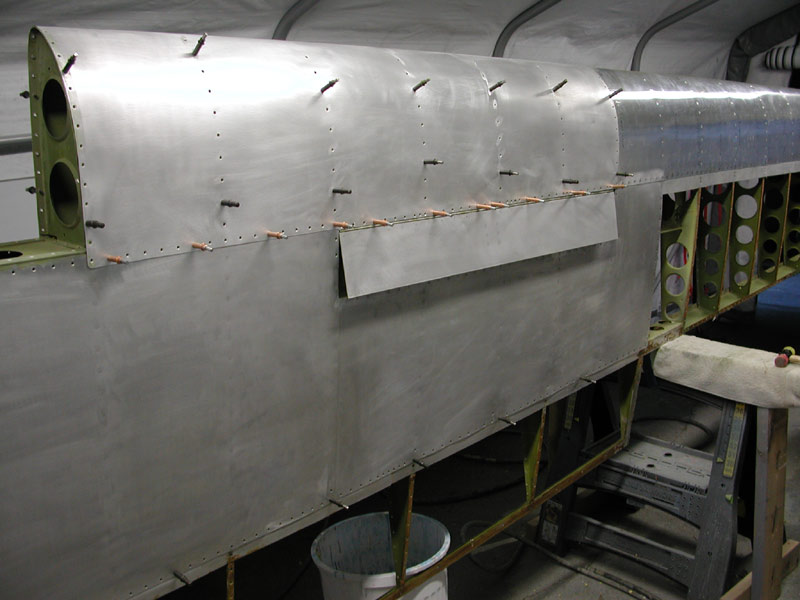
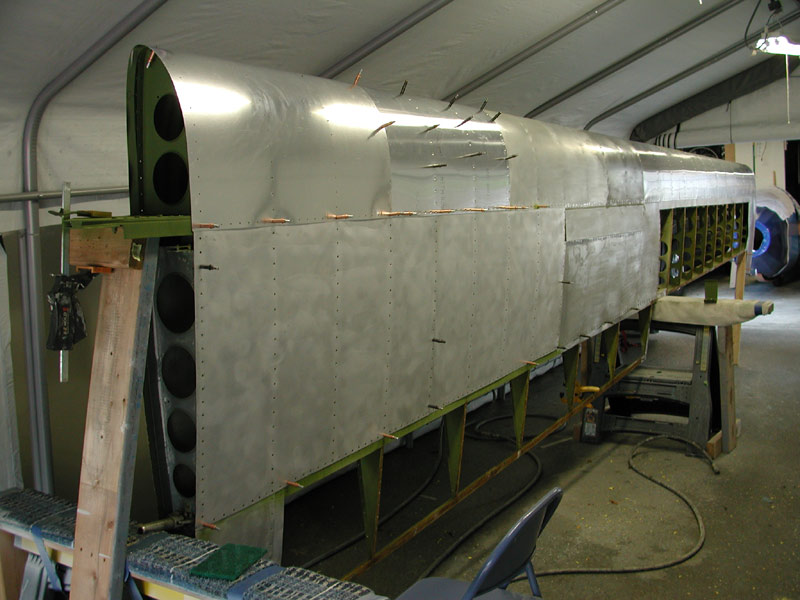
| Above April 2, 2005 - the left wing goes out to the trailer and the right wing is in the shop to get all new leading edge skins and fabric. After I finish this wing, I'll paint them both in the Polytone finish colors. |
|
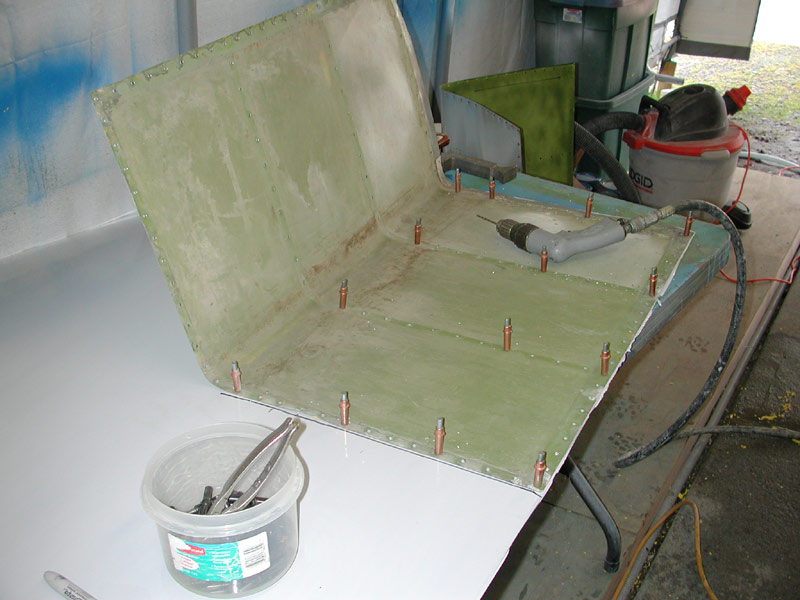
| I re-installed the skins with clecos to give the wing some rigidity while I replace the leading edge skins. I start at the outboard end first because the skins overlap from the outboard ends toward the inboard. I have to straighten some nose ribs and beat the end rib back into shape. Above I mark the skins for trimming. |
|
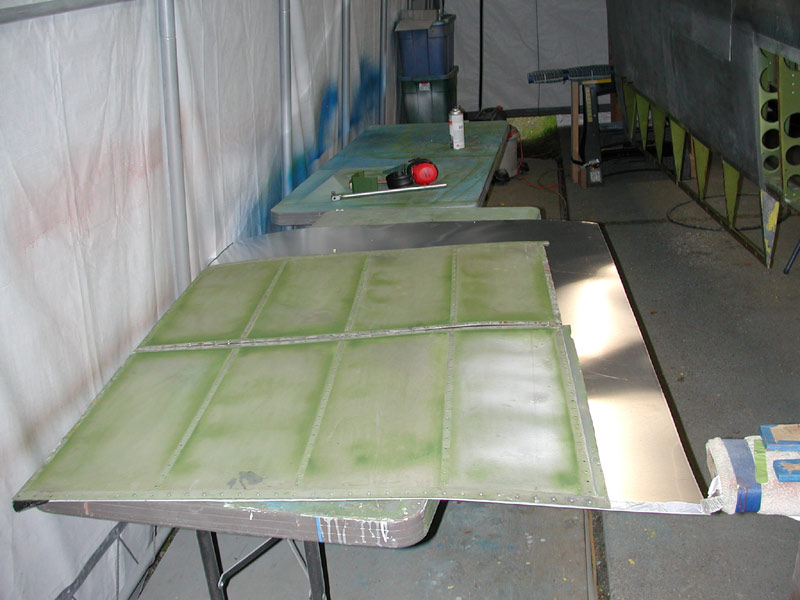
Above - I mark the new aluminum sheet to cut out new skins; below - new skins formed and getting drilled. |
|
| |
|
Above - back drilling the leading edge skin. |
|
| It took all day to cut, trim and drill the outboard leading edge, tip skins, straighten and repair the ribs. Tomorrow, final trimming and dimpling and then I'll shoot these skins on. After that, I'll work my way inboard, riveting as I go to provide stiffness for the wing. |
|
I expect it will take a couple of weekends to get these skins replaced. |
|
April 4, 2005 - I have to de-burr and dimple all of the tip skins before I rivet them onto the wing. Lots of holes to dimple. |
|
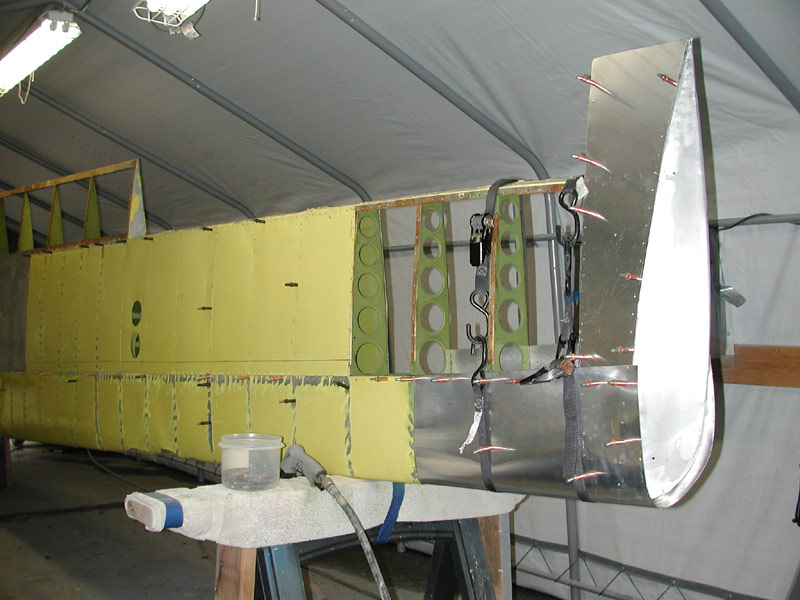
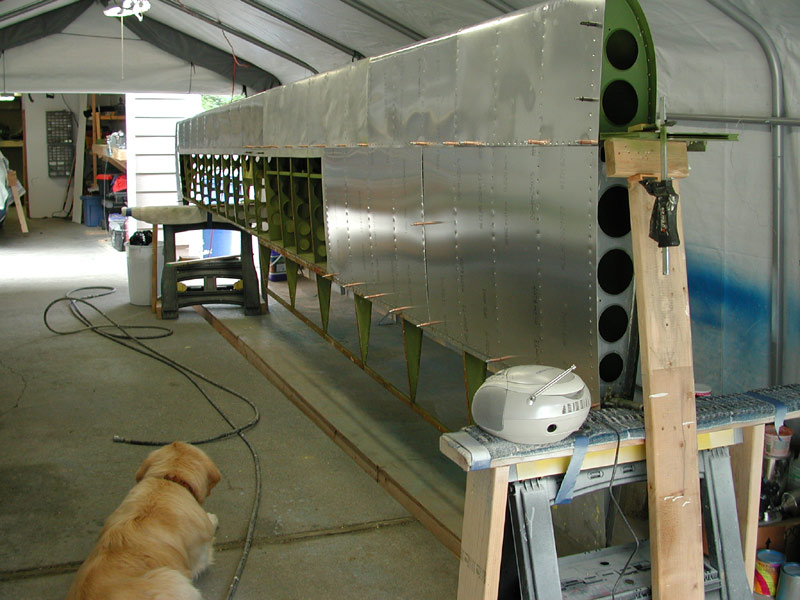
| Below - I built a simple jig to hold the wing upright and supported at the root, middle and tip end to keep the spar straight the the proper amount of washout at the tip. |
|
Above - the skins and wing structure get some zinc chromate and below, I start shooting the skins on. |
|
| |
|
Above - lots of clecos to hold everything in place, the 1X2 holds the aft spar in the proper vertical position. |
|
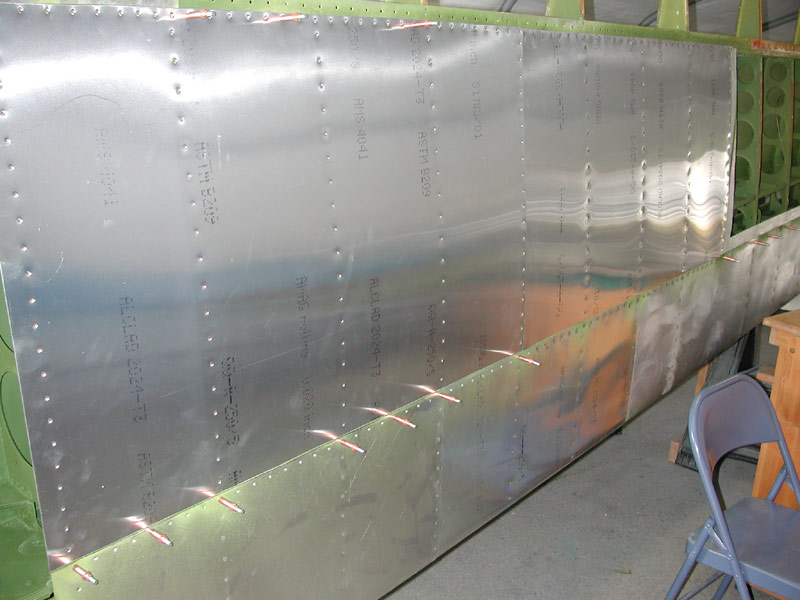
Above - 2 4X8 sheets of .020" thick 2024-T3 are needed to fabricate all new leading edges. |
|
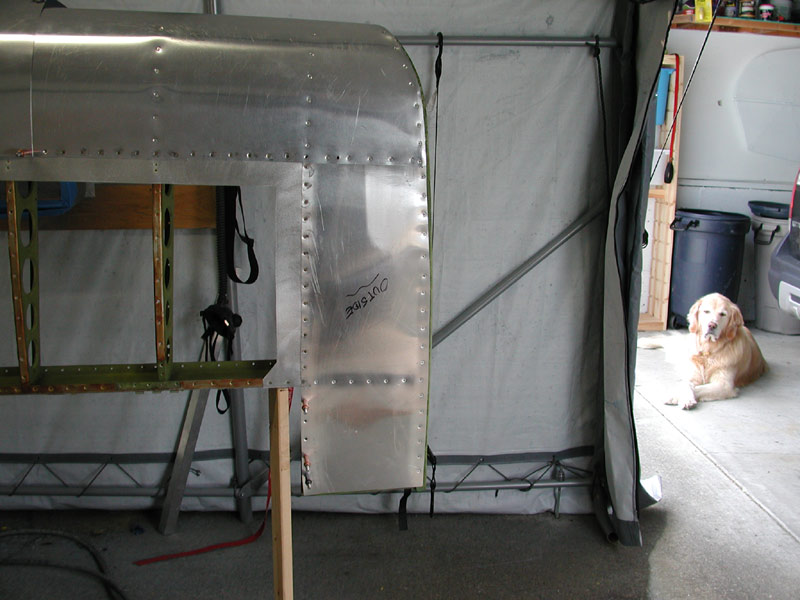
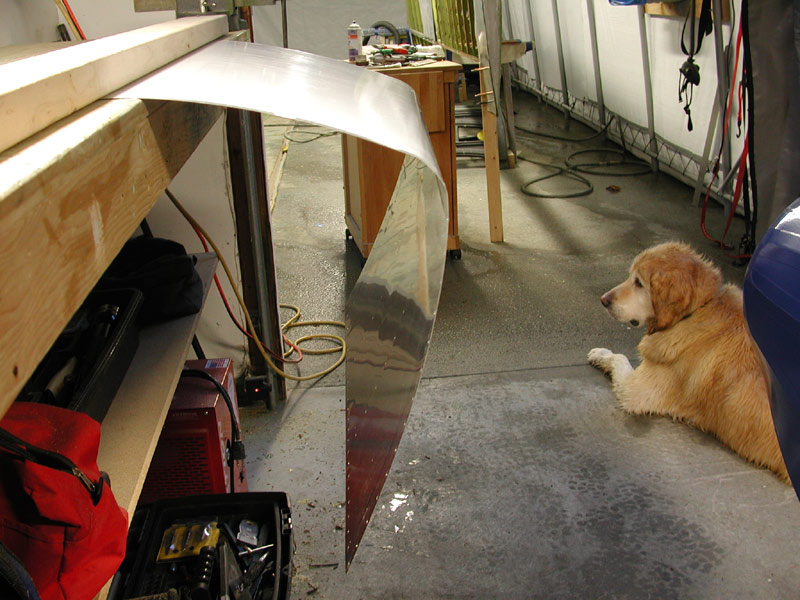
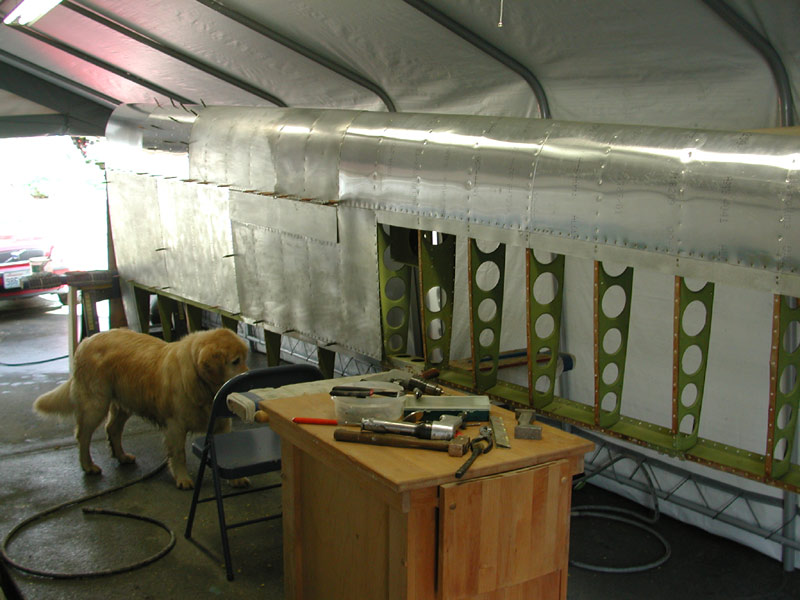
| Above - after our morning walk, I finish riveting the tip skins and Samson takes a break. He's such a civilized dog - except when there are squirrels about, then he loses his stately demeanor and you'll want to be holding on with both hands or he'll rip your arm out of its socket. |
|
Above - after lunch I move inboard and drill up the next leading edge skin. |
|
Straps hold the skin tightly to the ribs while I drill it up. |
|
A couple of 1X2's push the skin in against the rib for drilling. |
|
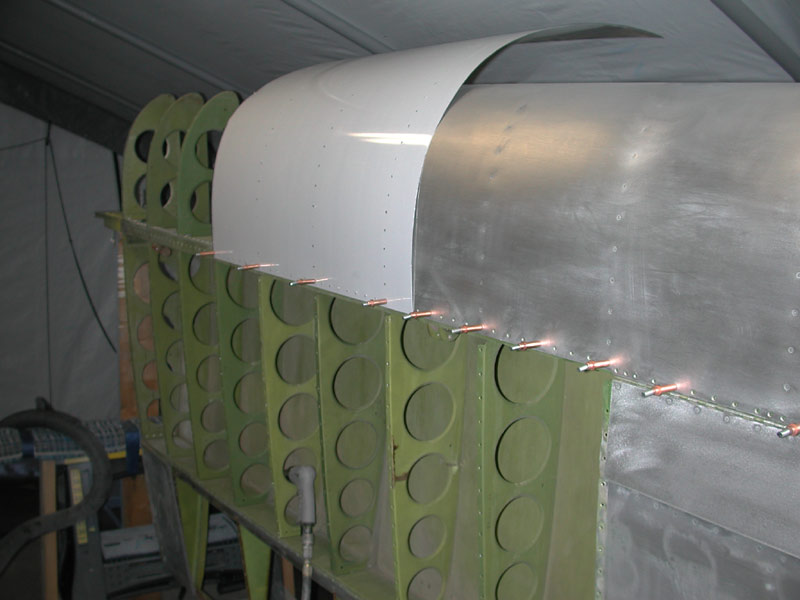
Above - tip and second leading edge skin shot on, drilling the third skin of the day |
|
| Above - I locate the skin on the upper surface first, the work my way up the upper rib return flange, back drilling the upper rib to skin holes. Next I strap it down and pick up a few lower surface rib to skin holes, then release the upper skin and back drill the remainder of the lower surface holes. I also mark the skin for trimming after drilling. |
|
| Above - next step is to remove the skin, de-burr, dimple, trim, paint with zinc chromate and re-install for riveting. But first, I'm informed it's 6 PM and time for another walk around the lake to finish the squirrel census. |
|
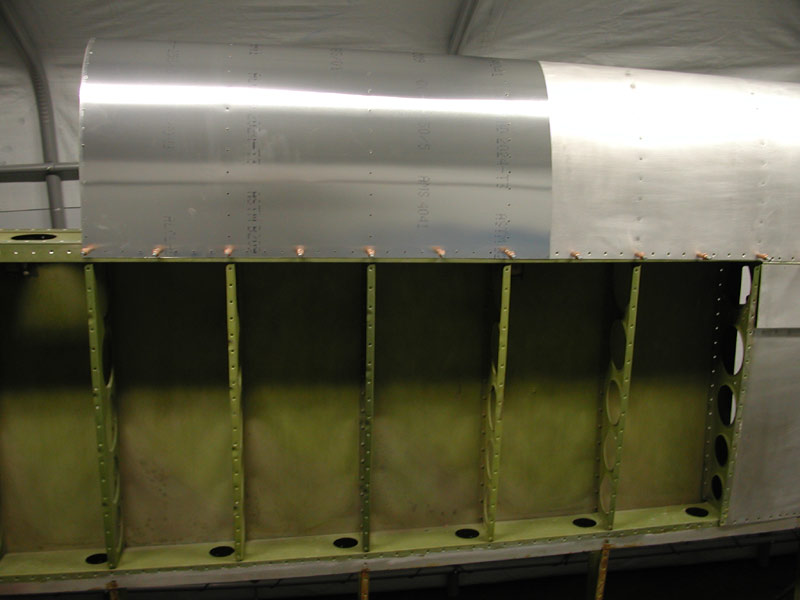
Three leading edge skins down, three to go, including that big long 48" humdinger in the middle. I'm thinking about that... |
|
Below - April 9, 2005 and I'm drilling up the fourth skin, almost ready to shoot. |
|
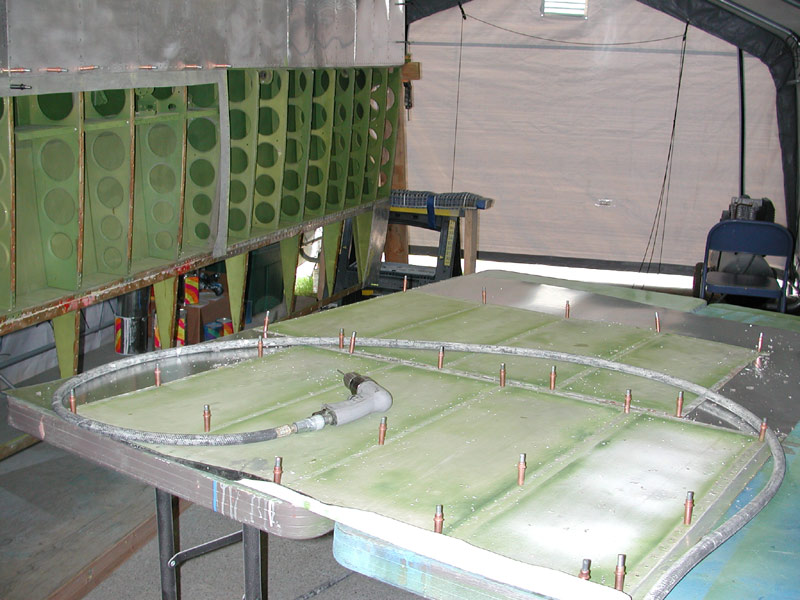
| Below - this skin has an area above the aileron bellcrank brackets that I cannot back drill because the brackets are in the way. I use the hole finder to locate and drill the skin-to-spar holes. |
|
| Below - Saturday night - it took all day to drill the skin, deburr, dimple, cut the fabric attach faying strips from the old wing skins, strip the old yellow paint off them, clean up the spoiler bracketry and paint everything with zinc chromate. The photo shows the wing leading edge is very nice and straight. I'm quite pleased with how this is going with regard to plumb and rig. |
|
| Below - Sunday April 10, 2005, I shot the fourth skin on - but had to spend half the day going to Home Depot for consumables and a new mailbox and address letters. The city of Bonney Lake decided everyone on our block had to change their addresses to comply with some asinine address numbering convention, so we have to change our address on all our vendors and banks - and of course on the side of the house and the mailbox. |
|
| Below - the spoiler box is protected with a coat of zinc chromate and the brackets and spoiler are cleco'd in place along with the leading edge skin in preparation for riveting. |
|
| |
|
| Above and below - I was able to salvage this long skin, it was not dented badly and judicious hammer work has it back in fine shape. It will need a little epoxy Superfil here and there, but it's actually in very good condition. All the bits and pieces are cleaned up and fastened into place ready for riveting. This weekend has not been very productive because I had to (A) mow the lawn (B) walk Samson four times (C) deal with the address change and Home Depot on a Sunday (stupid me) and (D) I don't get my normal 3 day weekend because all the bosses are out of town and they left me in charge of the airworthiness side of the CMO - that means I have to work Monday. So I packed it in and had a nice glass of wine. |
|
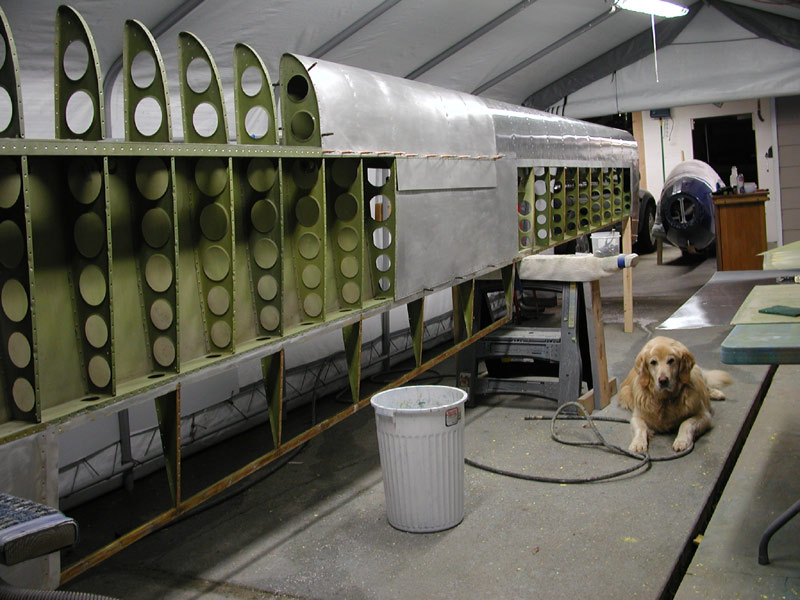
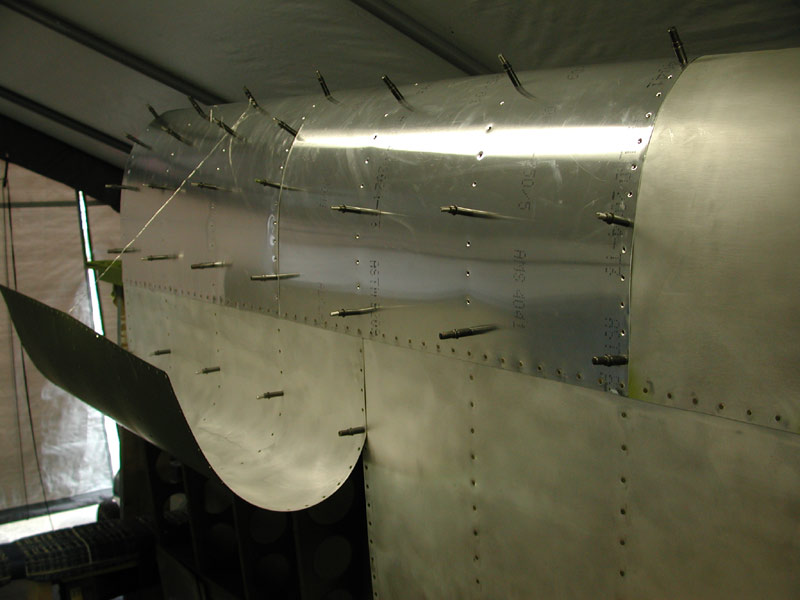
Below - Thursday, April 14, 2005 - I had to remove the upper wing skins in order to start shooting on the inboard leading edges. |
|
| Above - you can see the new aluminum sheet on the table to the right of Samson - getting ready to cut new inboard leading edges and shoot them on. I'll rivet the new upper inter-spar skins starting at the main spar rivet line and work my way down, shooting CherryMax rivets in the last few holes in the ribs, just forward of the aft spar as I close out the aft end of the skin. I'll shoot the skin to aft spar line with regular countersunk rivets because access to buck those rivets is from the aft side of the aft spar. |
|
| Above - I have to straighten the compression bend in the aft spar caused when John hit the tree with the wingtip. This is typical aft spar buckling when somebody ground-loops or runs a wingtip into something... like a tree. |
|
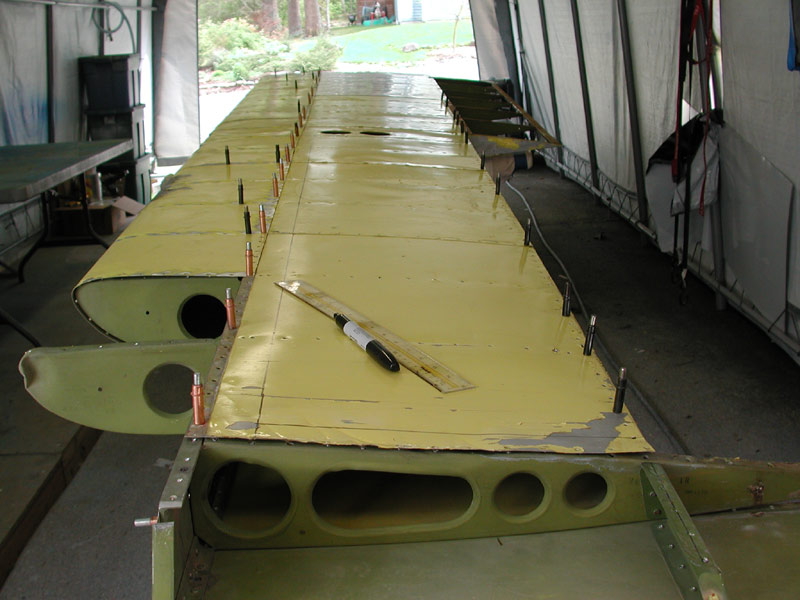
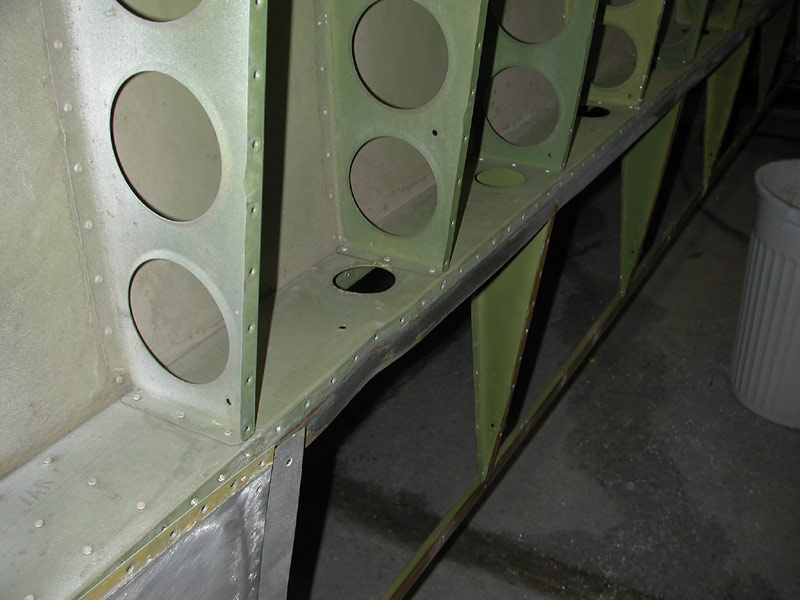
| Above - new leading edge skin being measured for cutting. Below - the inner wing structure is in good condition for being 50 years old! |
|
Below - Friday night, April 15, 2005 - I drill up another leading edge skin, one more to go. This skin still has the protective film.
|
|
| Below - I use the 2x4 bending brake to put the tight curve required to get the leading edge to form properly over the nose radius of the ribs. I also add a little reflex to the lower part of the skin so that it will sit flush against the lower surface rib return flanges. |
|
| |
|
| I expect to have the wing skins completed by Monday night. Painting primer and covering may begin next week if things go according to plan. I see a very faint glimmer of light at the end of the tunnel. |
|
Below - April 16, 2005 - drilling up the last skin using the old skin as a template. |
|
| Below, took a few hours today to clean up the ribs and spars and spray them with a fresh coat of zinc chromate. Inside of the skin gets zinc chromate as well. |
|
| |
|
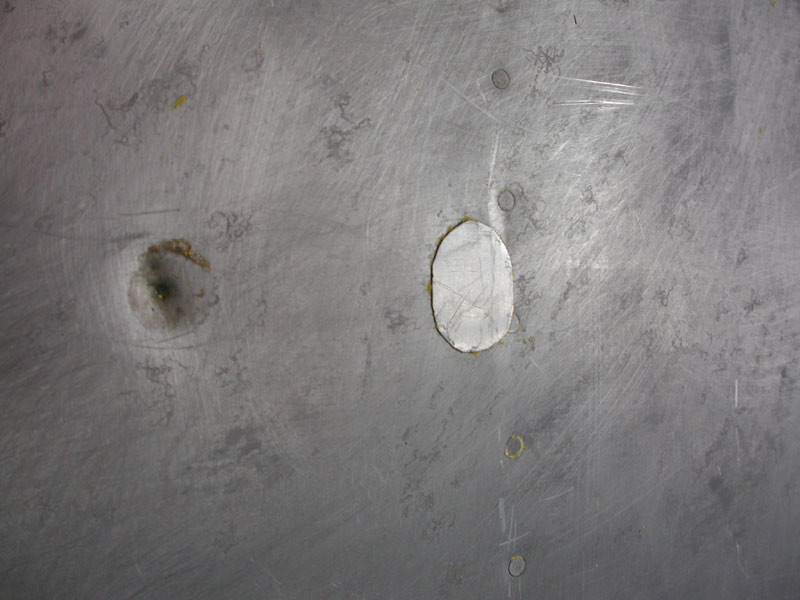
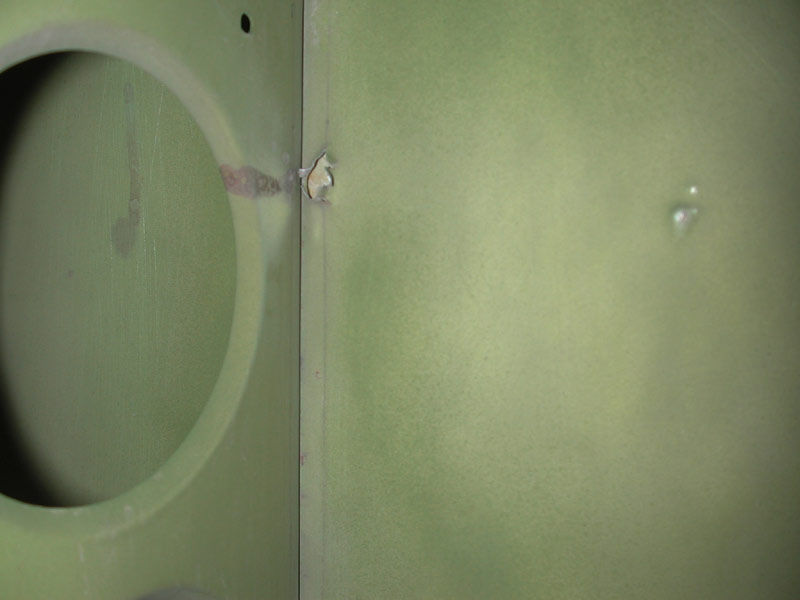
| Above - this is a thin metal patch on the bottom skin that someone glued in place after they somehow managed to poke a hole in the lower wing skin. After stripping the yellow paint, I found this damage. I'll replace these two lower surface skins because of the holes and numerous other dents and such. Here's a hint: don't let people sit on your leading edges. Below is a photo of the back side of the jagged little hole - certainly not repaired in accordance with AC 43.13! |
|
| |
|
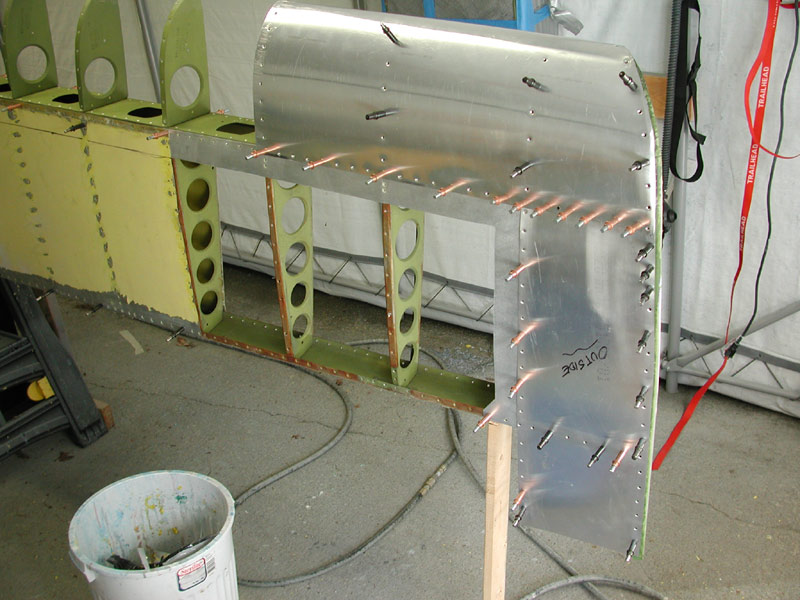
Above - the last leading edge skin getting drilled up. |
|
| |
|
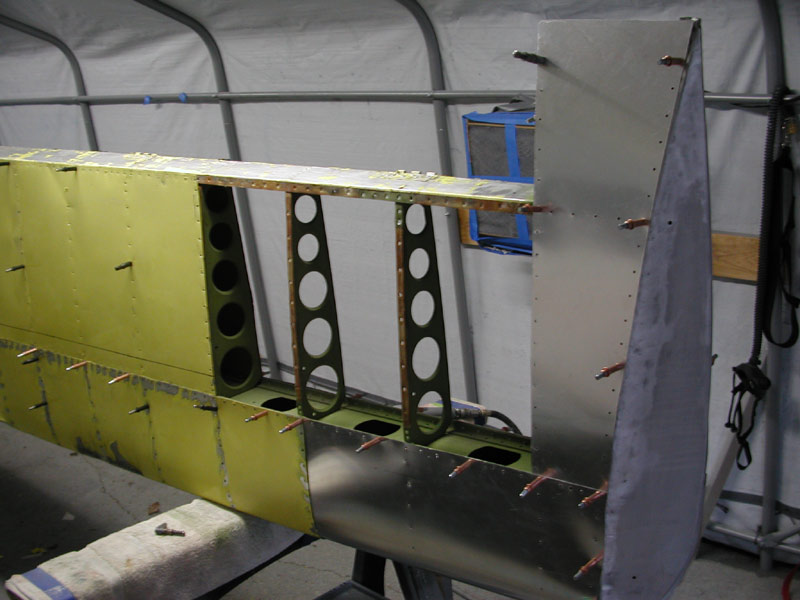
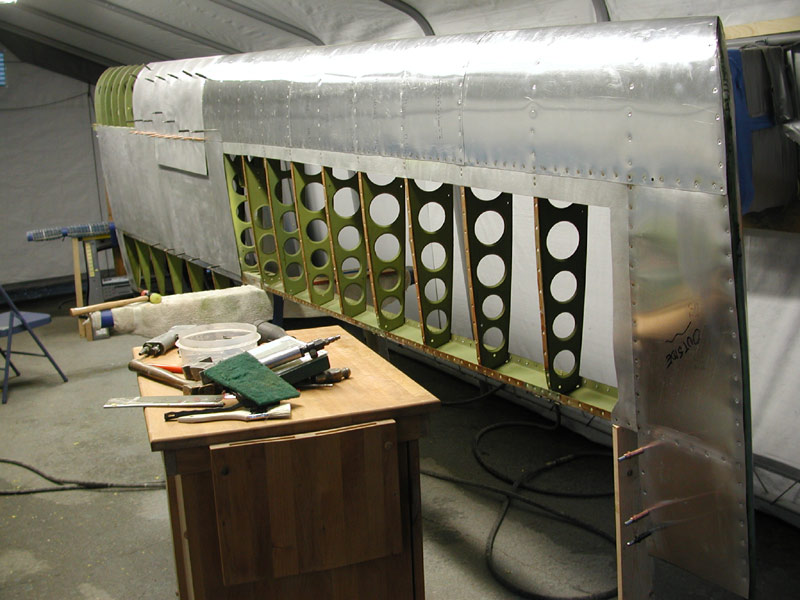
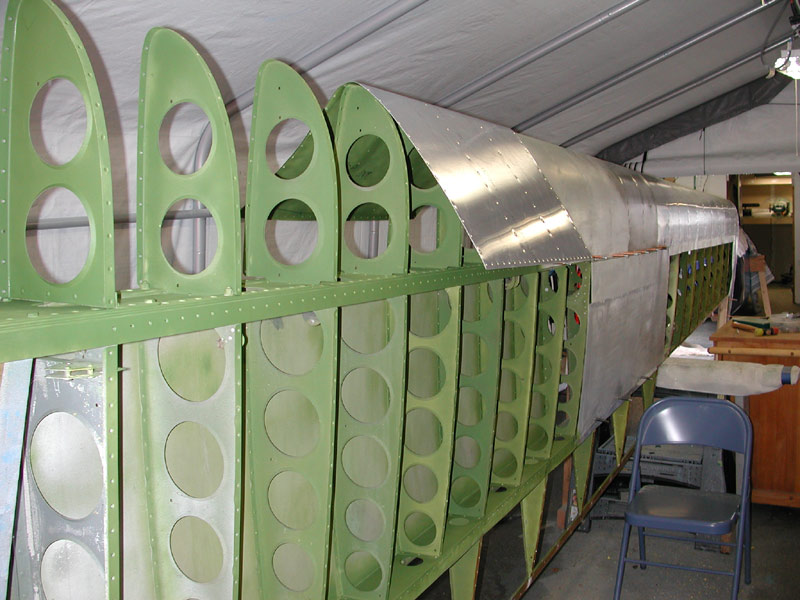
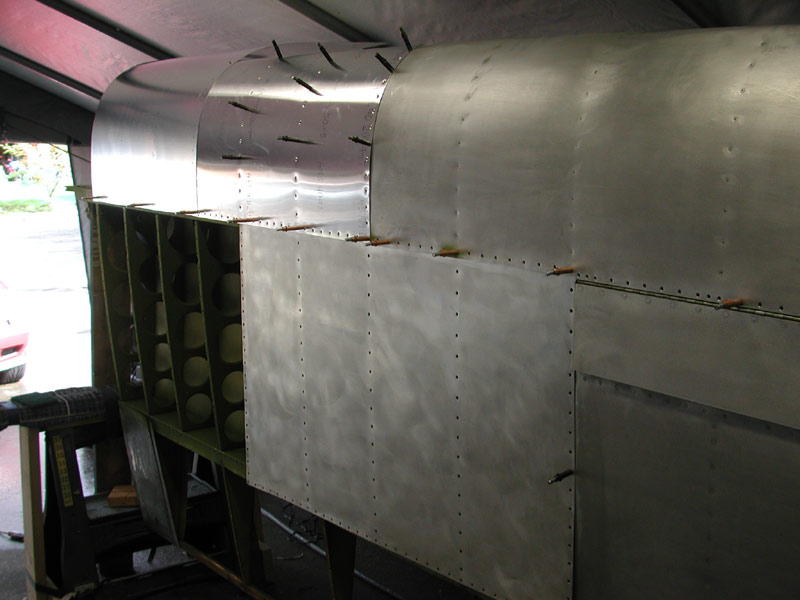
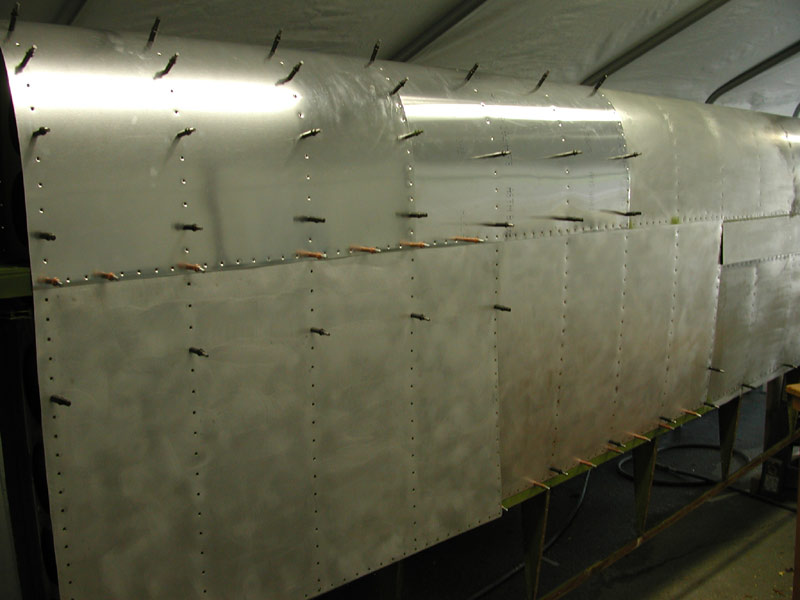
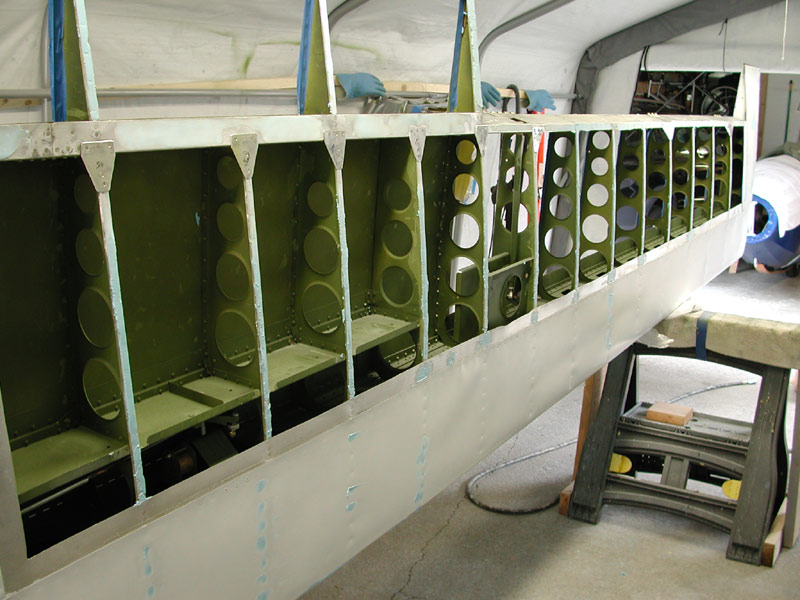
| Above - all the leading edge skins are in place, the upper surface skins go back on and it's time to start riveting these skins in place. Below - I riveted the skin in the area of the spoiler box, it's tough to get a bucking bar in there, this took some time. |
|
It's getting there. |
|
April 17, 2005 - the upper skins go on for the last time. I start shooting main spar rivets. |
|
I wire the skin up so I can reach the back side of the main spar with the bucking bar. |
|
One skin shot on, working on the inboard skin now. |
|
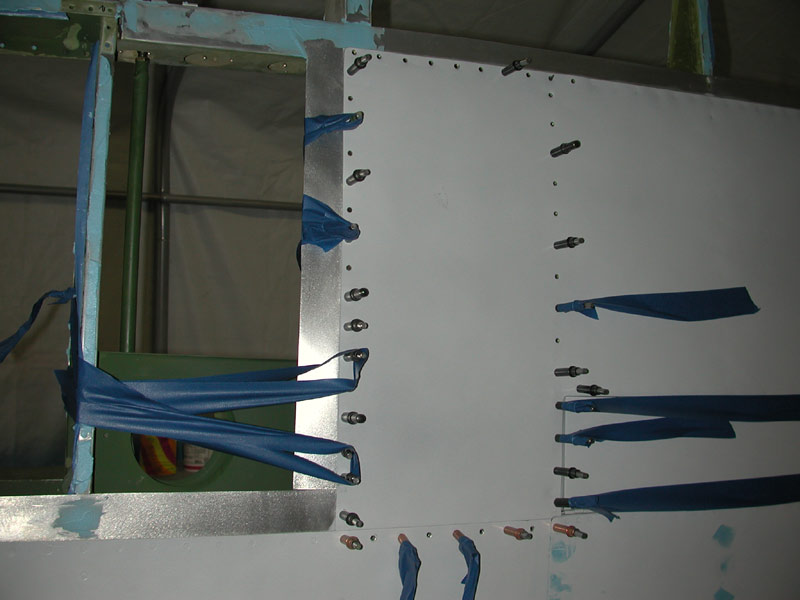
| After I shoot the interspar skins on, I'll shoot the fasteners in the leading edge skins and last I'll shoot the aft spar rivet line. |
|
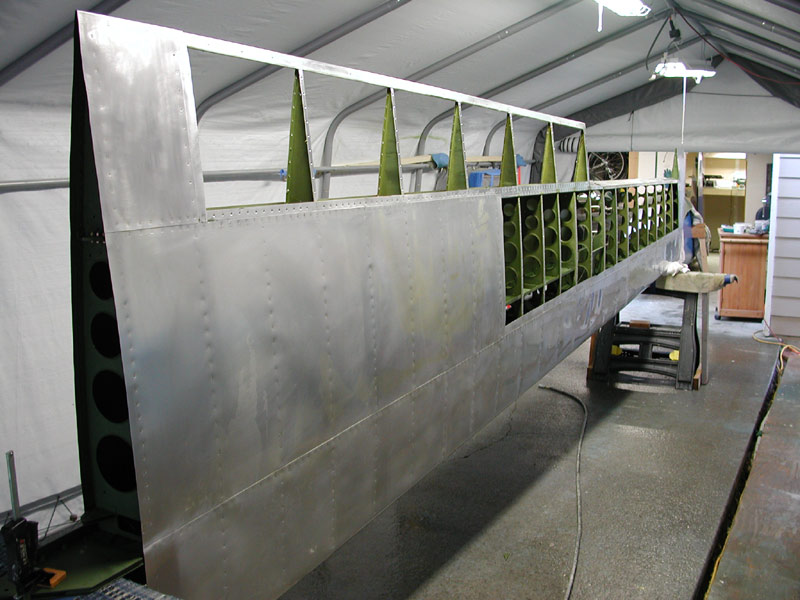
| Below - the upper skin all shot on, except the last few rivets in the ribs, I'll shoot those by reaching around behind the aft spar after I remove the lower wing skins. That's next. |
|
| |
|
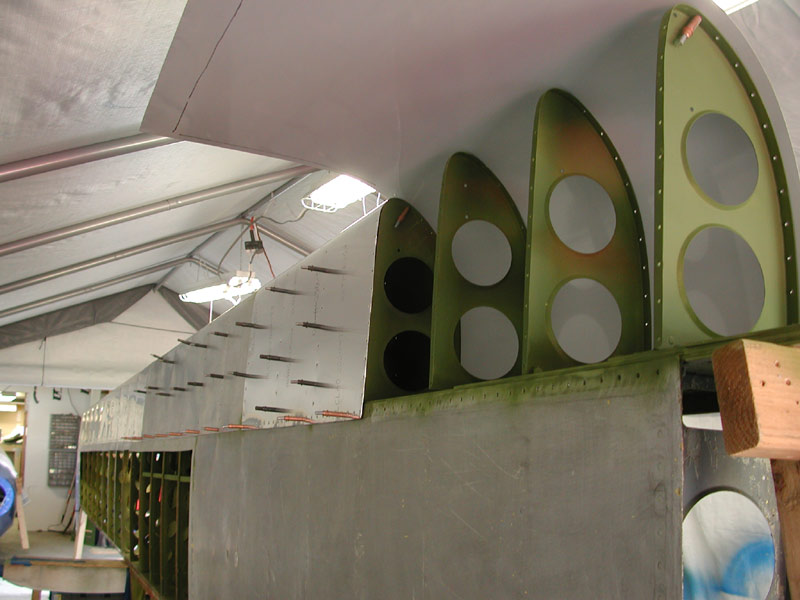
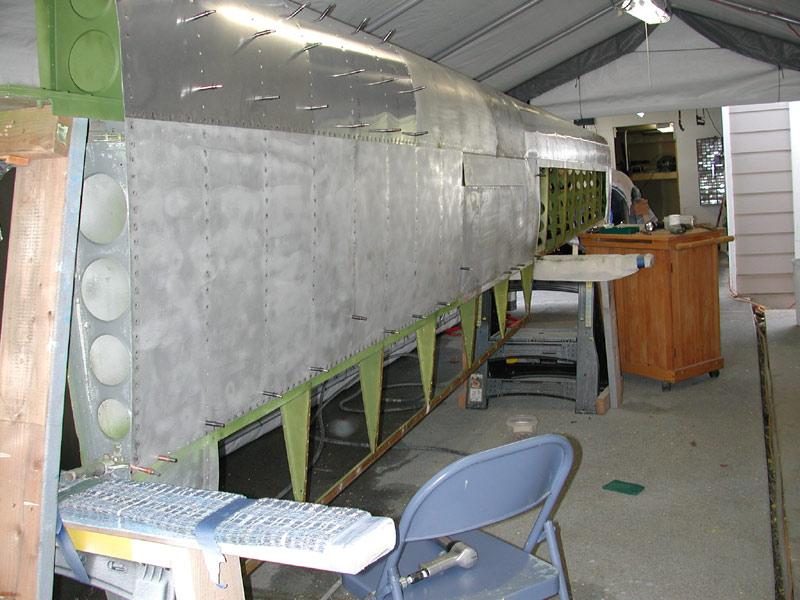
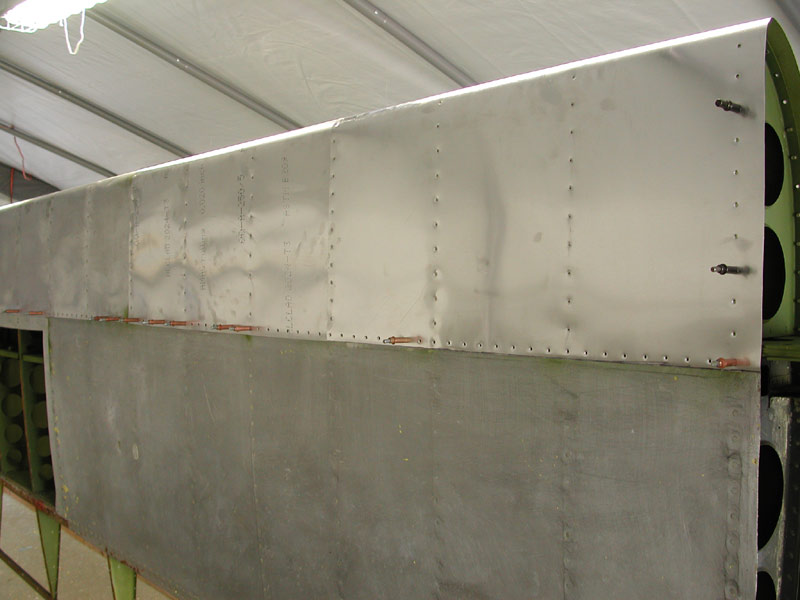
| Above, leading edge skins riveted except for the main spar rivet line. Below - I remove the lower skins so I can shoot the main spar rivets and replace these beat up and torn skins. |
|
Below, getting ready to cut new 2024-T3 skins from the Alclad sheet. |
|
Tomorrow - I'll trim, dimple, paint and shoot these skins on and then I move into the fabric stage of the program. |
|
| |
|
| |
|
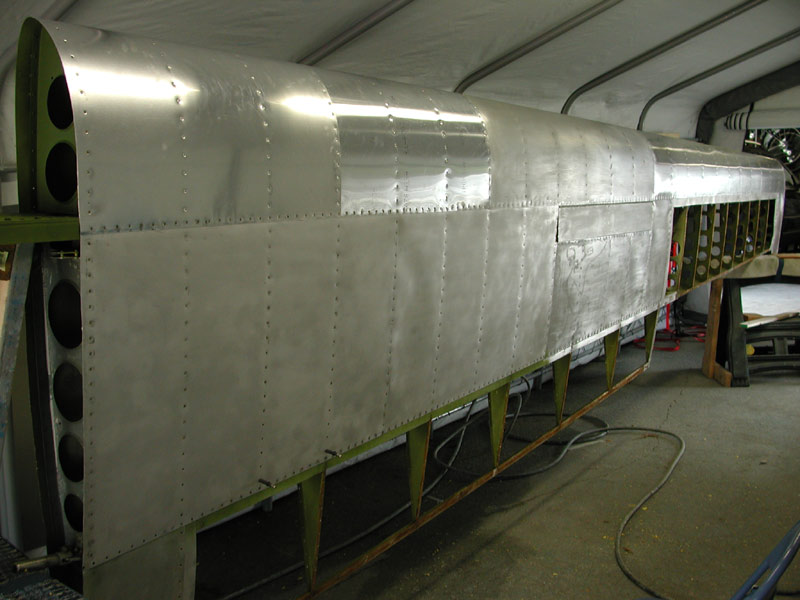
April 21, 2005 - I finish shooting all the rivets. |
|
| |
|
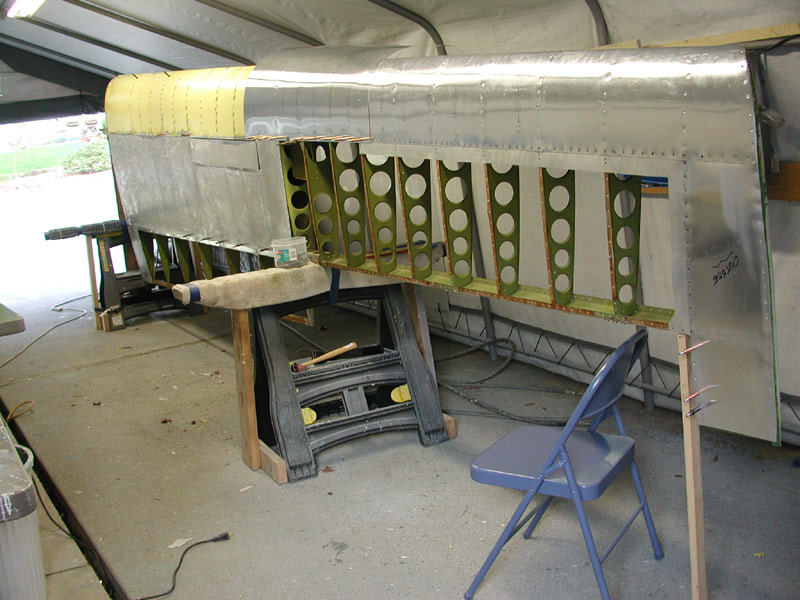
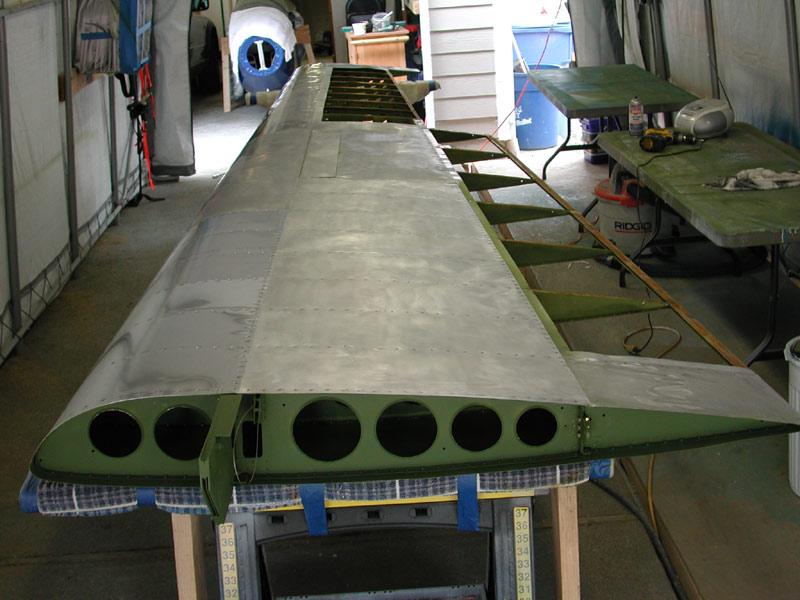
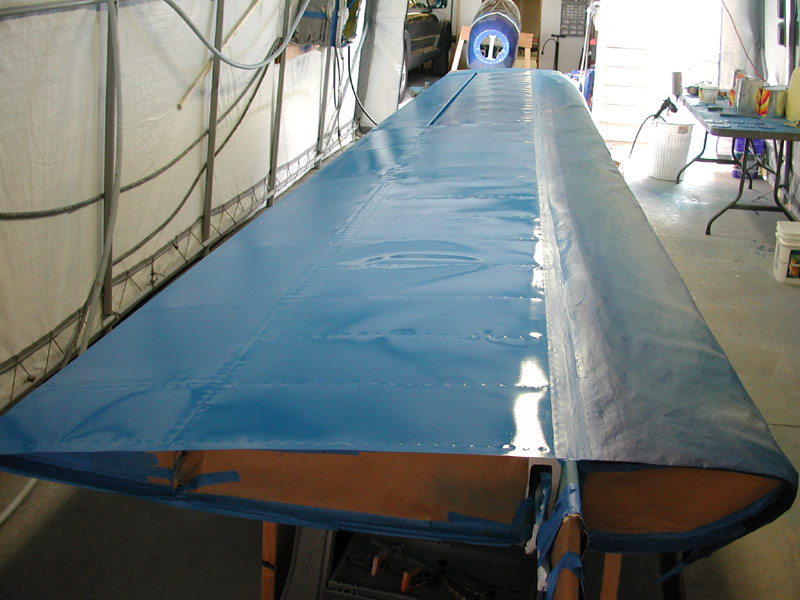
Above - April 23, 2005 - the wing rebuild is finished, time now for the paint and fabric. |
|
As with the left wing, I apply acid etch and then Alodine in preparation for the white epoxy primer. |
|
| |
|
| Above - all aluminum surfaces etched and Alodined, ready for the epoxy below. |
|
| |
|
| Below - April 24, 2005 - While I wait for the epoxy primer to dry, I make new cables and re-install the spoiler and aileron actuating hardware. |
|
| |
|
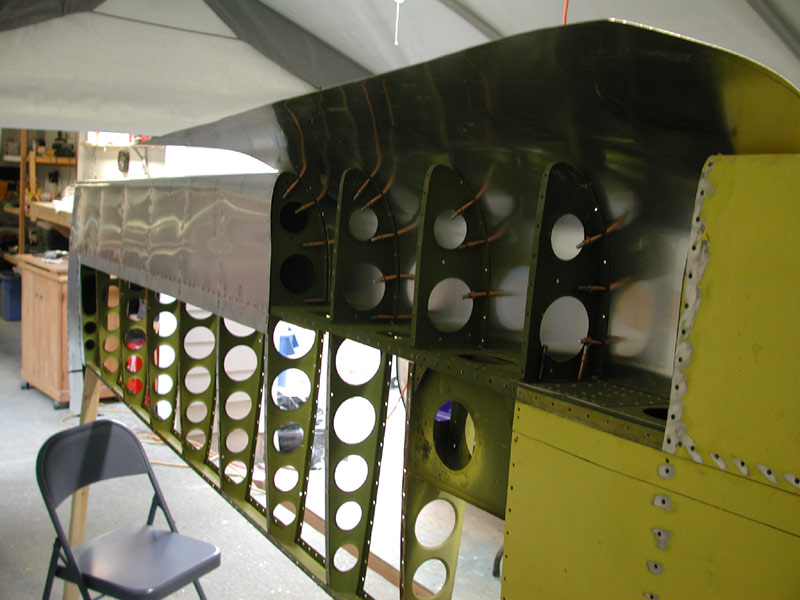
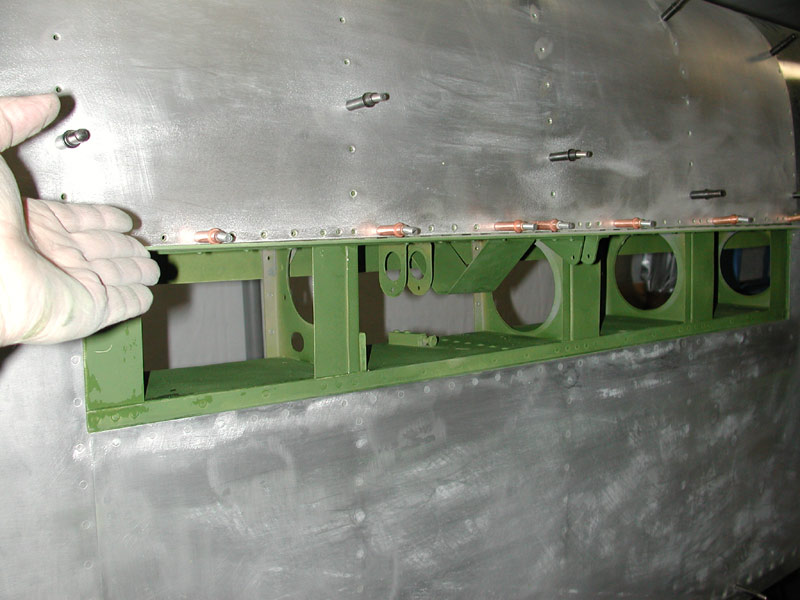
Above - all hardware installed, time for gusset fabrication and installation (below). |
|
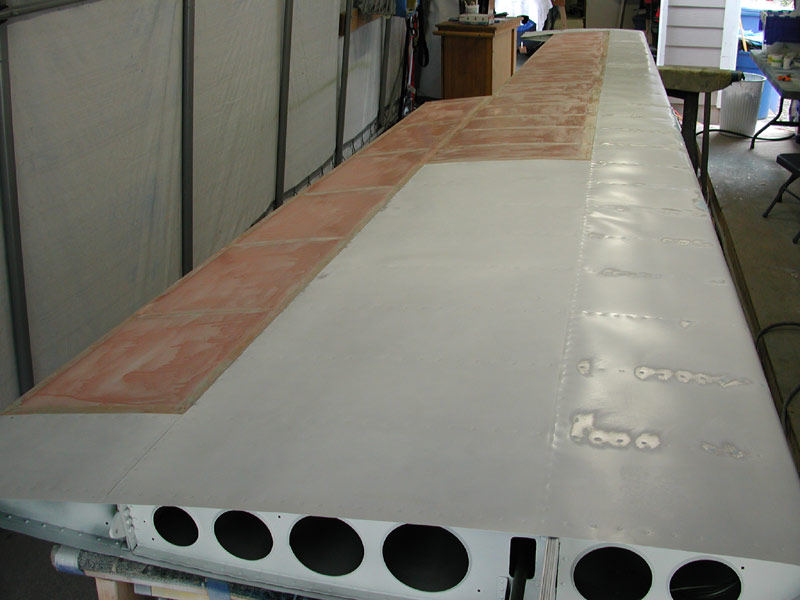
| Above - the gussets are cit out of .040 2024-T3 aluminum and drilled and straightened and the corners are filed round and beveled. Below, I plus the old rivet holes with the epoxy PolyFill. Tomorrow, I'll shoot on the gussets, fill the other side's holes and maybe, just maybe, glue some fabric on - more likely the fabric will go on Tuesday. |
|
| |
|
Above - April 25, 2005 - I finish installing the hardware. |
|
| Above and below - there was one skin panel with a bad oil can that I couldn't live with. I decided to try the Varga Aircraft Corp method of taking it out by pulling the clecos and shooting the skin stretched. It worked, nice and tight now. Sometimes shooting the skins back on in a different sequence builds up extra metal and you get an oil can. |
|
| |
|
Below - I make new gussets ands countersink them in preparation for riveting them on. |
|
| |
|
Above - gussets installed, rib holes filled, ready for fabric. |
|
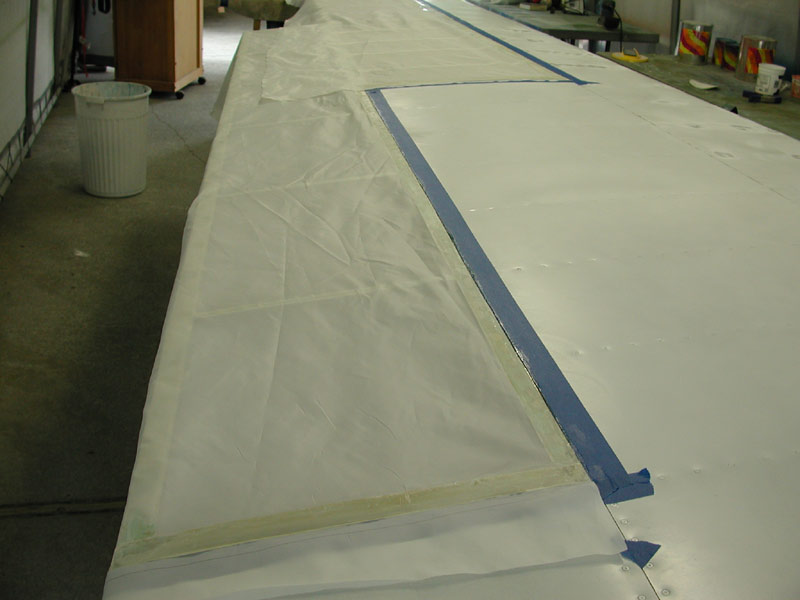
April 26, 2005 - Above -after sanding the filler down, I lay out the fabric. Below I coat the entire fabric faying surfaces with Pliobond. |
|
| |
|
Above - the fabric is glued in place with Polytak over the layer of Pliobond. |
|
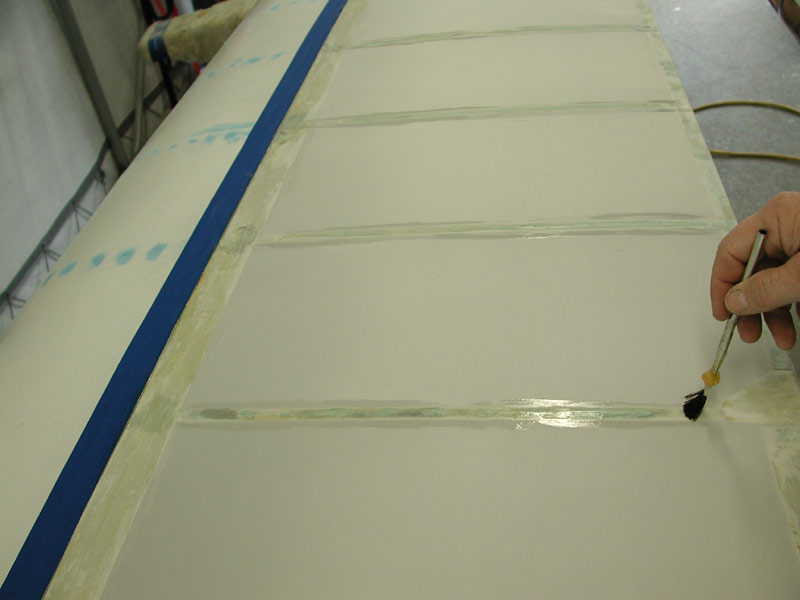
| Above - after shrinking the fabric with a 350° iron, I brush into the fabric Polytak thinned with MEK to soften and bond to the layers of Pliobond and Polytak I brushed onto the ribs before gluing the fabric in place. |
|
Above - First coat of Polybrush. |
|
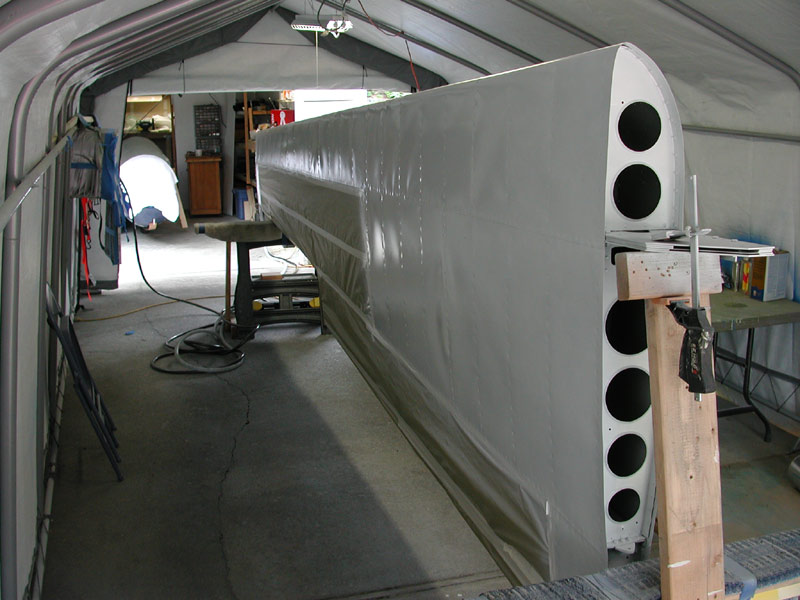
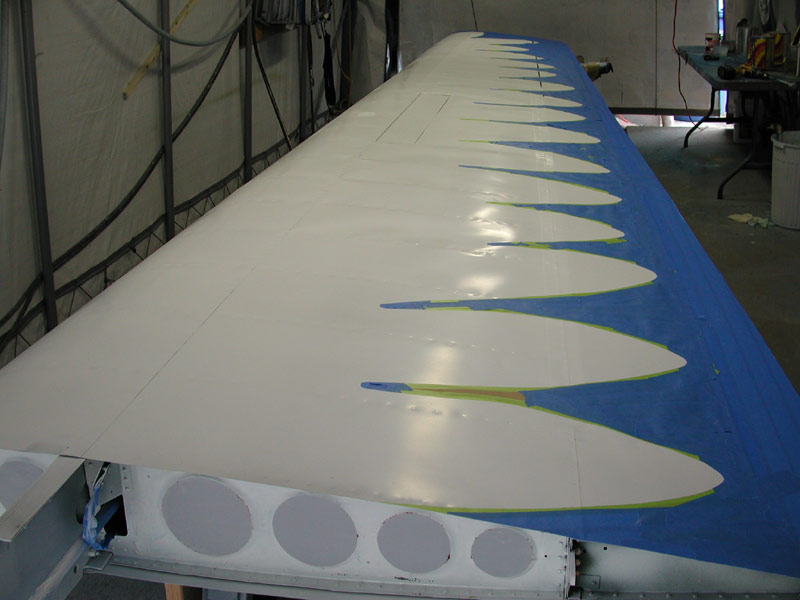
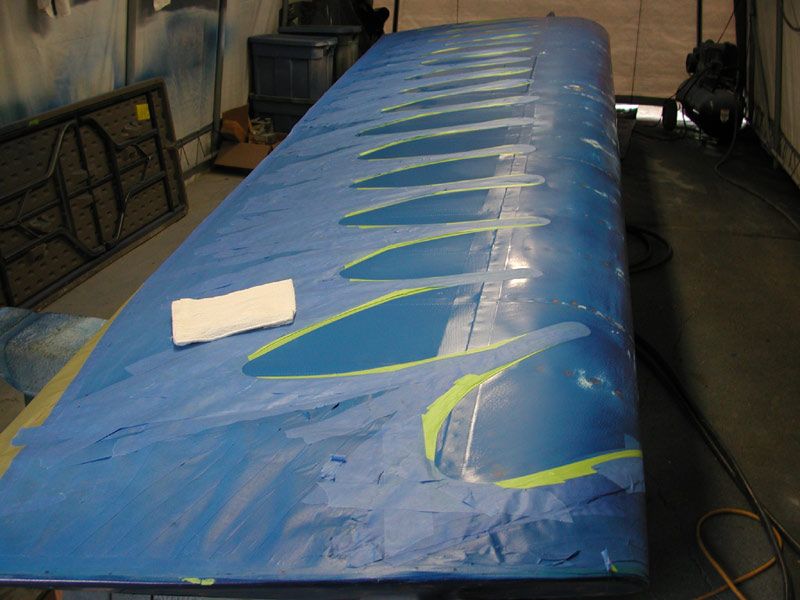
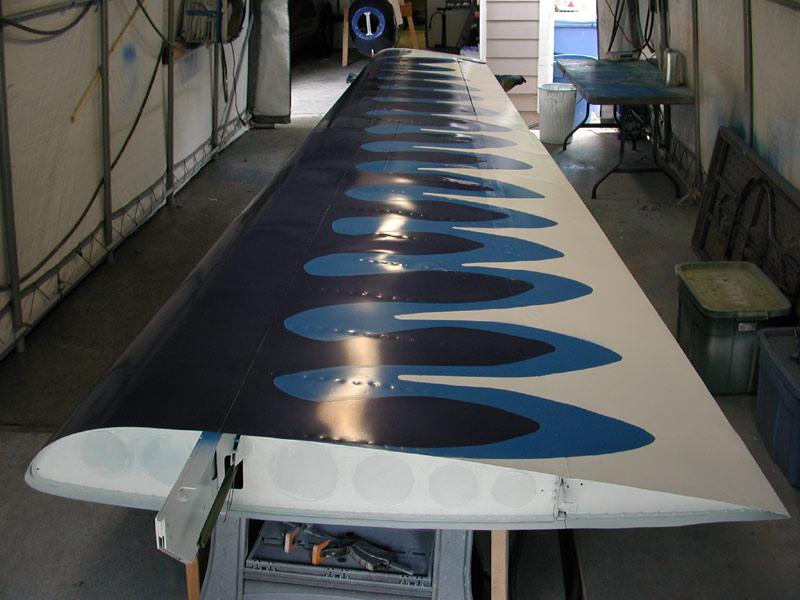
Above -April 27, 2005 - The wing gets taped and I spray on 2 coats of Polybrush. Below - I spray silver on both sides. |
|
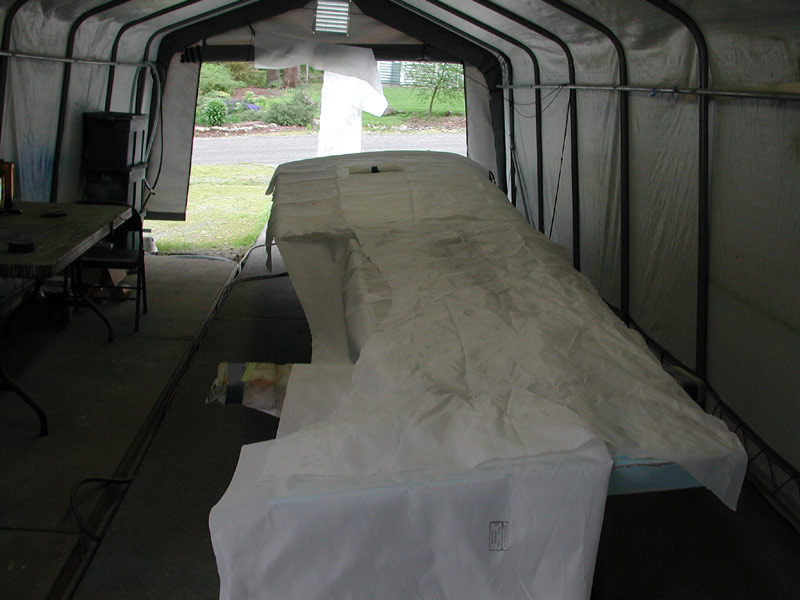
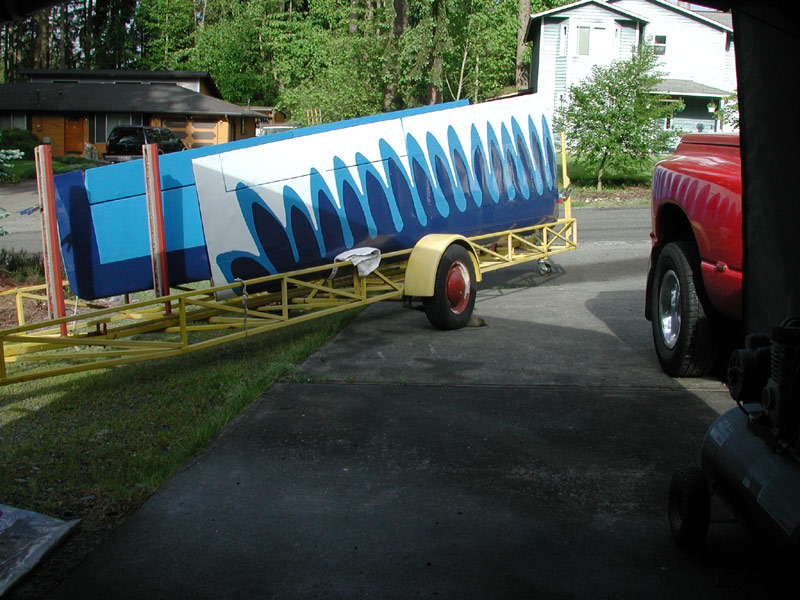
| Next, Renee will help me put this wing on the trailer to let the silver and Polyspray gas off for a few days and the left wing will come in for the color coats. Tomorrow I spray white Polytone, Should be finished with the left wing by Monday if I get lucky. |
|
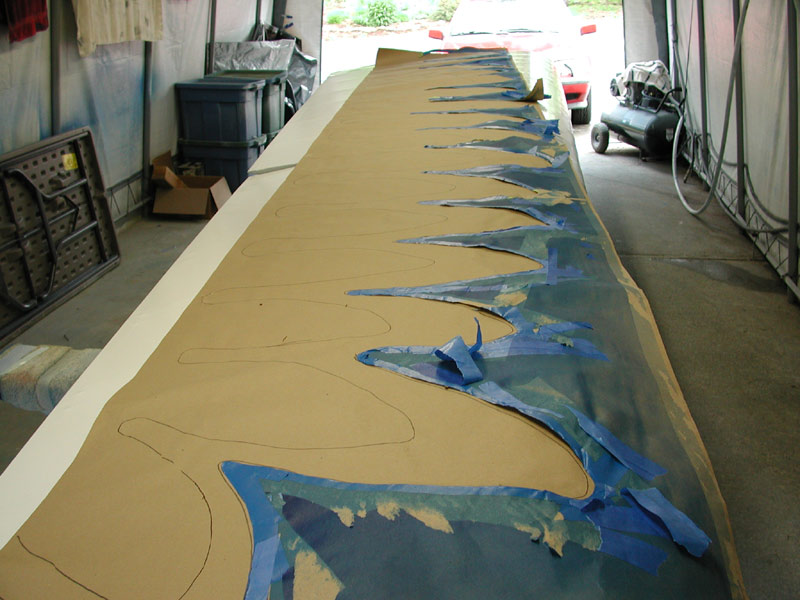
| Above - May 7, 2005 - I use the template from the left wing to make a new mask for the left wing. This will ensure the feather design is symmetrical. |
|
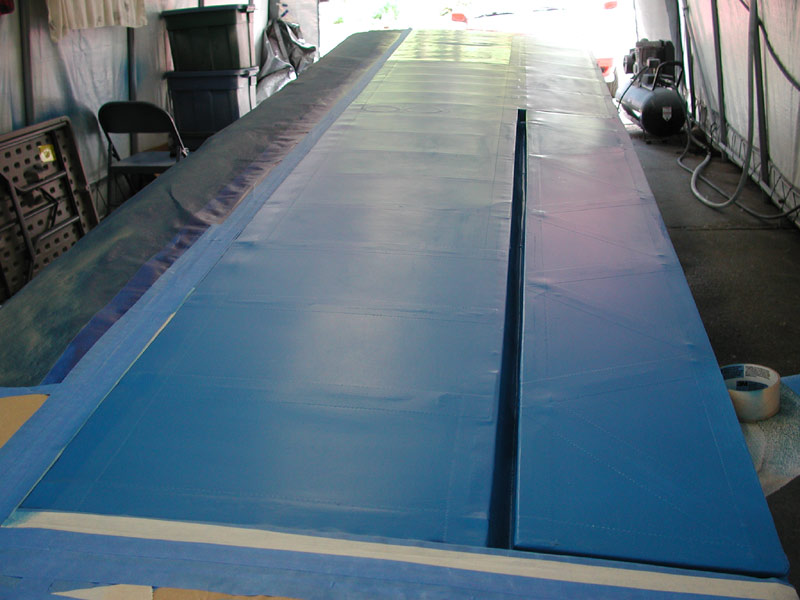
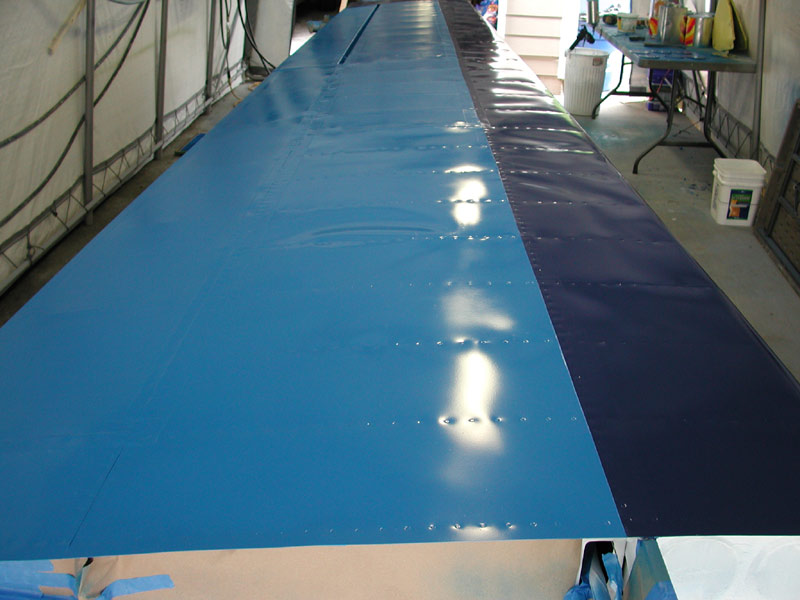
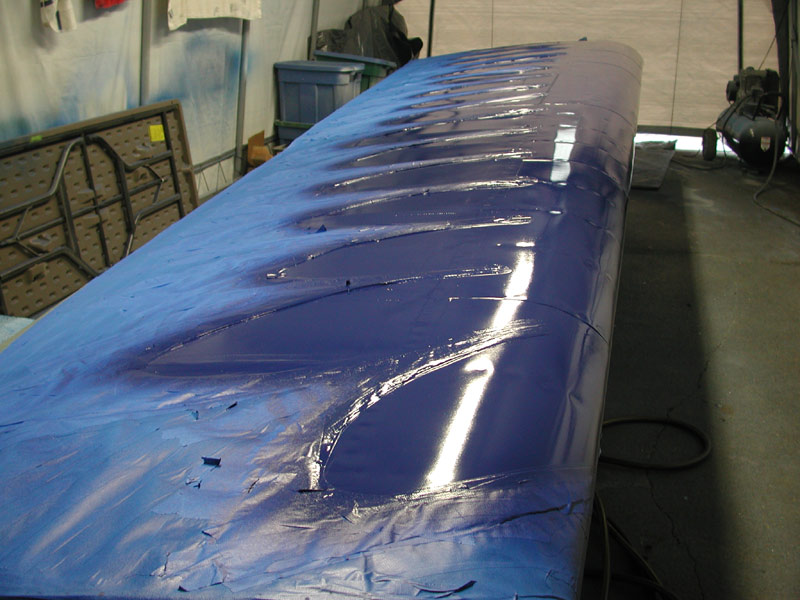
Above and below - the right wing is masked and painted Bahama Blue. |
|
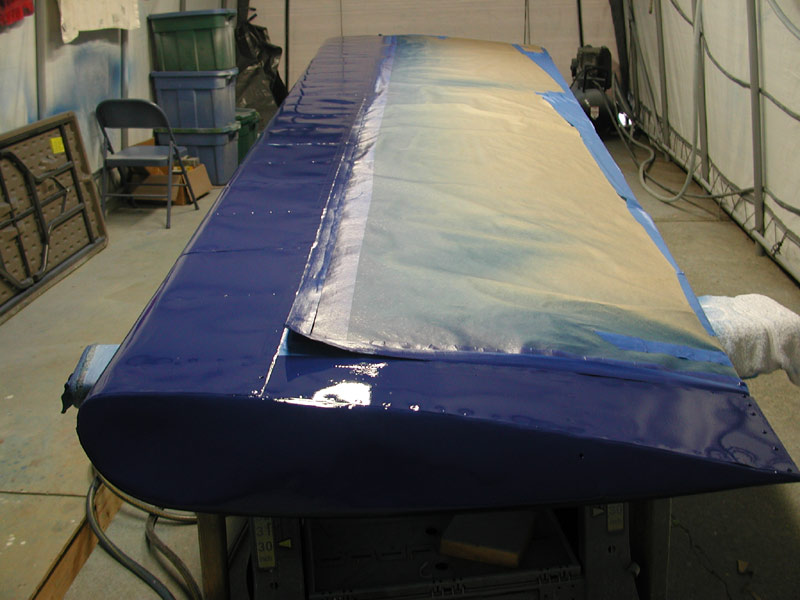
| Below - May 12, 2005 - I turn the wing over, mask off the Bahama Blue I painted earlier and spray Christen Eagle Blue on the leading edge. This has dark blue has required three coats on three separate evenings with wet sanding in between to get the paint to stick to the skin edges, remove the runs from the leading edges and minimize the sanding scratches that are telegraphing through from the epoxy primer. This dark blue leading edge bottom surface has taken all week to finally show an acceptable finish. It has been warm and humid (84° inside the tent) and the masking tape peels up, the Polytone blushes (requiring the use of blush retarder) and my patience is worn thin at this point. I believe i can see the end of the painting of this wing, but it's not over until the feathers are painted dark blue on the top side, I mask them off tomorrow and paint. Let's hope for my sanity that it just happens to go very well. I'm not hopeful because rain is scheduled for the foreseeable future and Polytone is not well-served by high humidity. |
|
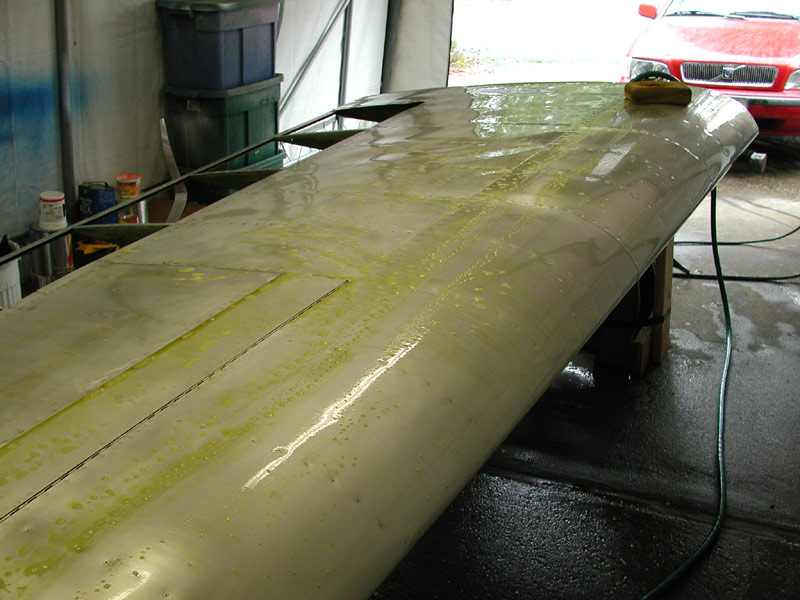
| Below - May 14, 2005, I mask off the finally finished leading edge and wet-sand the Bahama Blue aft spar surface in preparation for a final coat. Just prior to painting, I've learned that the only preparation required to shoot Polytone is to wet-sand the surface with 600 - no paint cleaning solvent or other cleaners and a quick wipe with a tack rag. |
|
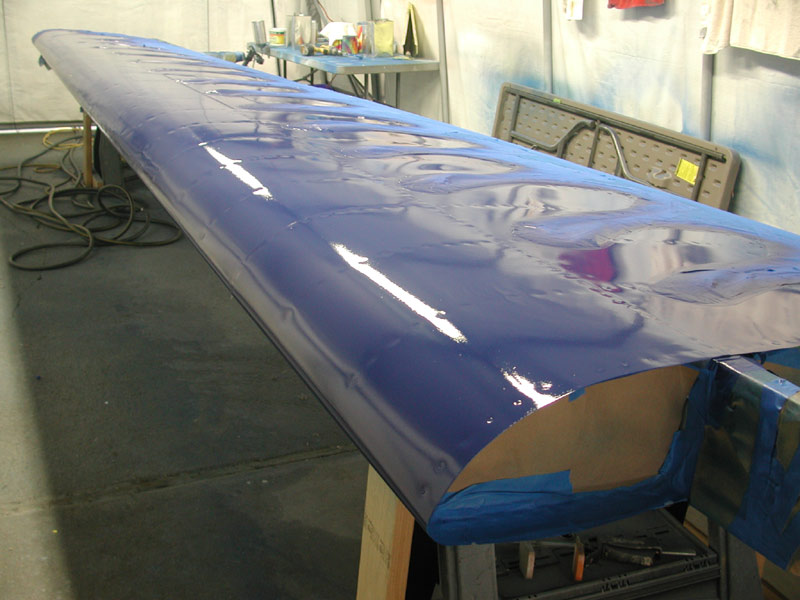
Below - the last coat of Bahama Blue goes on the lower surface. |
|
The bottom is finished - tomorrow the top may be finished. Keep your fingers crossed. |
|
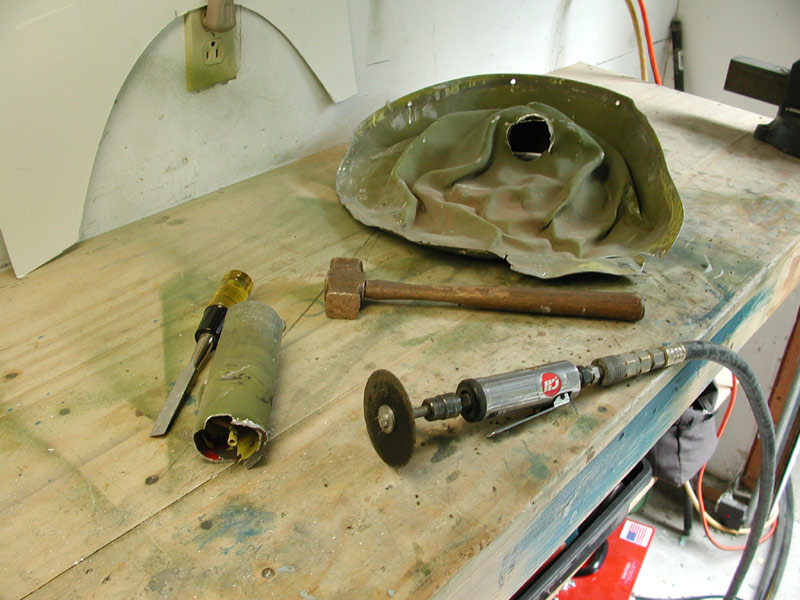
| Below - while waiting for the dark blue to dry well enough to allow masking, I cut the old vent tube and pitot out of the crushed nose cone in preparation for building up the new fiberglass nose cone. |
|
Below - May 15, 2005 - I wet-sand the wing leading edge and apply some spot putty to minor imperfections. I normally end up sanding away most of the spot putty, but that's normal. |
|
Below - after sanding, cleaning and drying, I mask off the feathers. |
|
| Below - the dark blue goes on, this is the tack coat. I wait 20 minutes between coats to prevent running on the leading edge. |
|
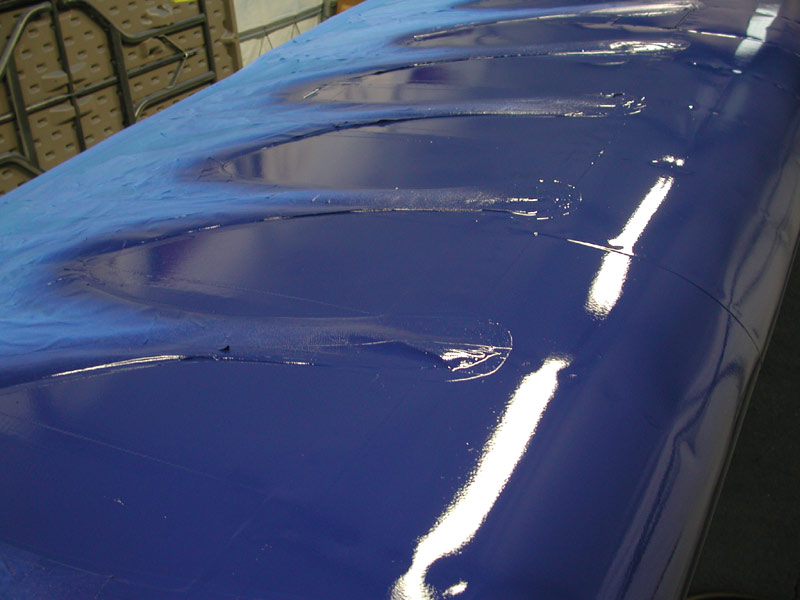
| Below -the Polytone looks glossy when it's wet, but gets dull after drying. I have to polish it when I'm done. |
|
| |
|
| Above and below - the final coats. here are some imperfections that I will sand out tomorrow and then spray on another coat. |
|
Below - Monday 16 May 2005, the masking tape is removed. |
|
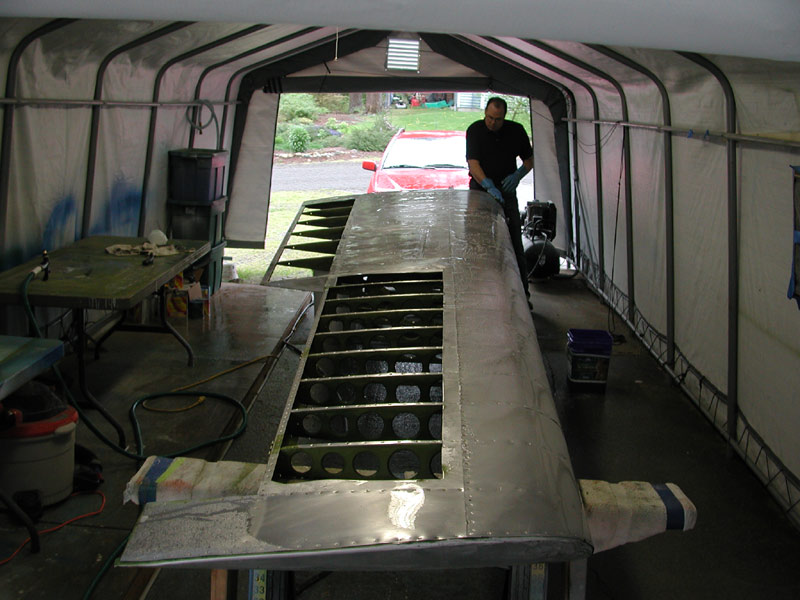
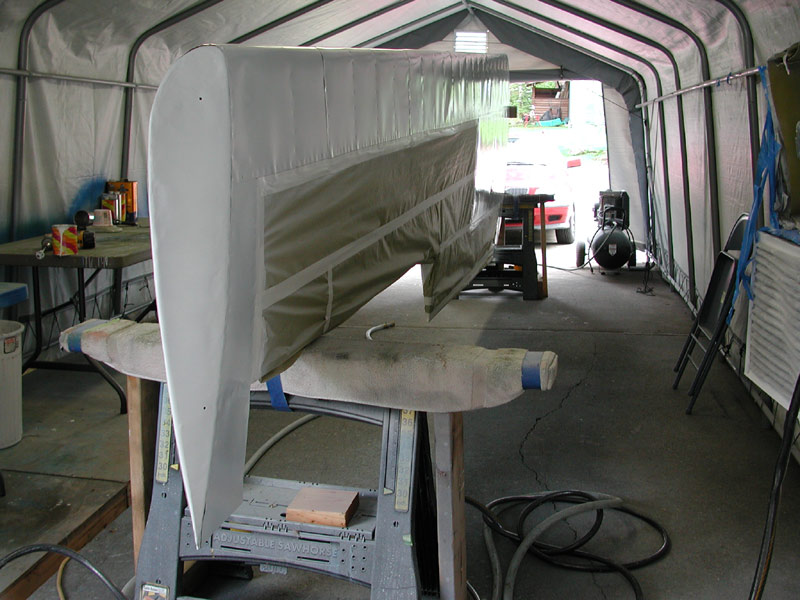
Below - the wing is removed from the tent. Lots of touch up and polishing to do and the rigging remains, but I'll rig the spoilers and ailerons once I get the glider assembled. For now, this wing is done. |
|
| |
| |
| |