|
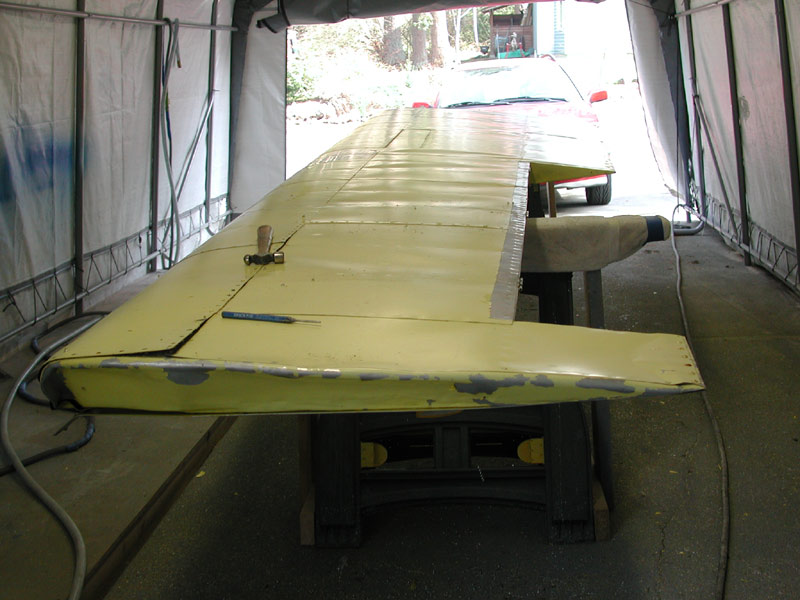
The wings had the fabric removed and replaced with metal in Middletown, NY in 1964. The glider gained 25 pounds as a result of that mod. |
|
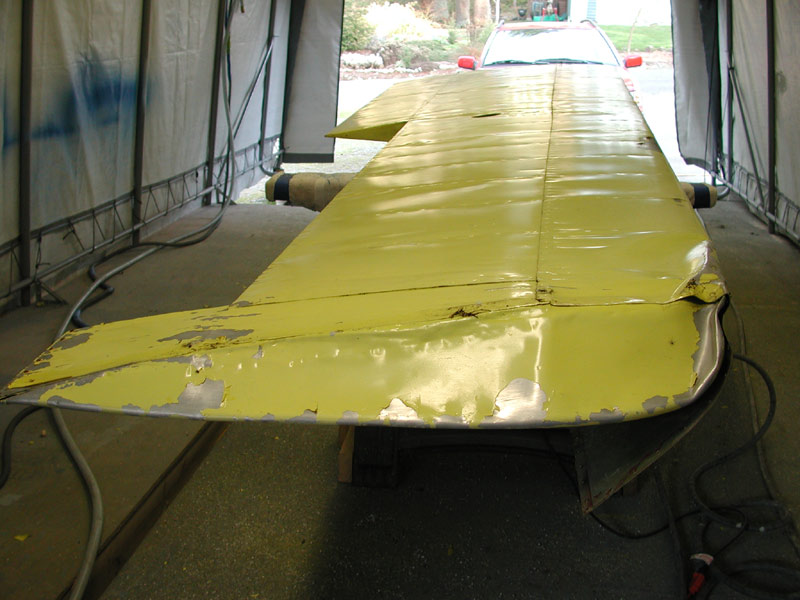
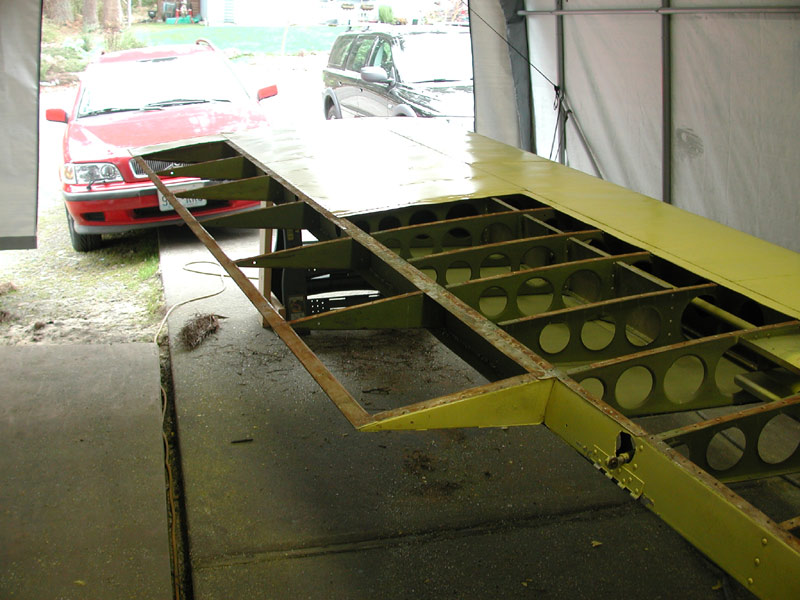
| Below - the left wing gets its damaged skin removed. | |
 |
|
 |
|
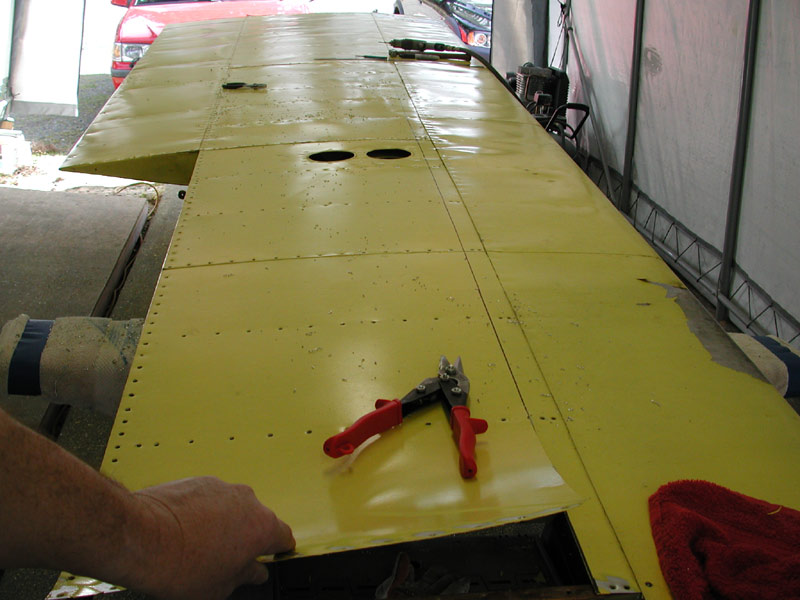
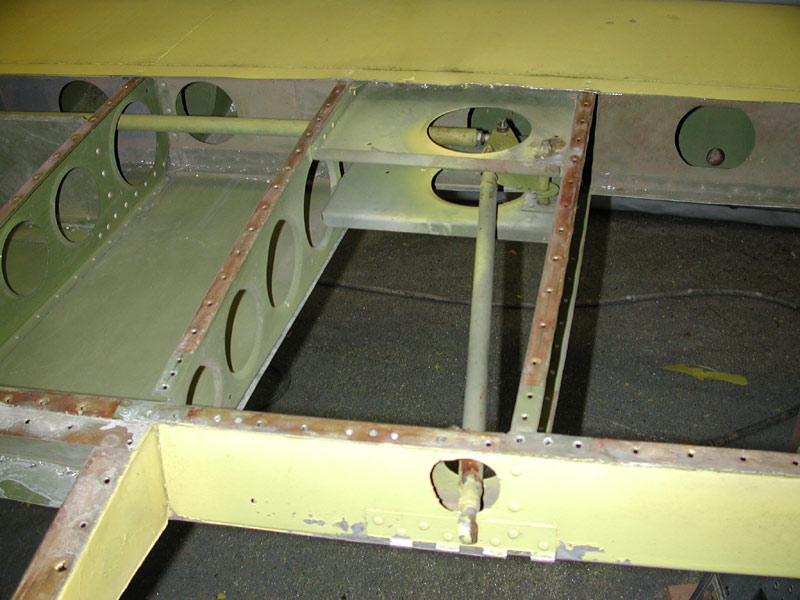
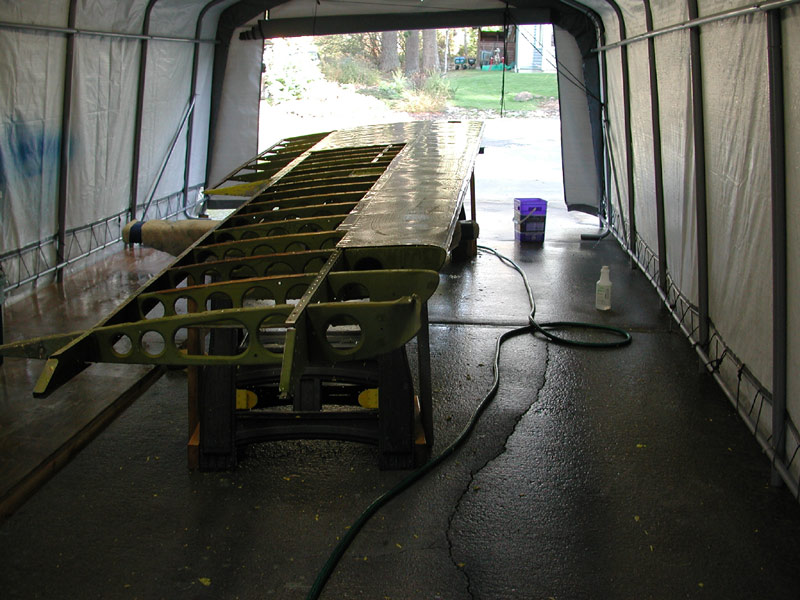
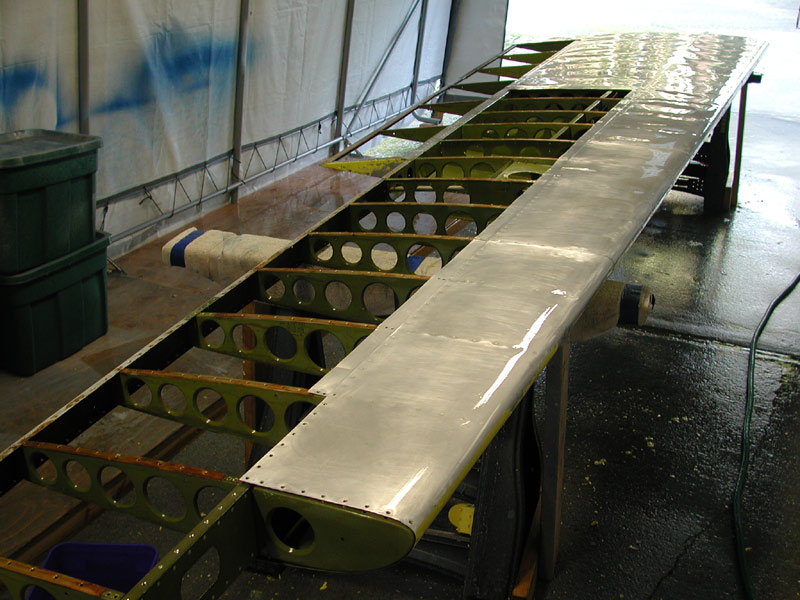
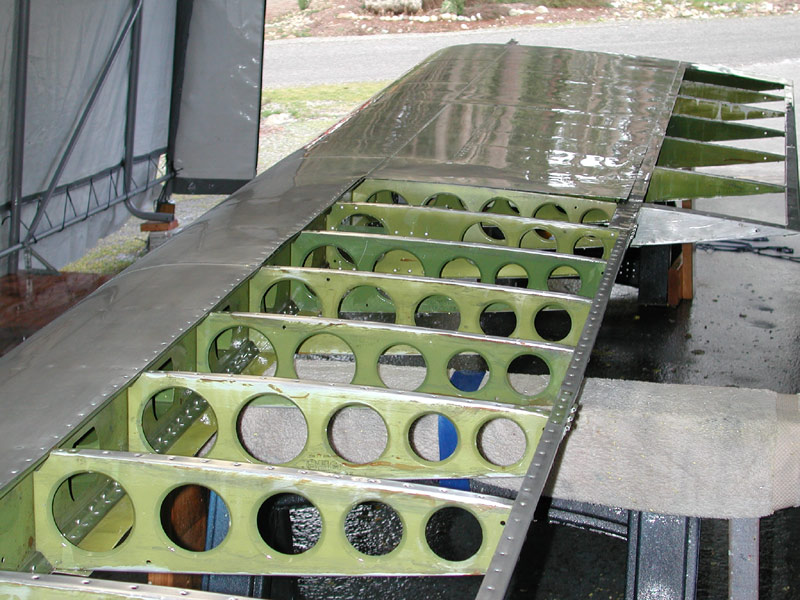
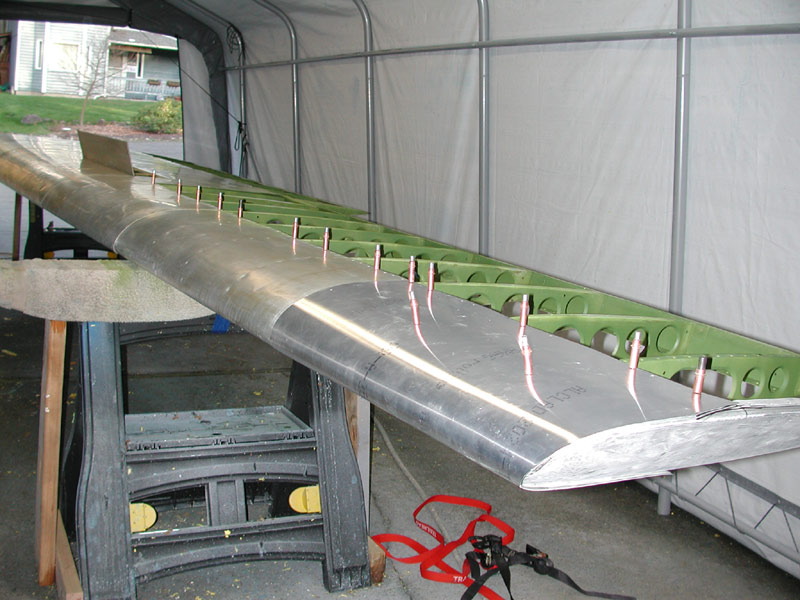
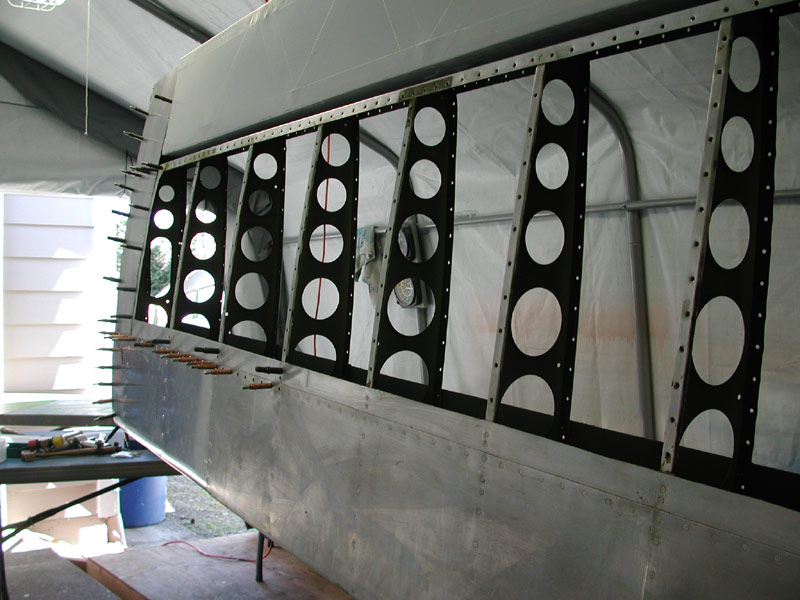
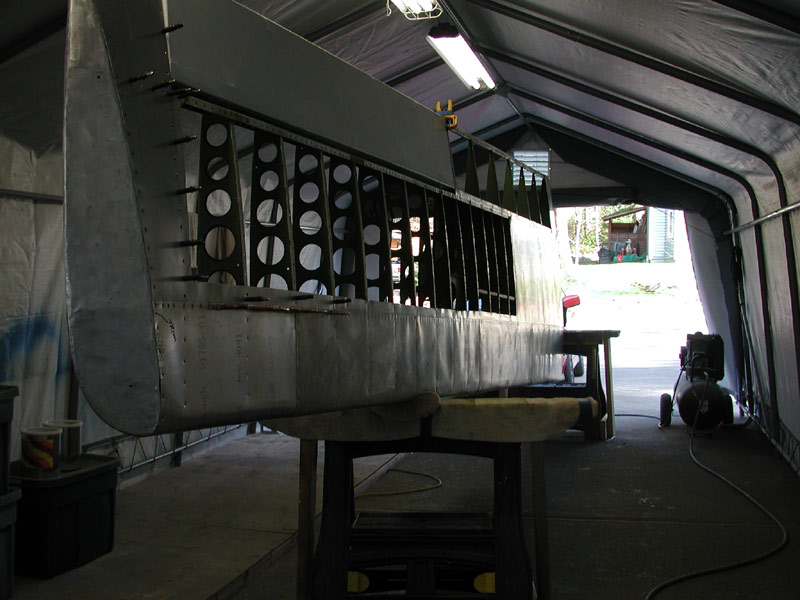
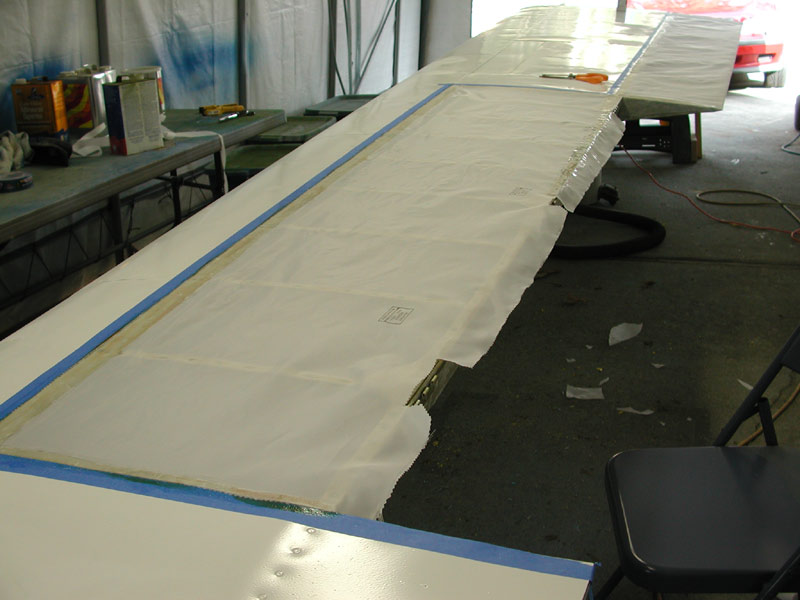
Below - Saturday, March 5 2005 - I remove the lower wing skins by drilling out the rivets and cutting the skin 2 inches aft of the main spar to provide a base for the fabric attachment. |
|
 |
|
 |
|
 |
|
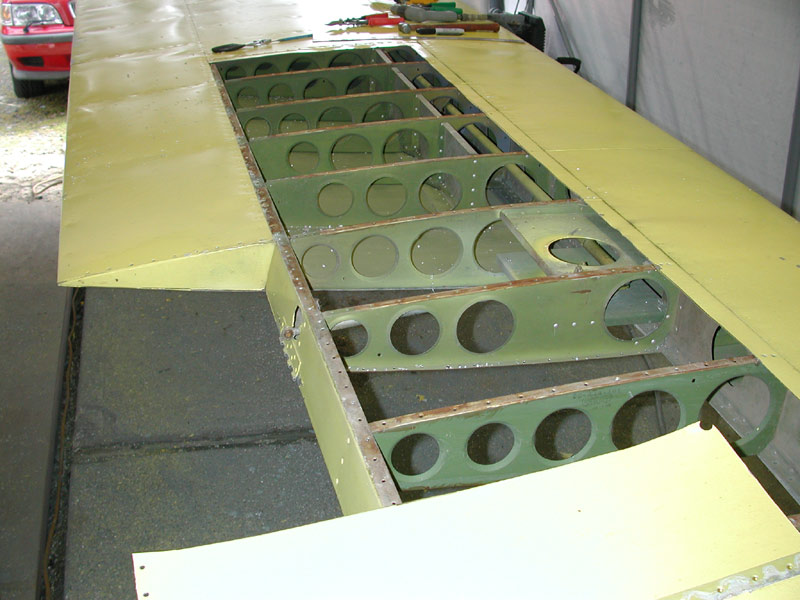
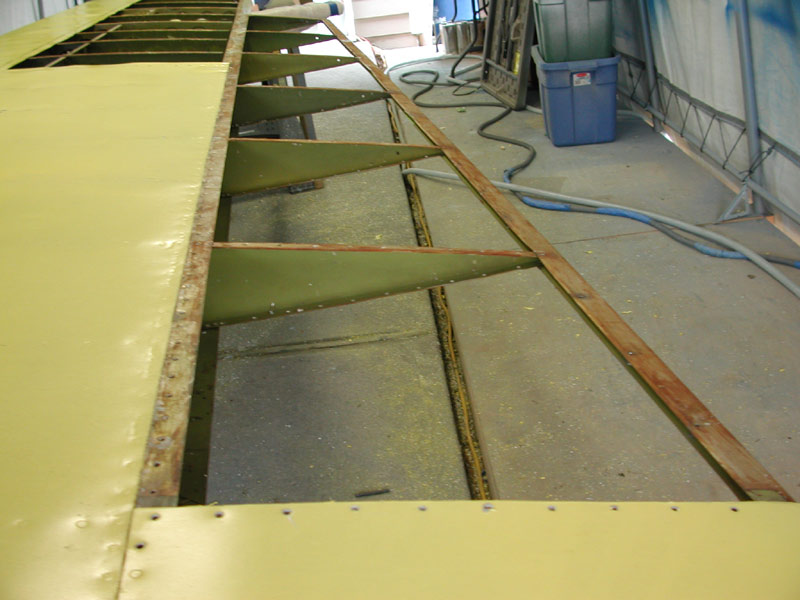
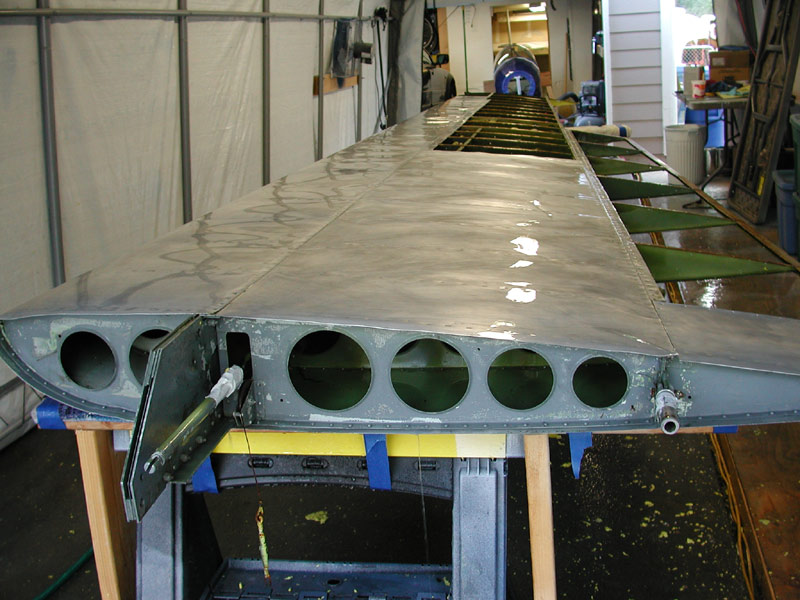
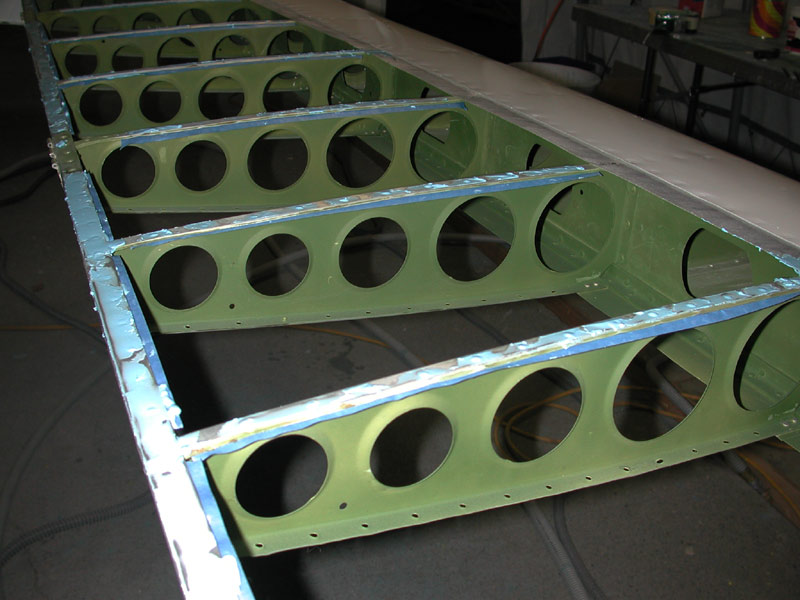
| All skins removed that will be replaced by fabric. | |
 |
|
 |
|
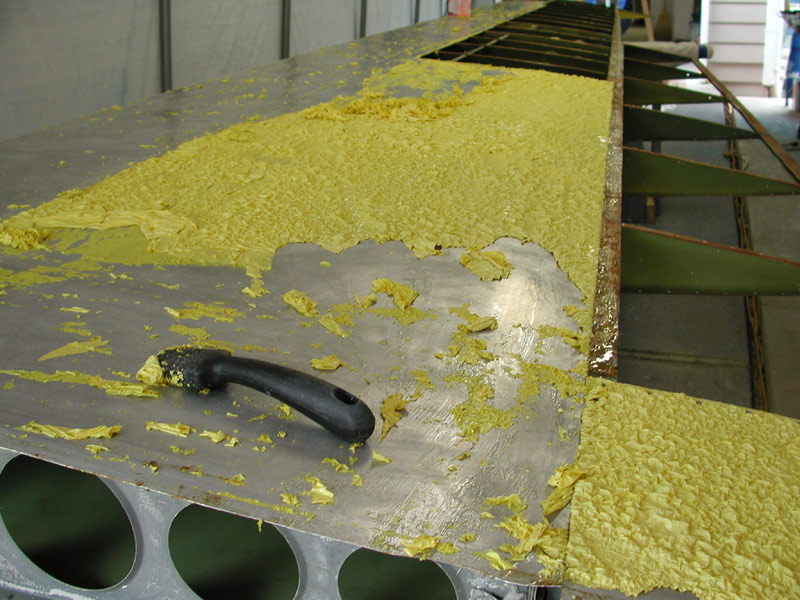
| Below - I strip the paint off the lower surface. | |
 |
|
 |
|
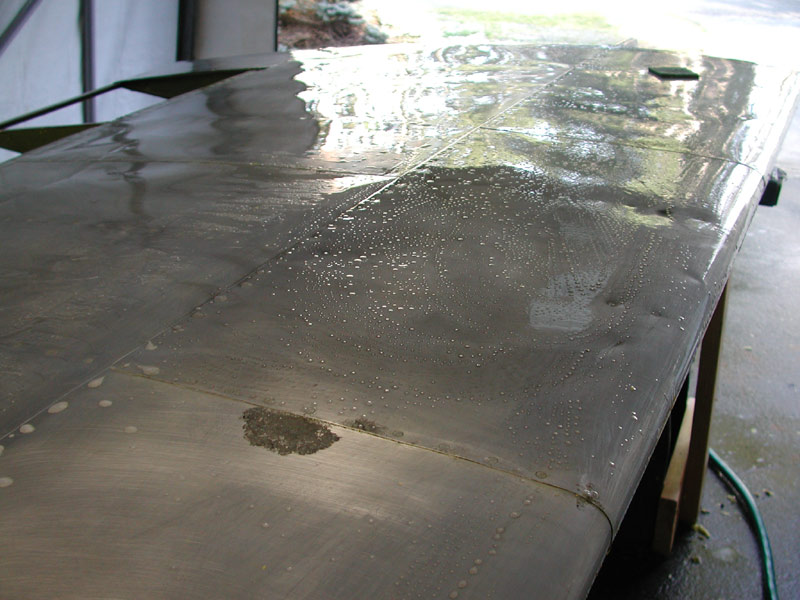
| Above - I use Alumaprep - a phosphoric acid etch - to clean the residual paint and corrosion from the aluminum. | |
 |
|
| Above - a spot of surface corrosion about to get cleaned up with a Scotch-brite pad, 600 grit wet or dry paper and Alumaprep. The corrosion has met its match. Below, various small spots of corrosion are cleaned up and treated. | |
 |
|
 |
|
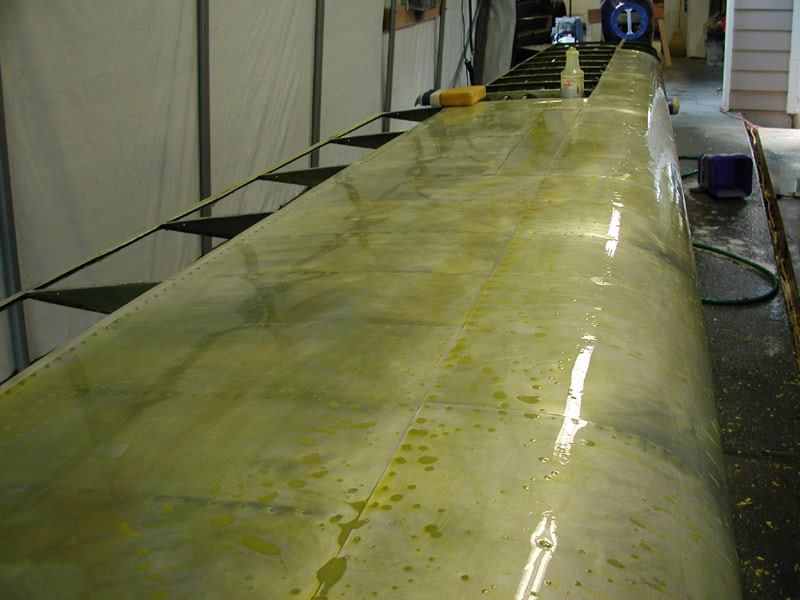
| Above - I scotch-brite and sand with 600 the entire surface in an Alumaprep batch to properly etch the skin in preparation for the Alodine conversion coating . | |
 |
|
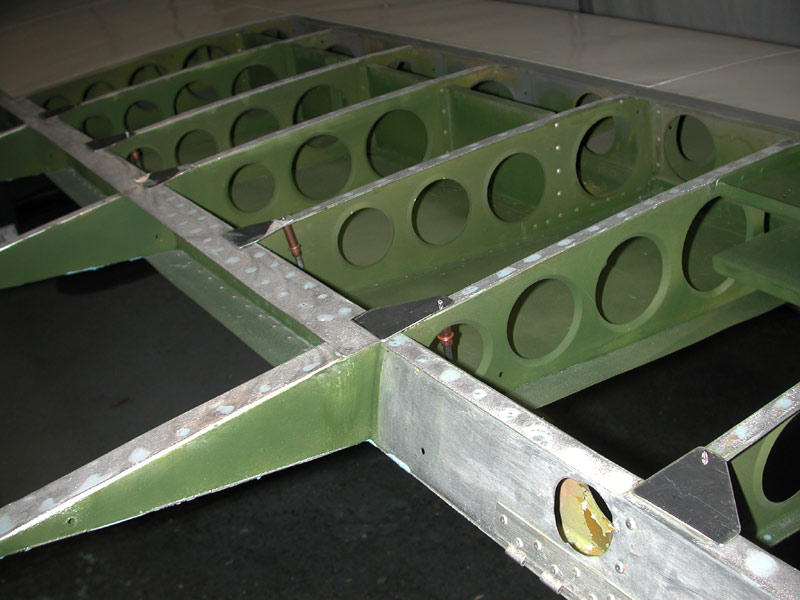
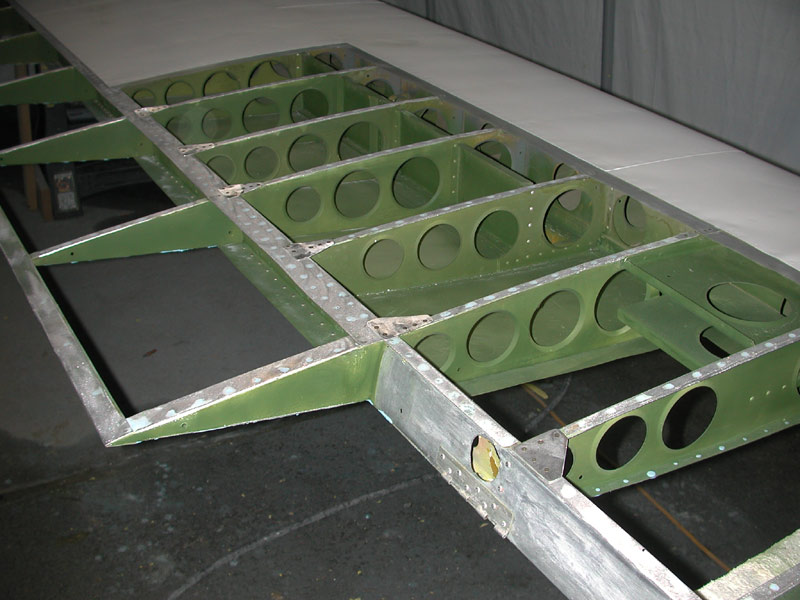
Above and below - all of the structure is thoroughly rinsed with fresh water and I scotch-brite all of the internal rib structure as well to clean all the dirt, residue, stripper and Alumaprep from all the surfaces. Lots of rinsing guarantees a very clean and completely neutralized aluminum structure. |
|
 |
|
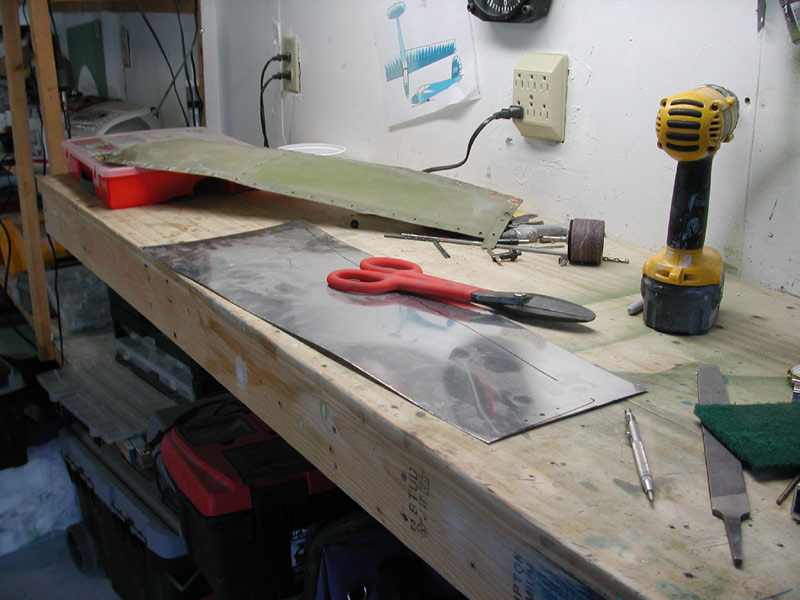
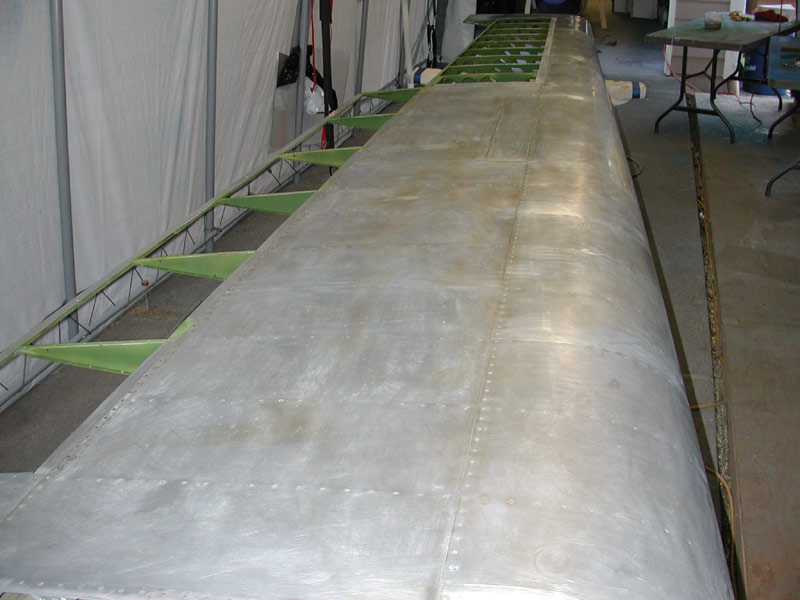
Below - March 6 2005 - I stripped the upper surface of the left wing and now I'm marking the old skins for cutting 2 inch strips to rivet back into place. These strips will provide a base for the fabric. |
|
 |
|
 |
|
 |
|
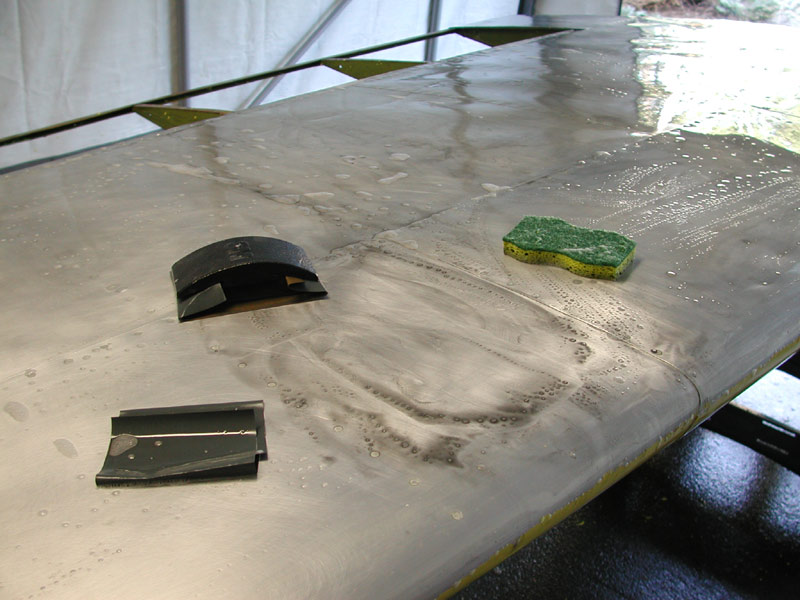
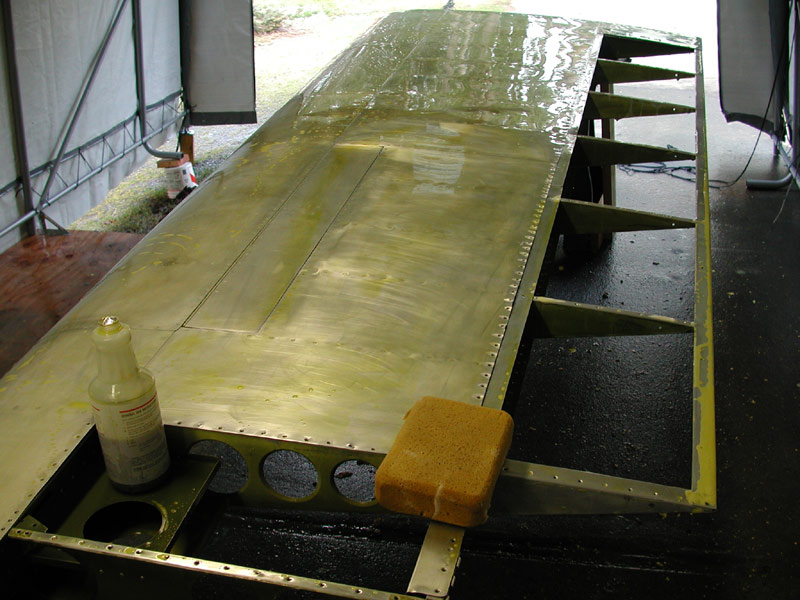
Above - skin cleaned of paint and acid-etched, below Alodine is spread on the etched aluminum with the sponge and allowed to sit for 3 minutes. Alodine is chromic acid that causes a chromate conversion to the aluminum - preventing corrosion and provides an excellent base for primer. |
|
 |
|
 |
|
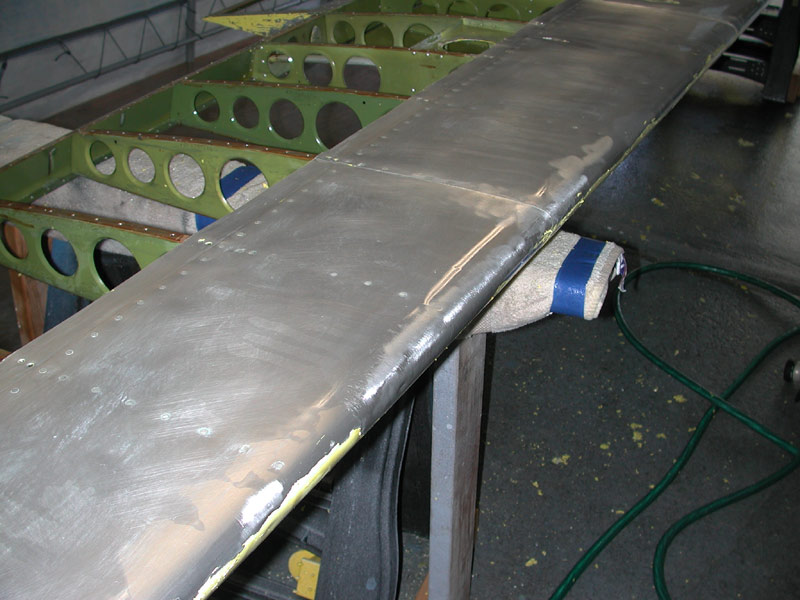
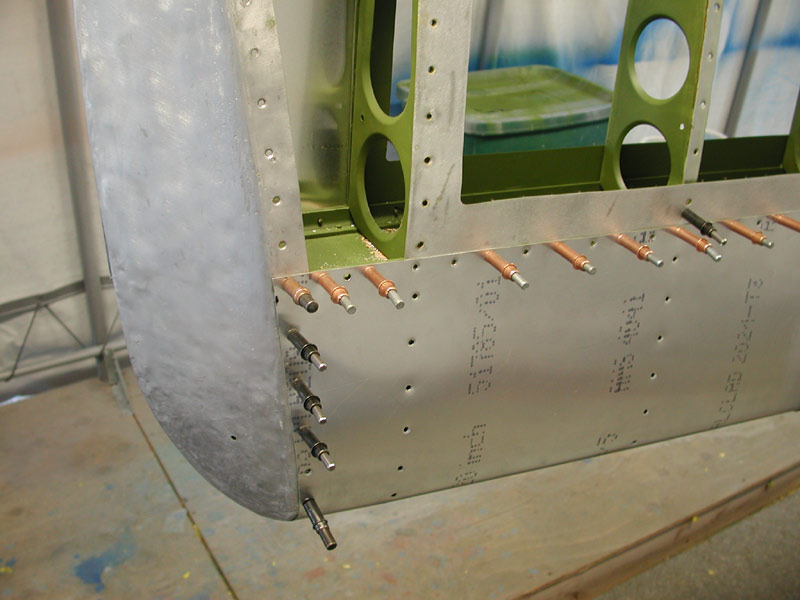
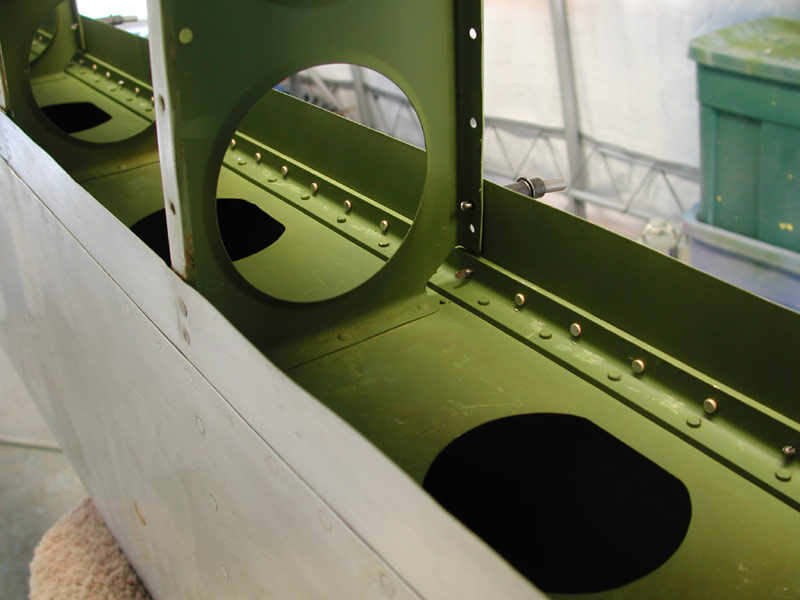
Below - the Alodine is rinsed off and the strips are cleco'd into place - ready for riveting. I still have to remove and repair that last nose rib. |
|
 |
|
 |
|
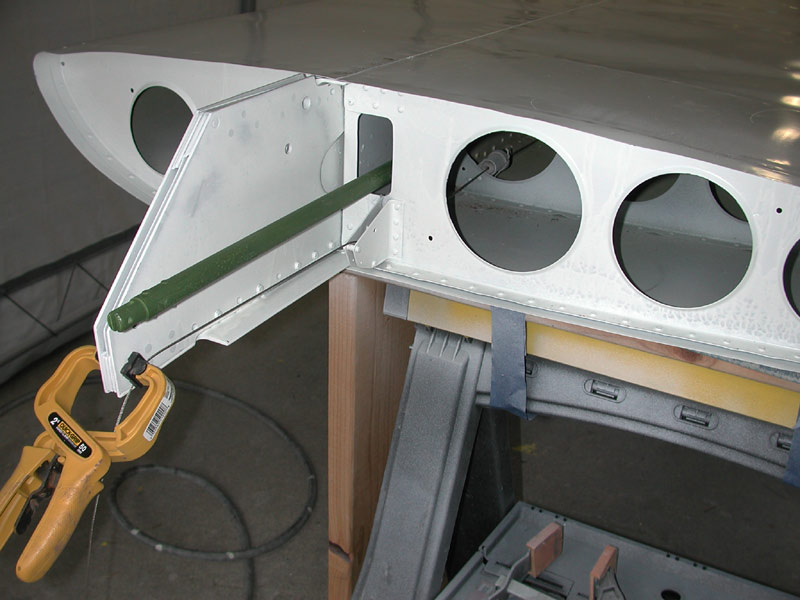
| Above - March 7, 2005 - I remove the damaged tip rib and end leading edge rib for repair. | |
 |
|
Above - I straighten the rib nose and cut out the damaged area. Below - I rivet on a new reinforcing piece from .025 2024-T3. |
|
 |
|
 |
|
Above - the wing end rib is crunched pretty good - but it's soft aluminum, 5052-0 and is easily formed back into shape with the plastic hammer and anvil bucking bar. |
|
 |
|
 |
|
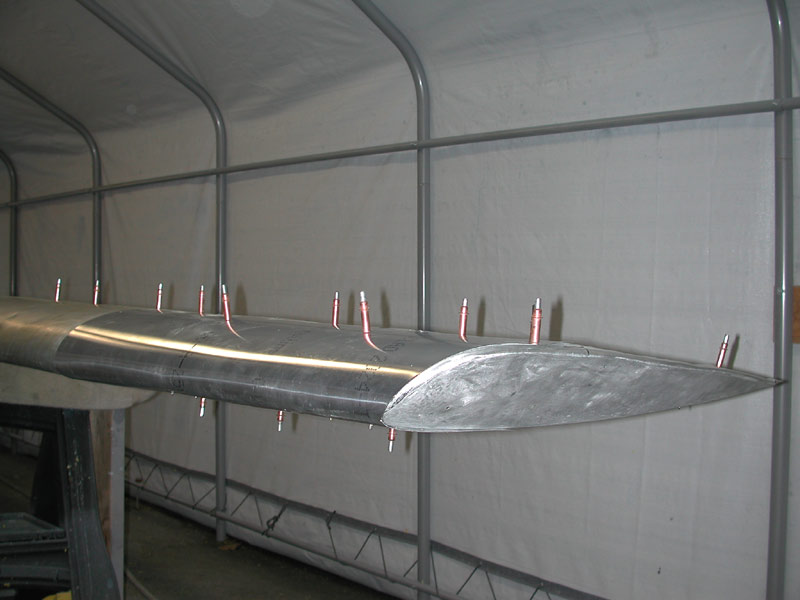
| Above - end rib in place - ready for a new leading edge skin. | |
 |
|
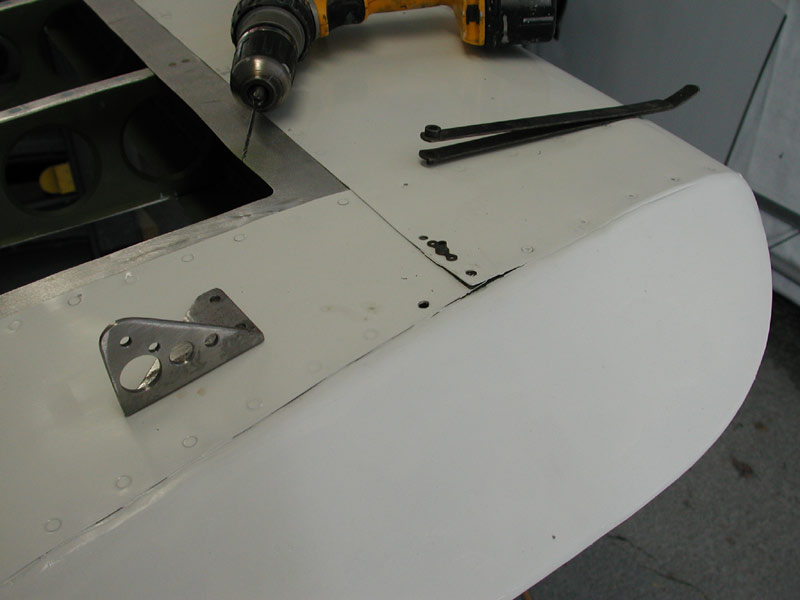
Above - the old skin and a new piece ready to be cut out. Below - the bottom part is drilled up and next I fold the skin over and drill the upper part. |
|
 |
|
 |
|
 |
|
Above - I use hole finders to locate the holes in the top part of the skin - below, the skin is drilled and Samson says it's time to play fetch the tennis ball. |
|
 |
|
 |
|
| Looks better now. | |
 |
|
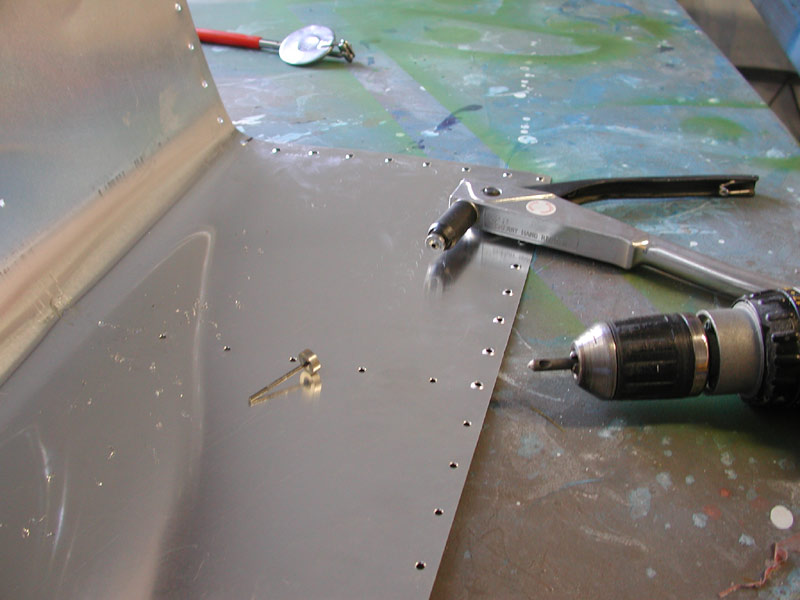
Below - March 12, 2005 - I'm back from St. Louis and back to work on the wing. First thing is to remove the new leading edge skin and dimple all of the holes so it will fit properly inside the skin next to it. The skin needs to fit flush so I can do the final trimming and fit the remaining tip skins. |
|
 |
|
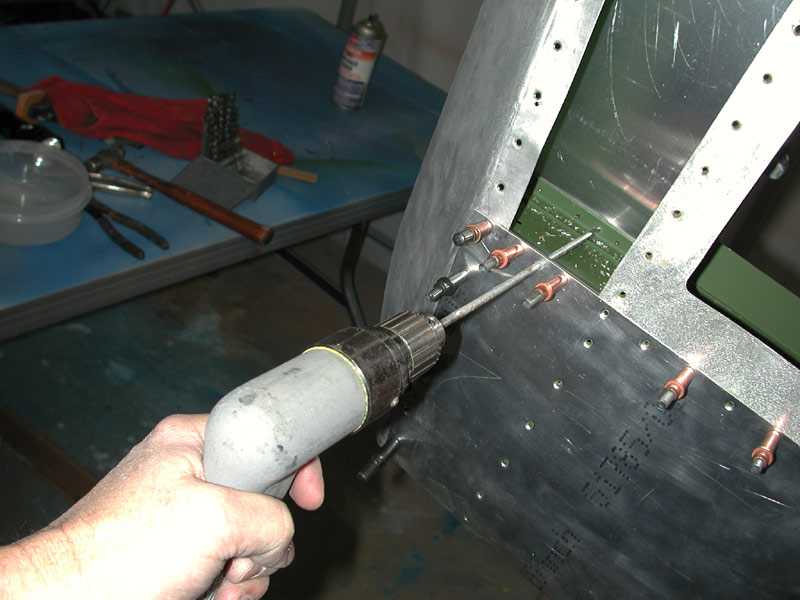
Above - it's easy to dimple the .020 thick aluminum with a simple hand rivet puller dimple set. These are available from ATS or Wicks, etc. |
|
 |
|
Above - I assemble to the tip to the skin to start working on fairing the tip rivet joints into the skin - it takes about an hour of working with the ball peen to get the skin faying surfaces lined up so that I can back-drill the last holes. |
|
 |
|
| Above - with the dimpled skin in place and the tip beaten into shape, I can start to layout and drill the tip skins. | |
 |
|
Above - I sketch a rough outline of the bottom skin using the old one as a guide, leaving plenty of material on all sides for final trimming. |
|
 |
|
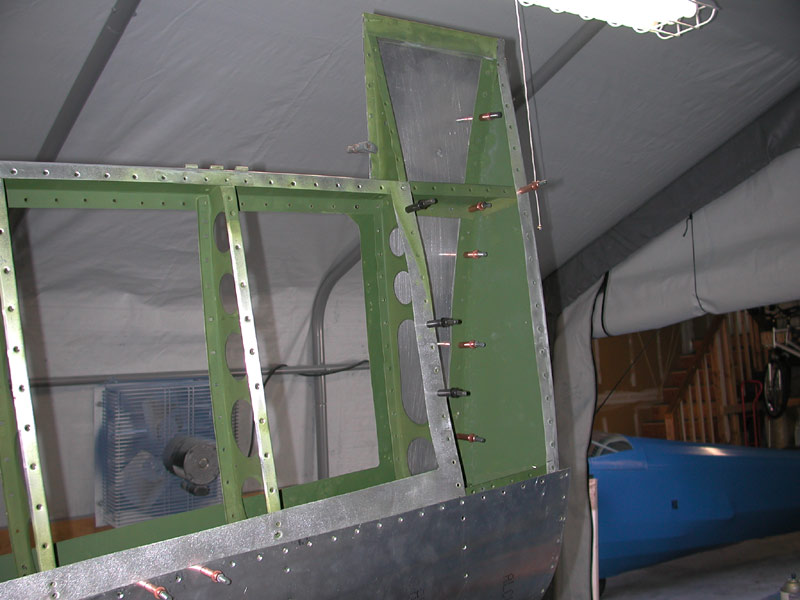
Above - the bottom skin in place with some holes picked up - below, I'm back-drilling the inboard rib holes with a 12" #30 bit. |
|
 |
|
| Below - I'm laying out the upper tip skin, but Samson wants to play fetch. | |
 |
|
Above - upper skin located and I'm ready to start back-drilling the rivet holes for this skin. You can see that the dimples holes are large enough to use #21 cleco's. When I dimple them , they get larger - not a problem since I'll be using #20 Cherry Max rivets in most of these holes. |
|
 |
|
 |
|
Above - drilling the tie-down hole in the upper skin. It took all day to fabricate, layout, trim, drill and dimple these three skins. |
|
 |
|
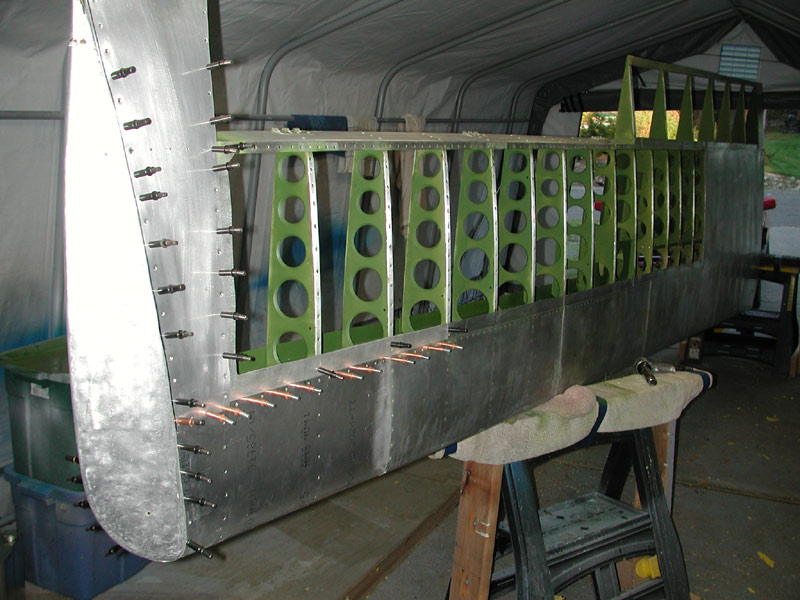
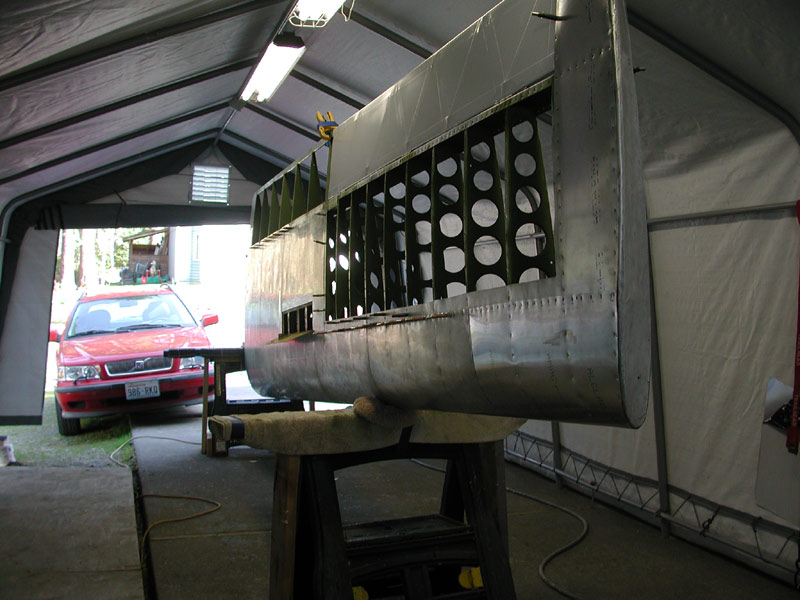
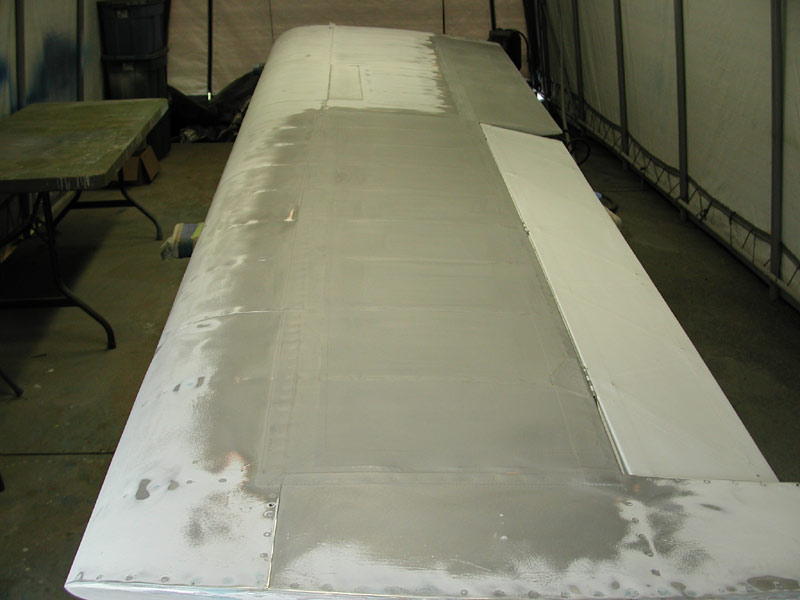
Above - all skins drilled and dimpled, ready for riveting. I've re-installed the small strips I cut from the old skin that will be attached to the main spar and will form the faying surface for the fabric attachment. |
|
 |
|
Above - all skins removed, deburred and painted on the inside surface with zinc chromate. Tomorrow, I rivet. That should please the neighbors! |
|
 |
|
 |
|
 |
|
 |
|
 |
|
 |
|
 |
|
 |
|
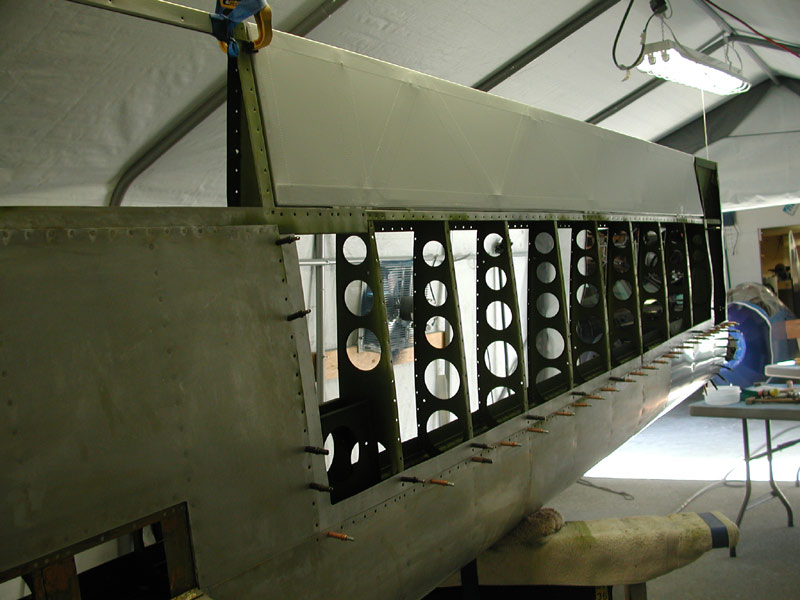
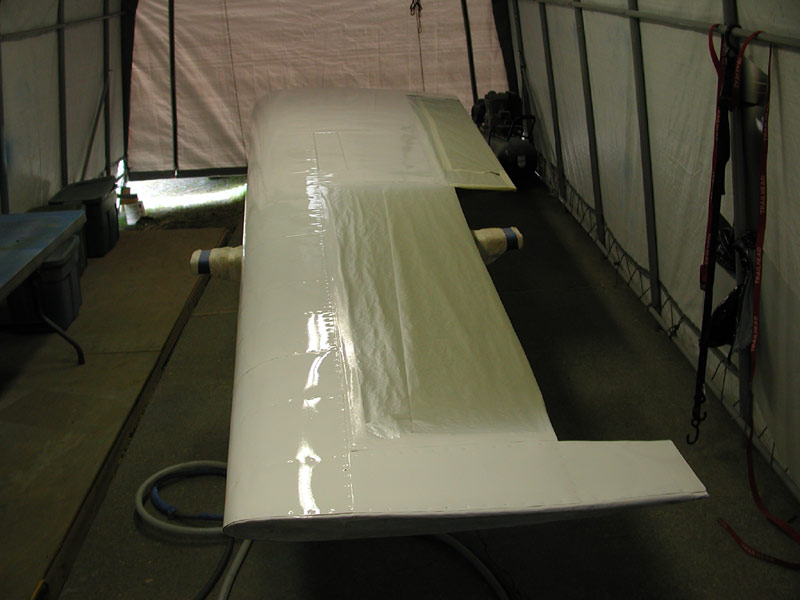
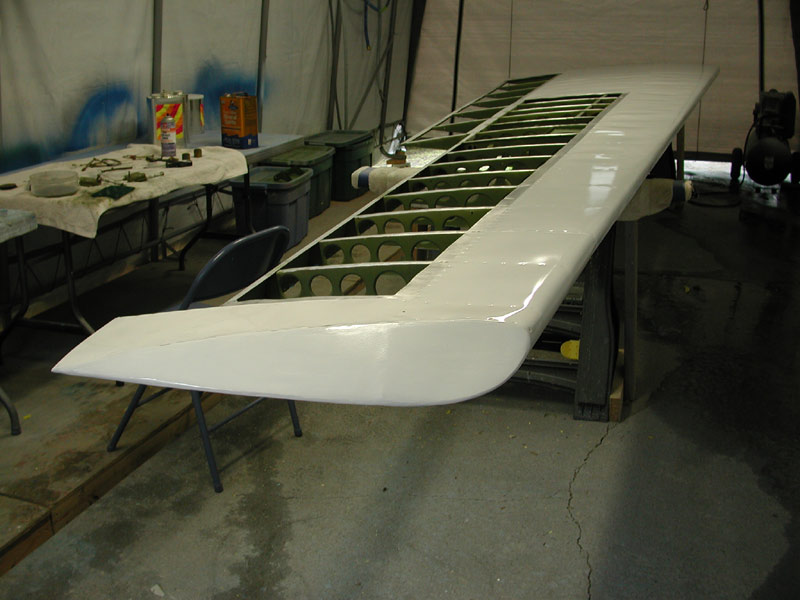
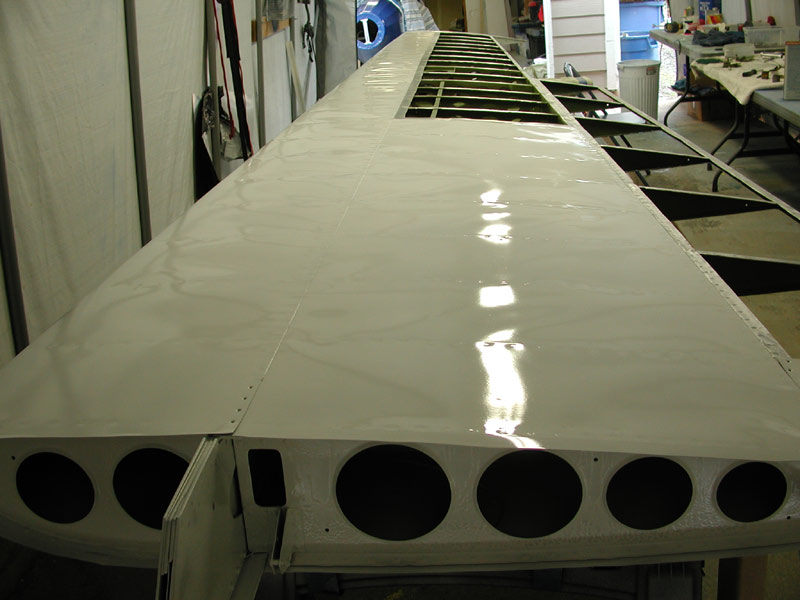
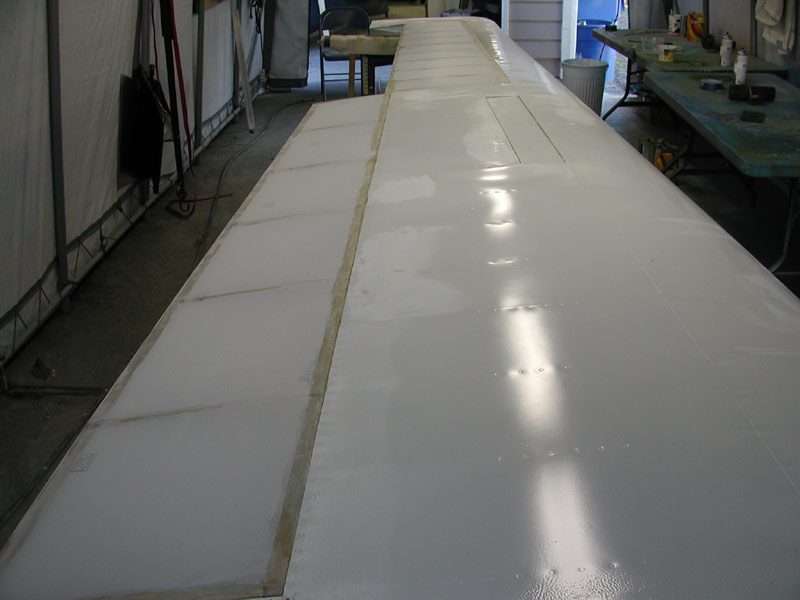
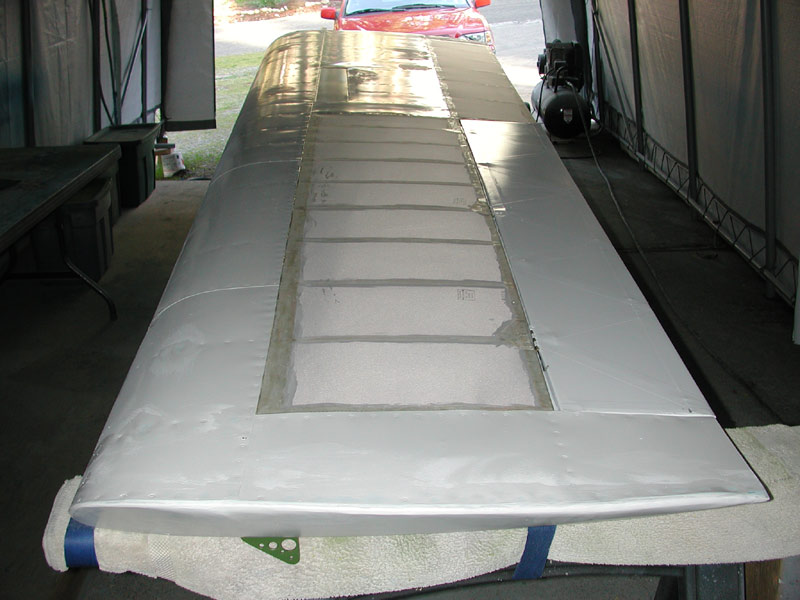
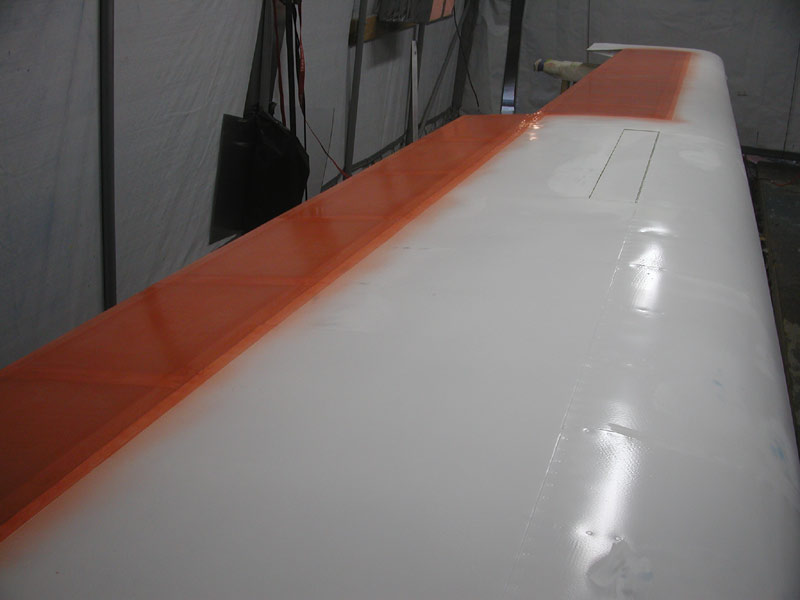
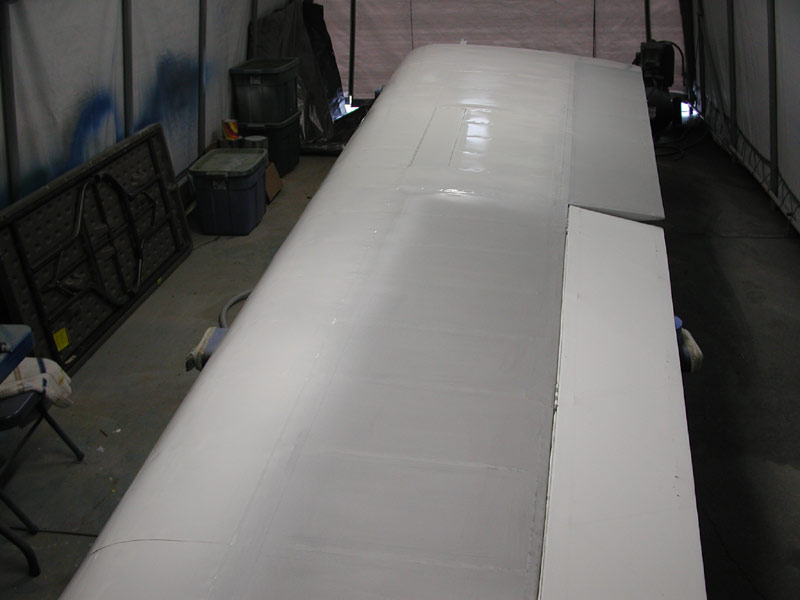
| Left wing almost done. Below - March 14, 2005 - the top surface gets a coat of EP-420 white epoxy primer. | |
 |
|
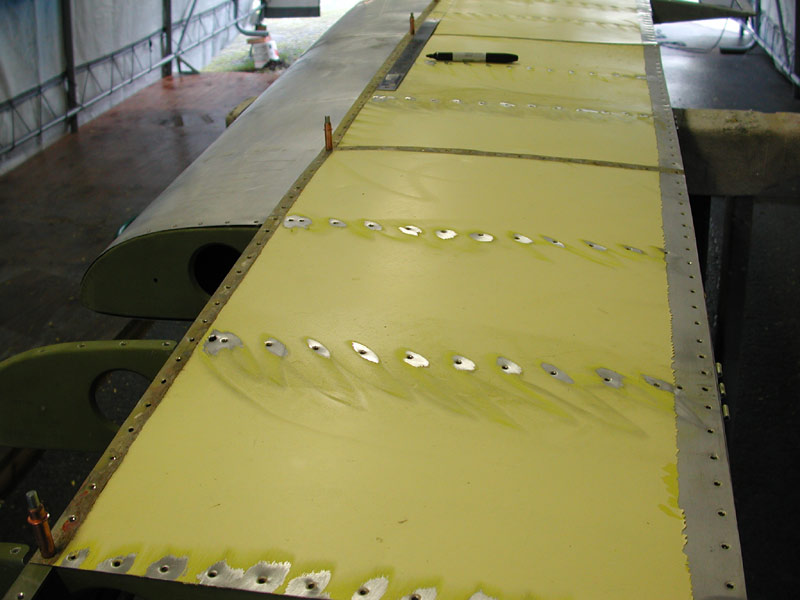
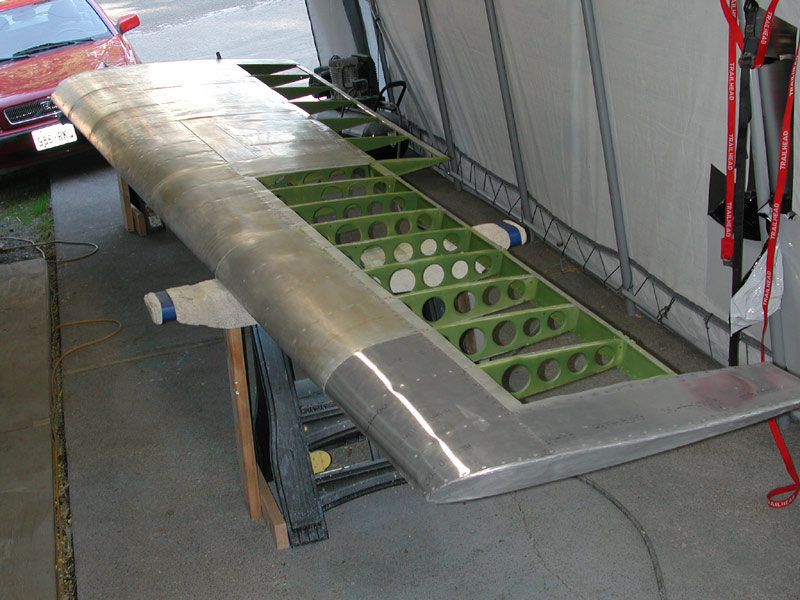
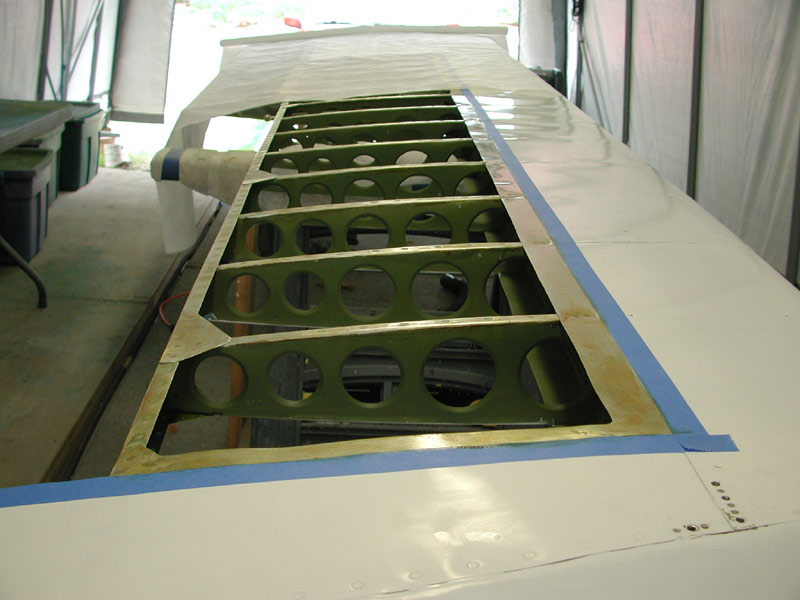
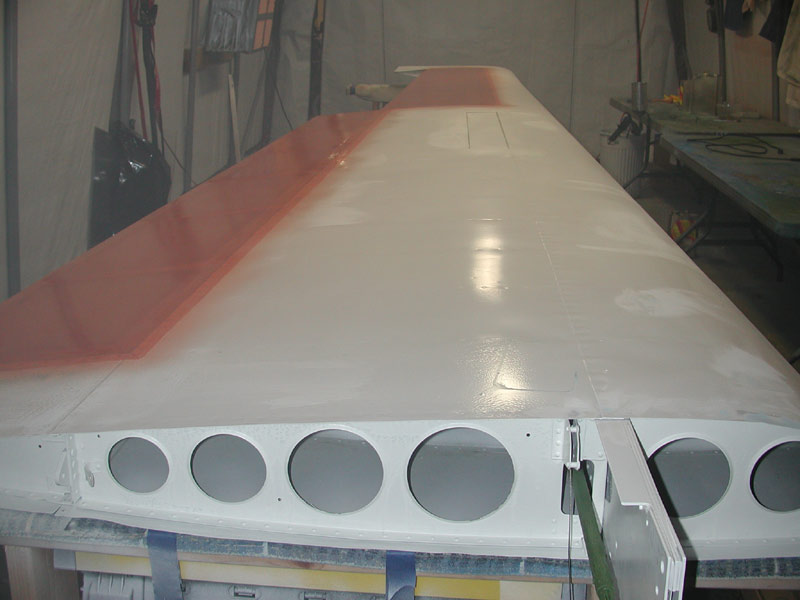
Above - All of the metal is installed and I masked off the fabric bays because the Pliobond/Polytak adhesive must be applied to bare aluminum. Next, I'll fill the rib holes, rivet on the gussets, and paint the bottom surface with a coat of EP-420. This wing should have fabric on it by the end of next weekend. |
|
 |
|
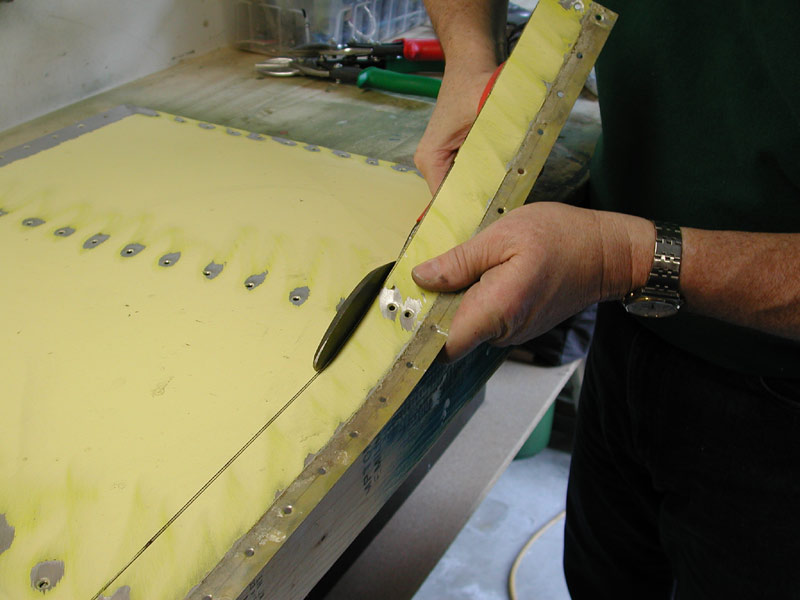
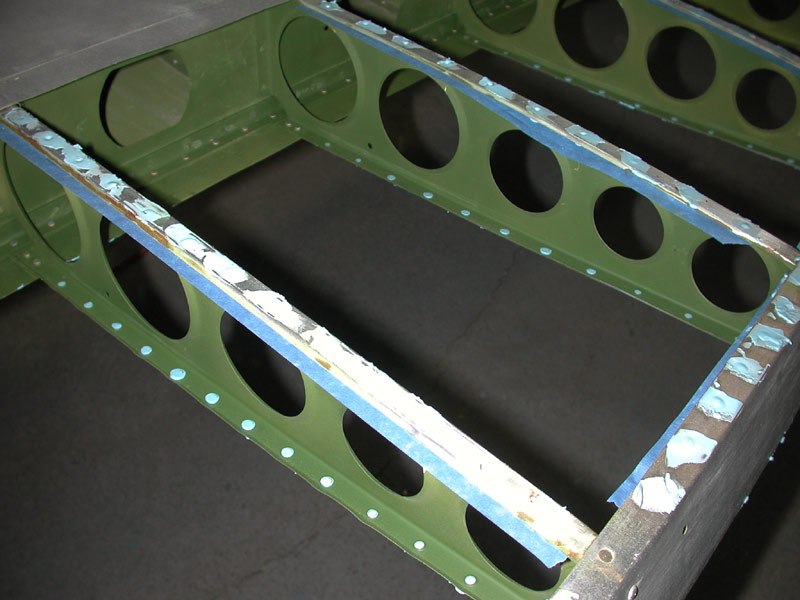
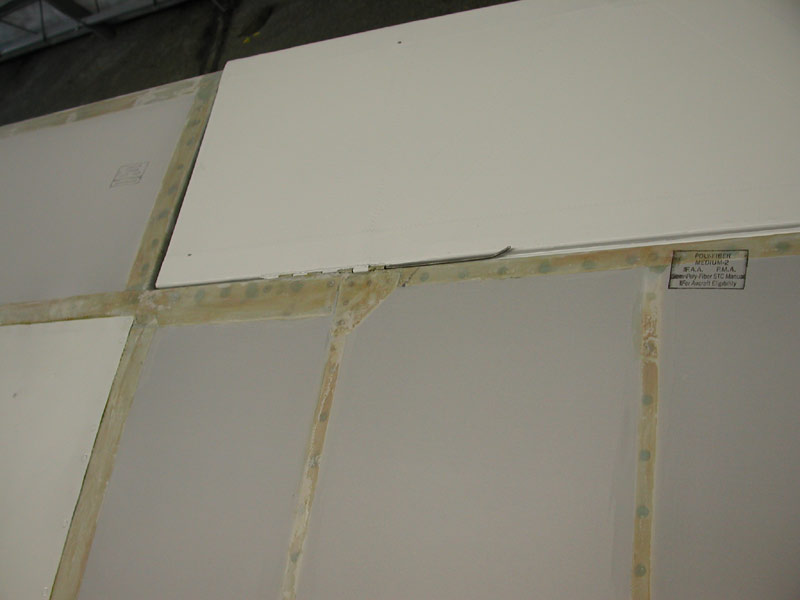
I've applied a strip of masking tape to the underside of the rib return flanges to form a mushroom of filler when I push it through the rivet holes. This will provide a secure "epoxy button" in each rivet hole. After the Polyfill sets up, I'll sand the filler down and leave the bare metal of the rib for the Pliobond/Polytak to adhere to. |
|
 |
|
If you're not familiar with the A model fabric attachment process - essentially, the fabric is glued to the spar flanges and ribs with a coat of Pliobond laid onto the bare aluminum surfaces. After the Pliobond sets up, a coat of Polytak is used to attach the fabric to the spar flanges and ribs. The tricky part will be shrinking the fabric with the fabric glued to the ribs. I think I will lay the glue on the ribs and let it set up first. Then I'll Polytak the fabric to the edges where they attach to the spar flanges and end ribs. After the spar and end rib glue joints are set, I'll shrink the fabric and then I'll brush MEK-diluted Polytak over the fabric where it rests on the ribs to "melt" the previously applied Polytak and that will glue the fabric to the ribs. Subsequent taping and Polybrush will complete the attachment process. This will be fun. |
|
 |
|
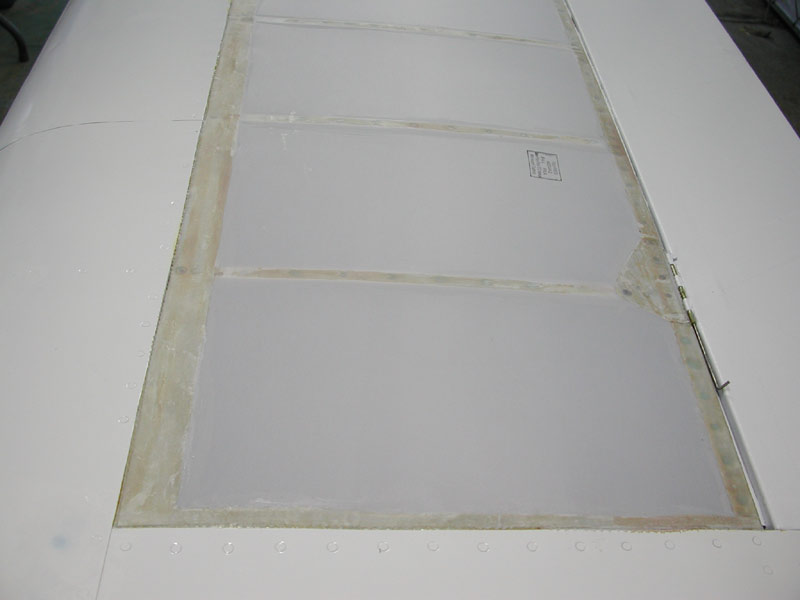
Below - March 15, I flip the wing over, remove the masking tape from the upper surface holes and put the piece of removed masking tape right onto the lower surface of the ribs (on top in the photo below). You can see how the masking tape formed an epoxy plug when I pushed the goop through the rivet hole against the tape. I apply more Polyfill to the lower surface rib flanges and tomorrow, I'll sand the rib faces smooth, next is to prime the lower surface of the wing with epoxy primer and then rivet the gussets in place. |
|
 |
|
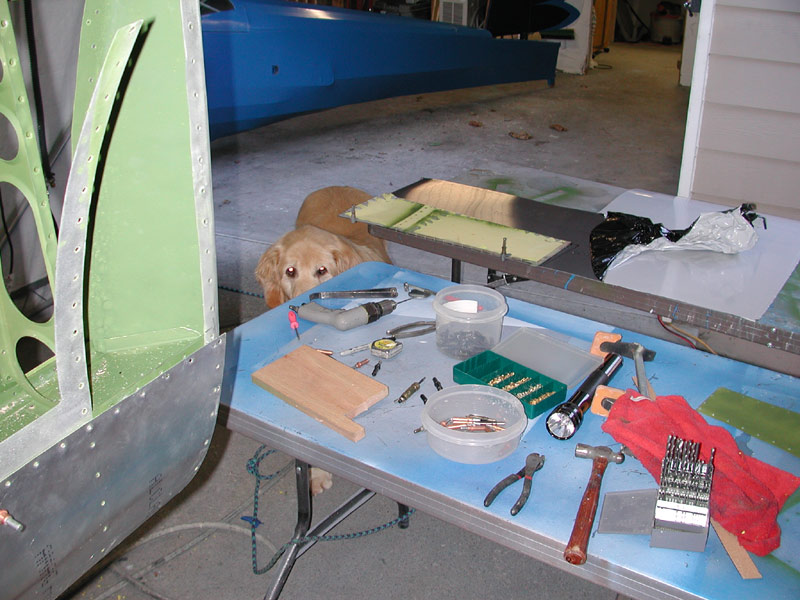
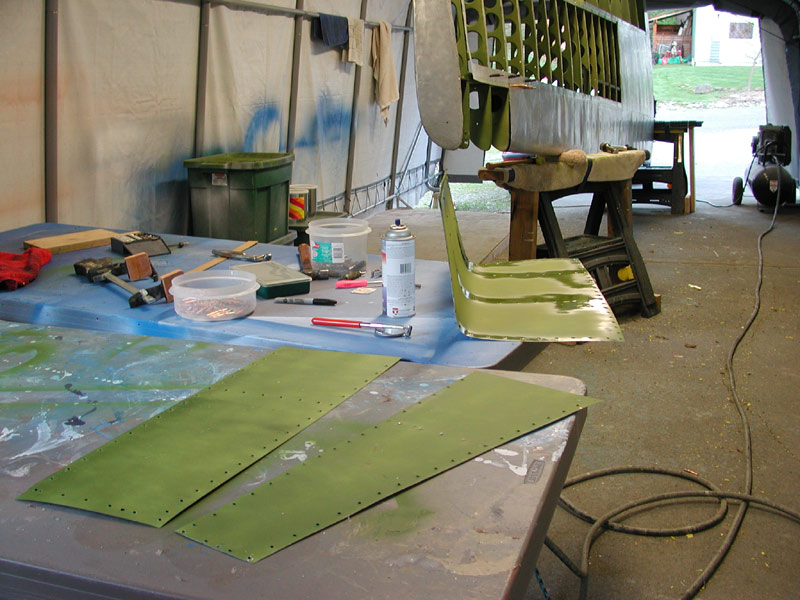
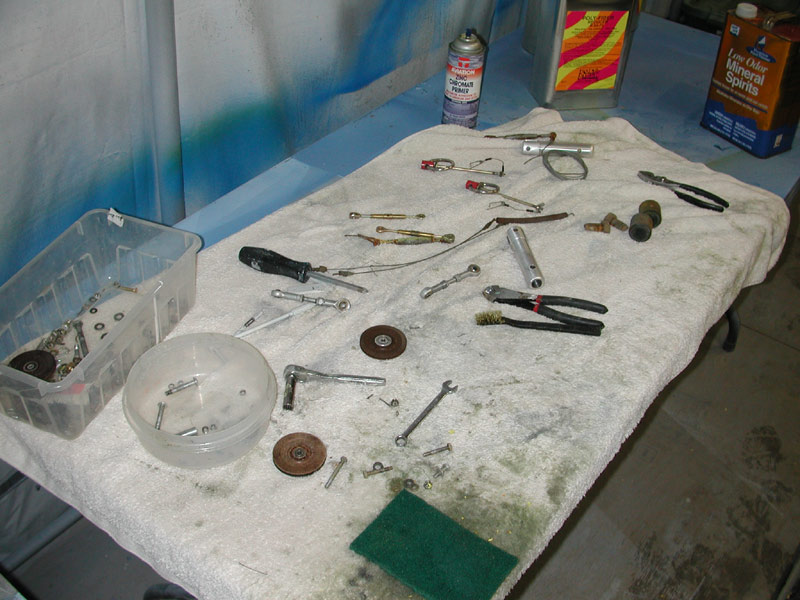
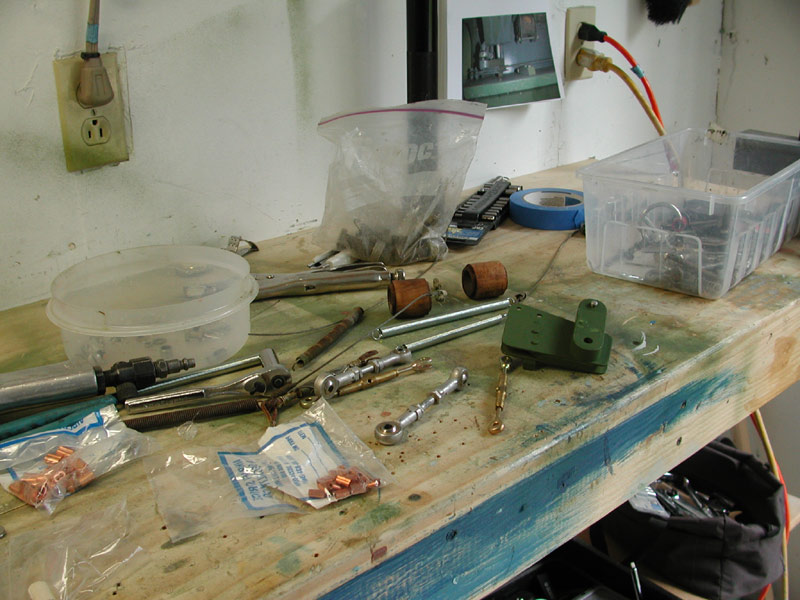
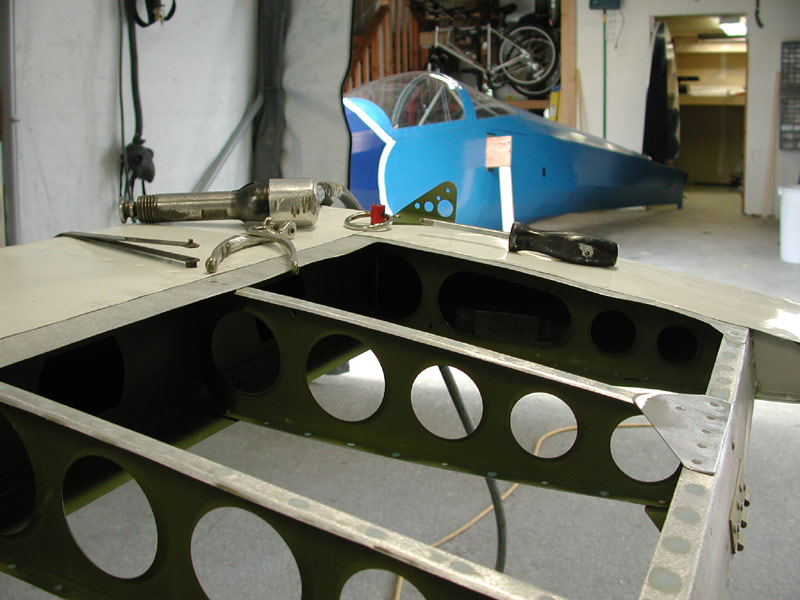
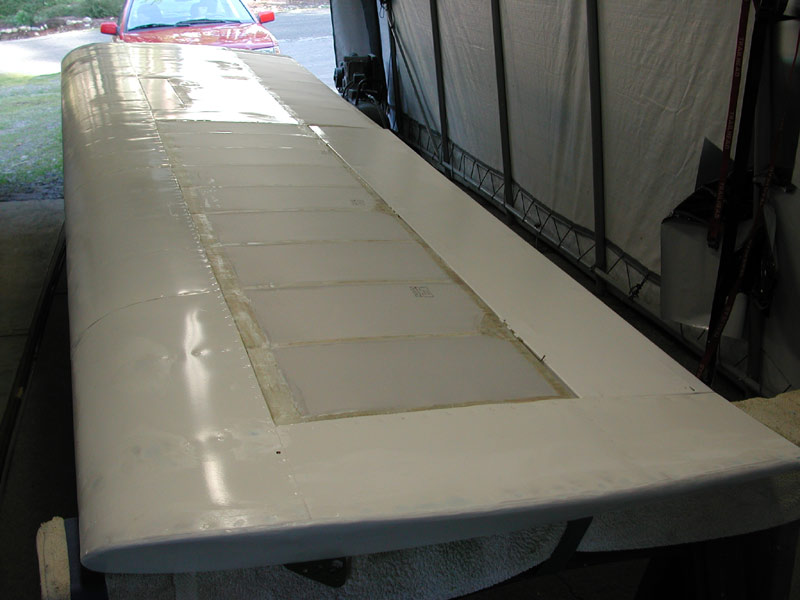
Below - Saturday March 19, 2005 - I sprayed white epoxy primer on the bottom surface of the wing. While I wait for it to dry, I start cleaning all of the wing control hardware on the table in the background. I have to install the new spoiler cable, bellcranks and aileron controls rods, etc. prior to covering with fabric. It can be done after the fabric is installed - but it's much easier now with good access. |
|
 |
|
 |
|
| Above - the epoxy filler in the rivet holes is sanded smooth - below, the parts get cleaned. | |
 |
|
 |
|
Below - I fabricate new corner gussets from .040 thick 2024-T3 aluminum. Here I have them rough cut and I'm picking up the holes from the ribs and aft spar. |
|
 |
|
Below, the gussets on the lower surface are riveted in place. This took all afternoon. Tomorrow, I'll flip the wing over, install the upper surface gussets and install of the controls. With luck, the fabric goes on Monday. I love these three day weekends! |
|
 |
|
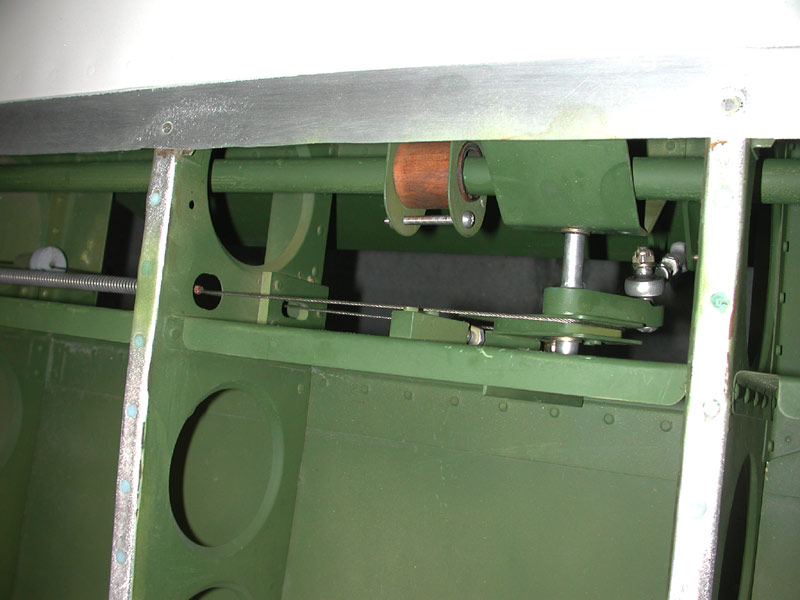
| Below - March 20, 2005 and I run a new spoiler cable, install the aileron control rod and all the spoiler and aileron rigging. | |
 |
|
 |
|
Above - new cable, turnbuckles, springs, hardware, etc. I had to replace a couple of rod-ends, but some of the rod-ends are OK. Photo on the wall helps me get it back together correctly the first time - I only had to take it back apart once to get the spoiler bellcrank oriented properly. That's what I consider success! |
|
 |
|
| Spoiler control rigging goes back together - the wood aileron control rod bearing gets a coat of varnish. | |
 |
|
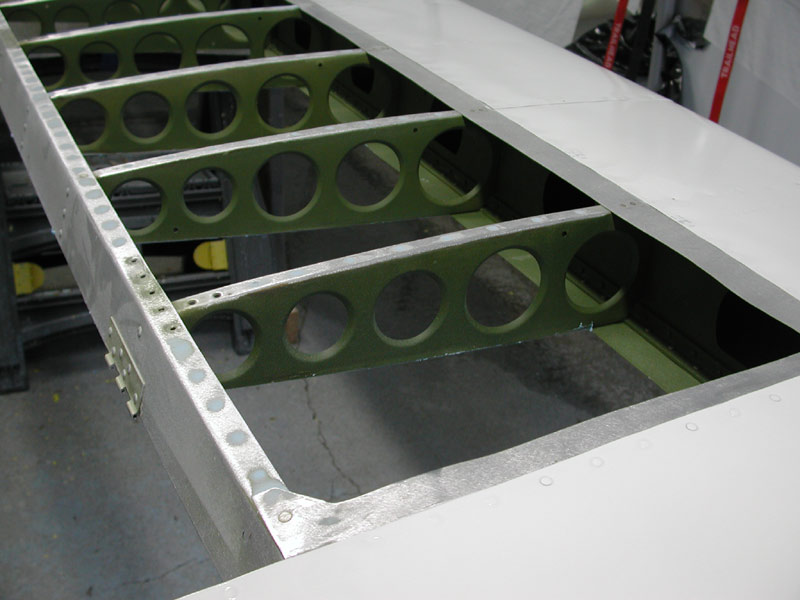
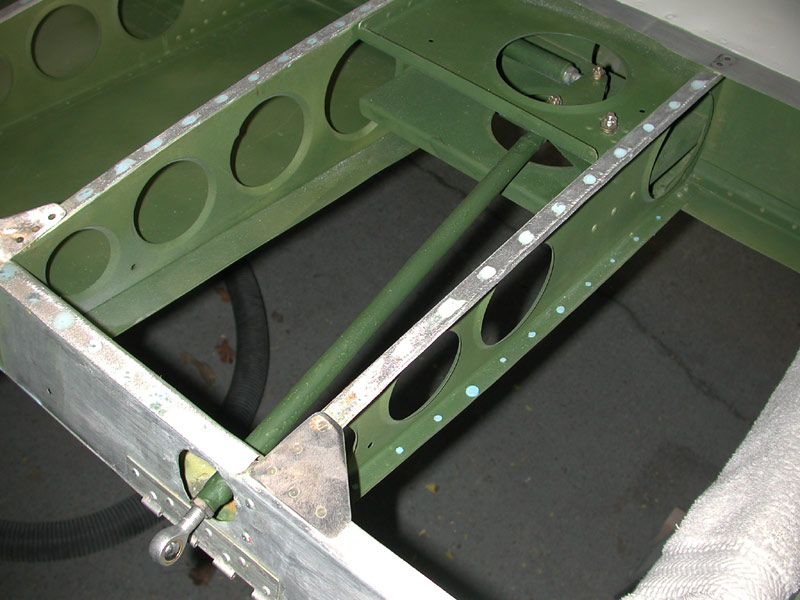
| Above - the aileron rod-ends are new. Upper surface gussets installed. This wing is ready for fabric. | |
 |
|
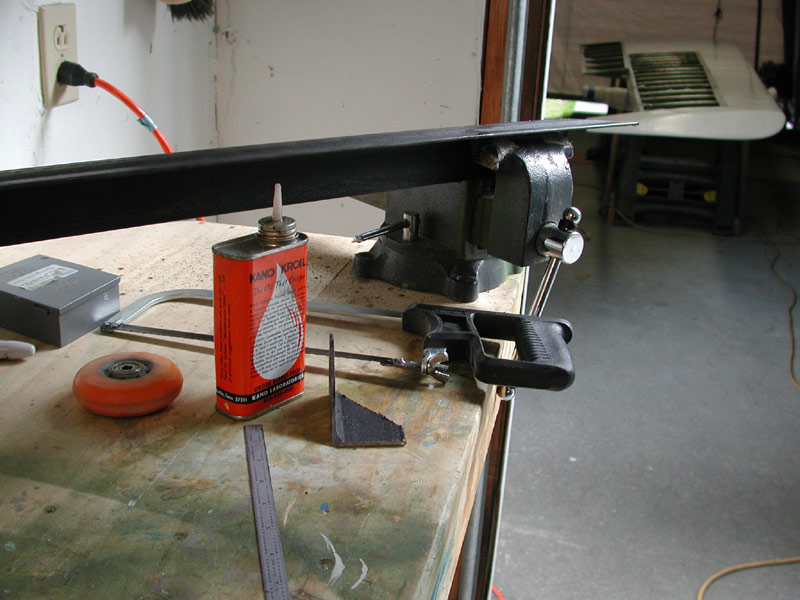
Above - March 21, 2005 - I realized that I needed to fabricate a tip wheel bracket prior to covering the bays with fabric. I cut a bracket from some 2" steel angle and added some lightening holes to keep the weight down. |
|
 |
|
| I installed nutplates inside the wing, so the bracket can be removed without having the access the inside of the wing. | |
 |
|
 |
|
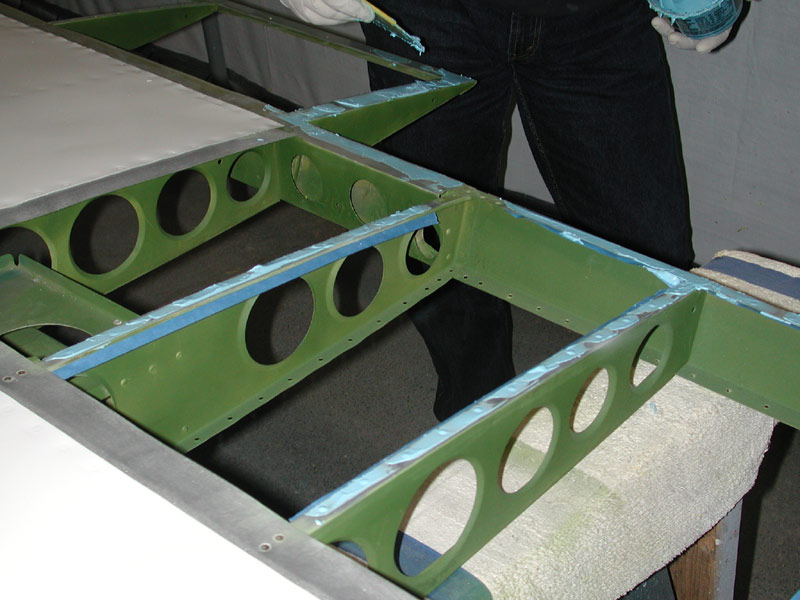
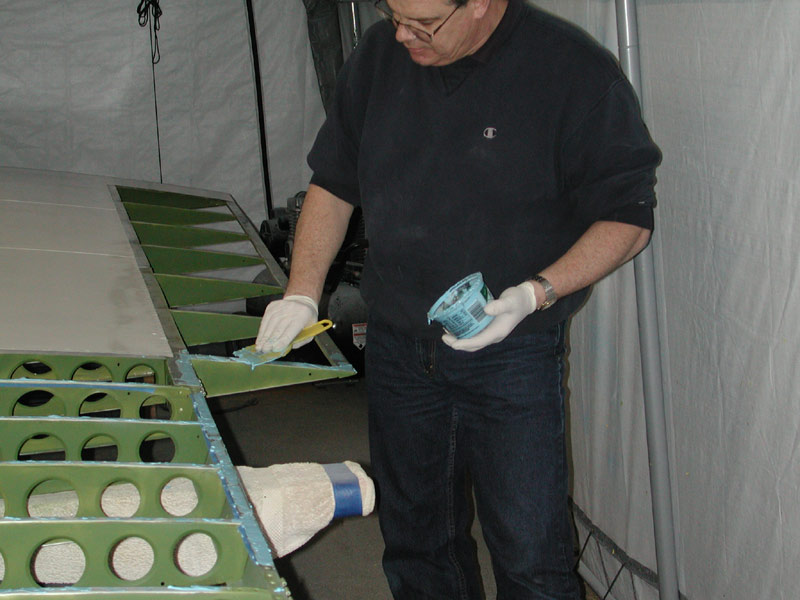
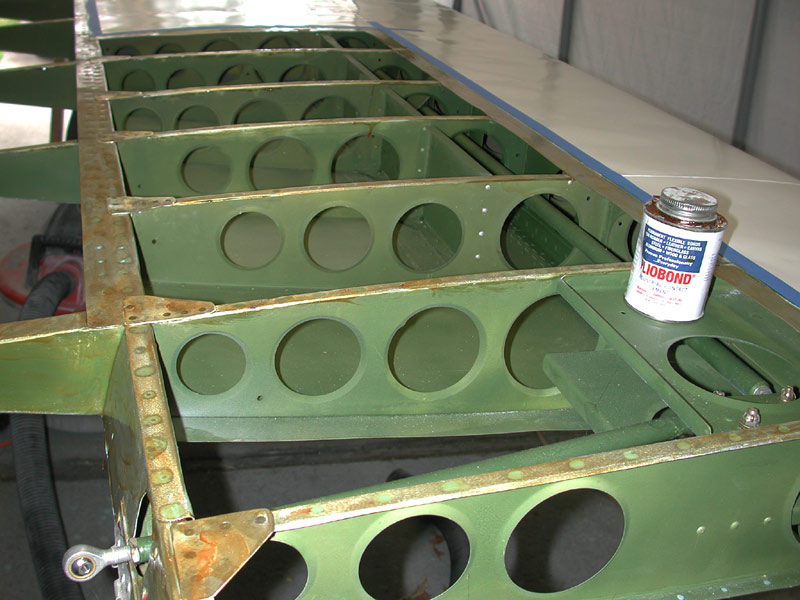
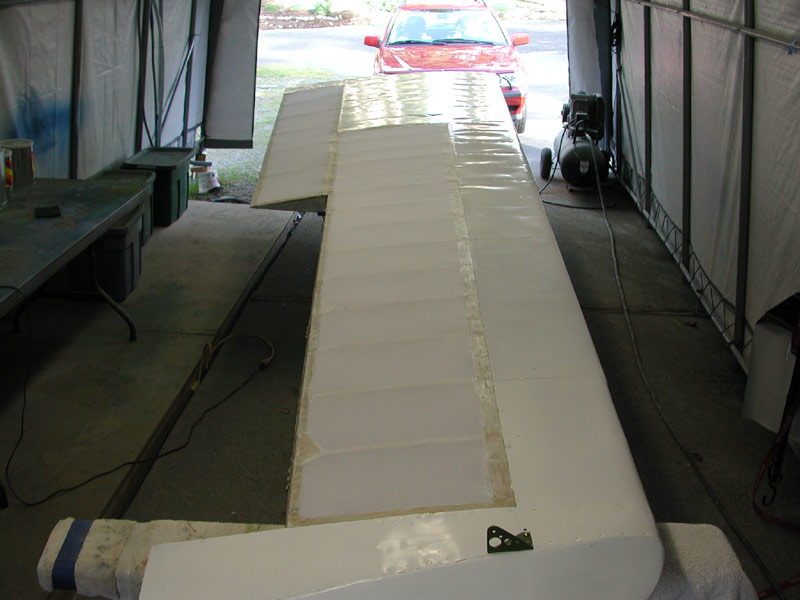
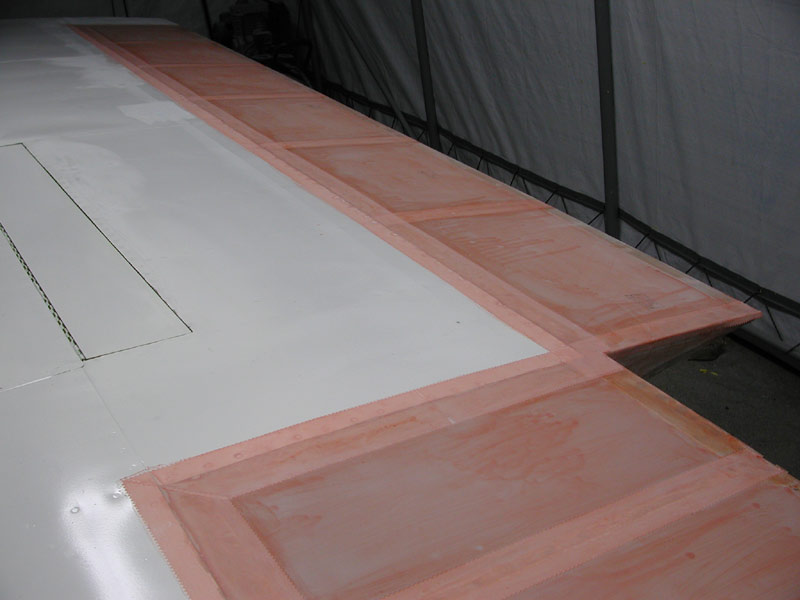
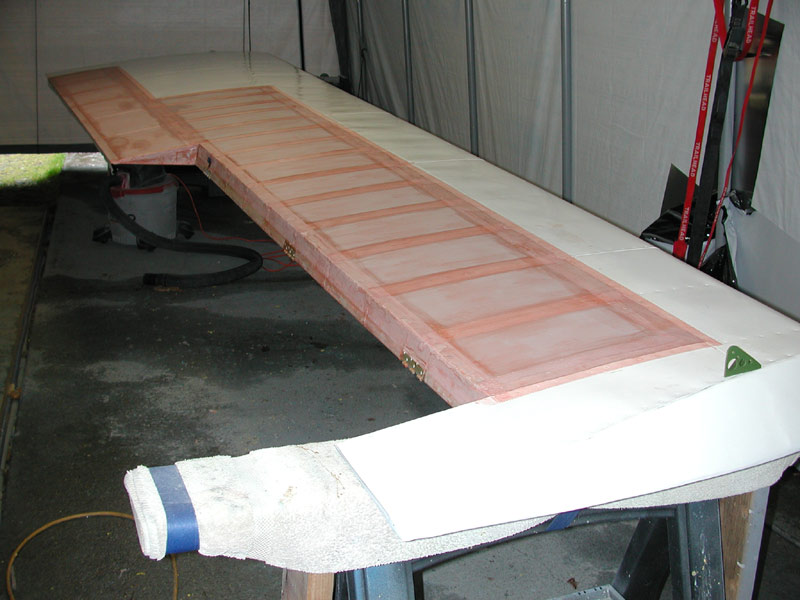
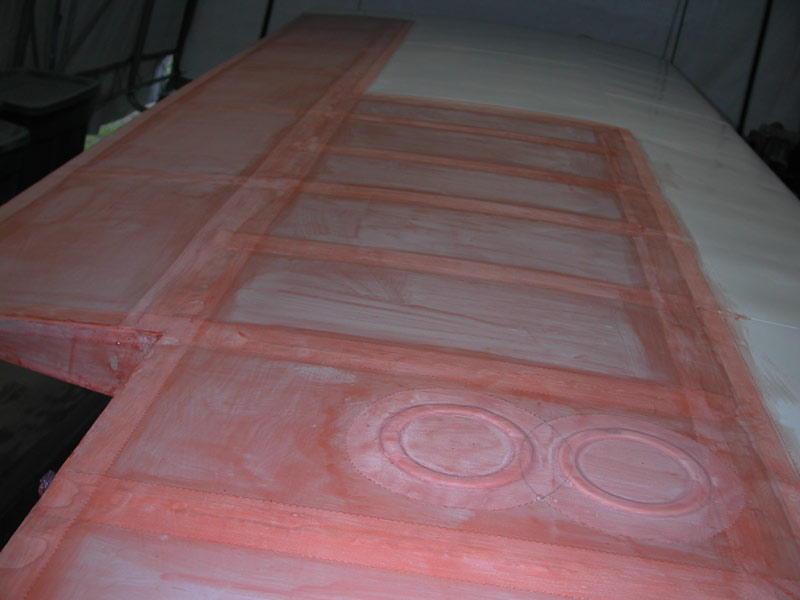
| Above - first step is to apply a coat of Pliobond to all fabric faying surfaces. | |
 |
|
| I unroll the 11 yards of fabric required for both wings to cut out the pieces I'll need. | |
 |
|
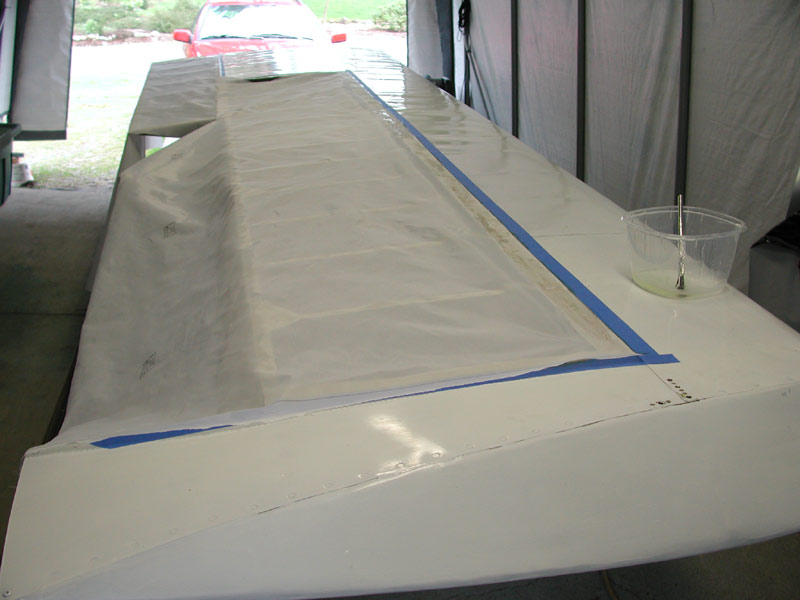
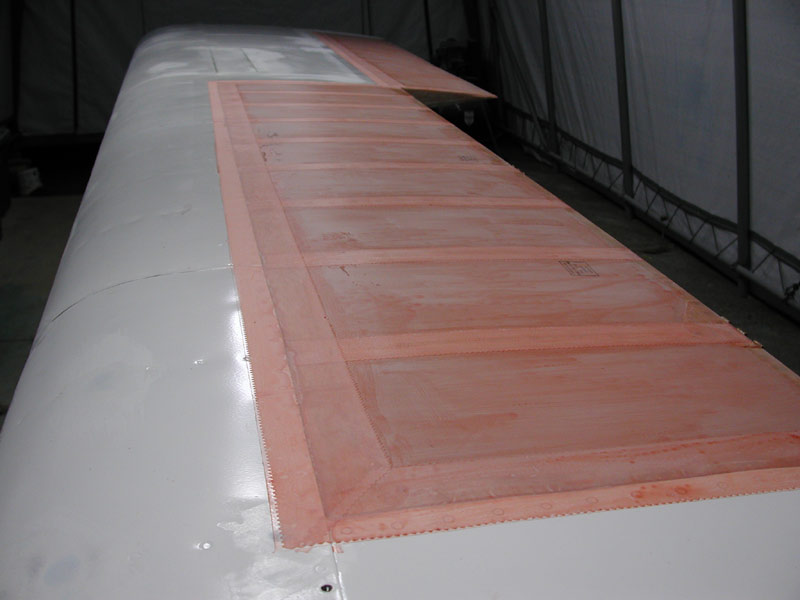
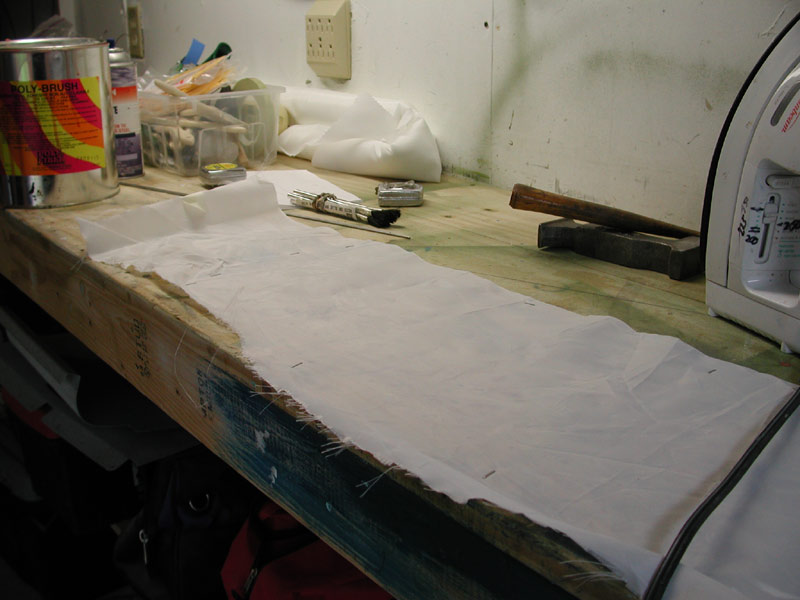
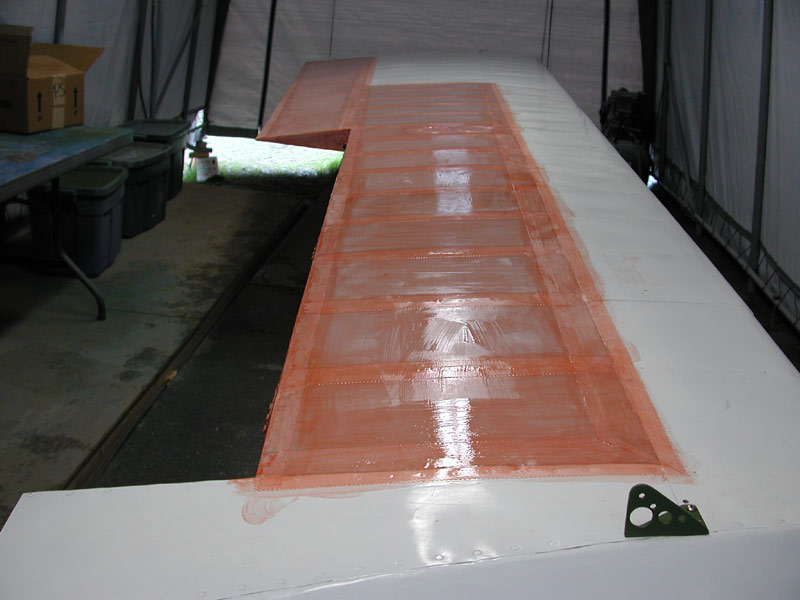
| Using Polytak, the forward edges of the fabric are attached and a coat of Polytak is applied to the ribs and allowed to dry. | |
 |
|
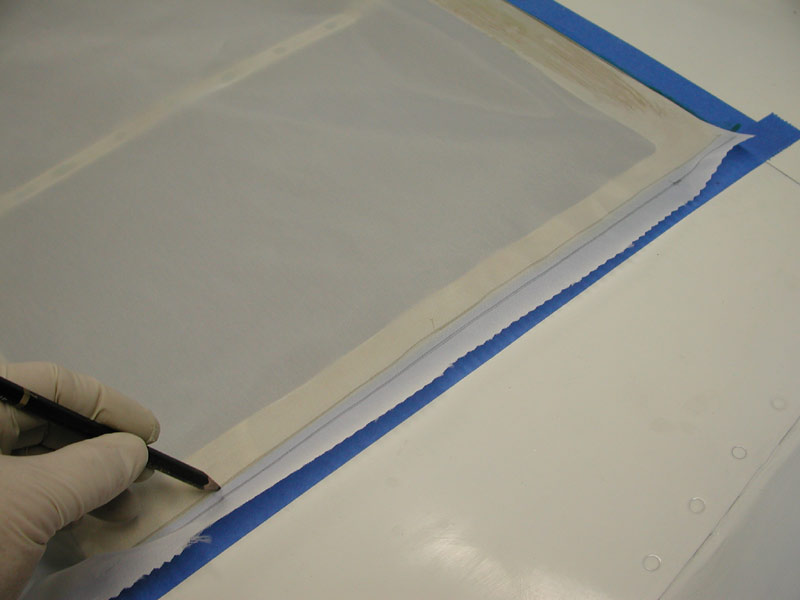
| Marking the fabric with a pencil for final trimming after the forward edges are attached. | |
 |
|
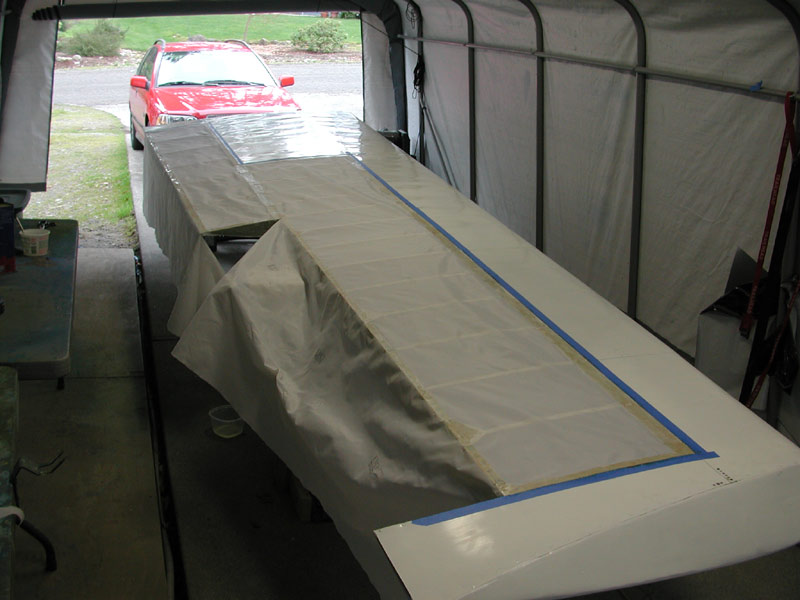
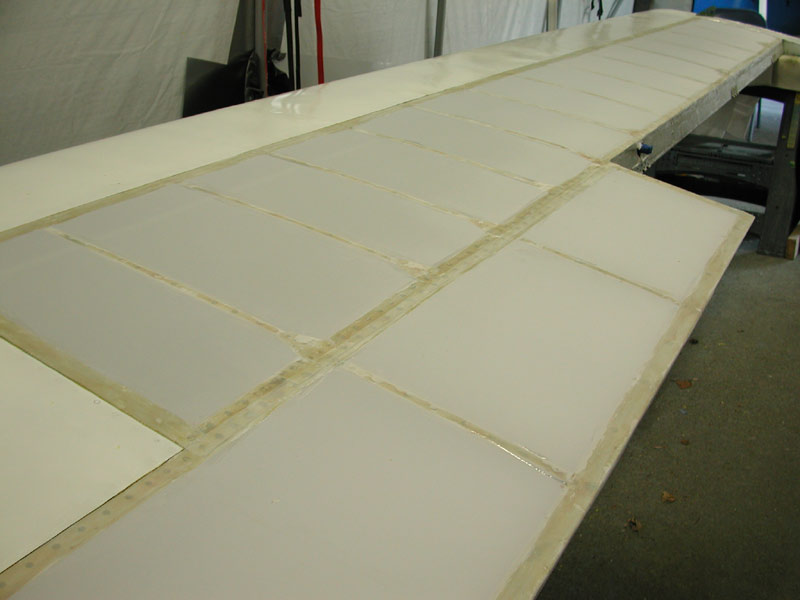
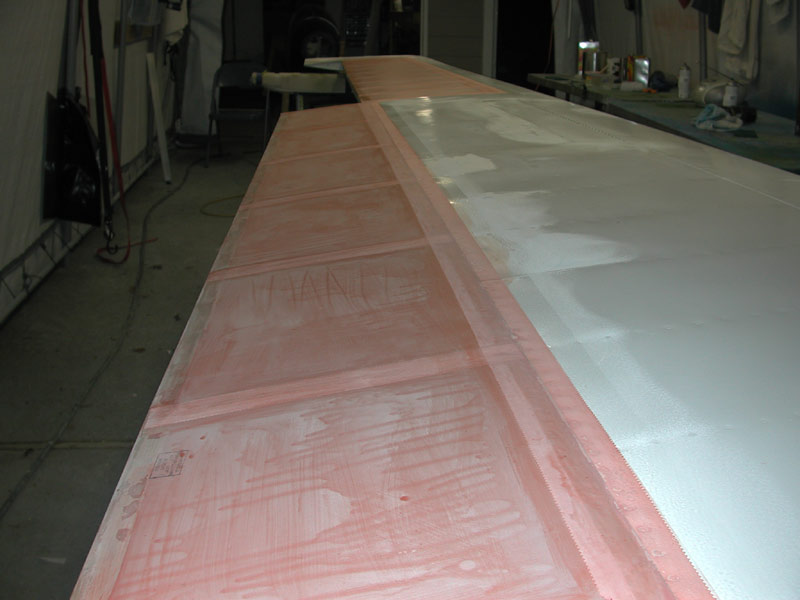
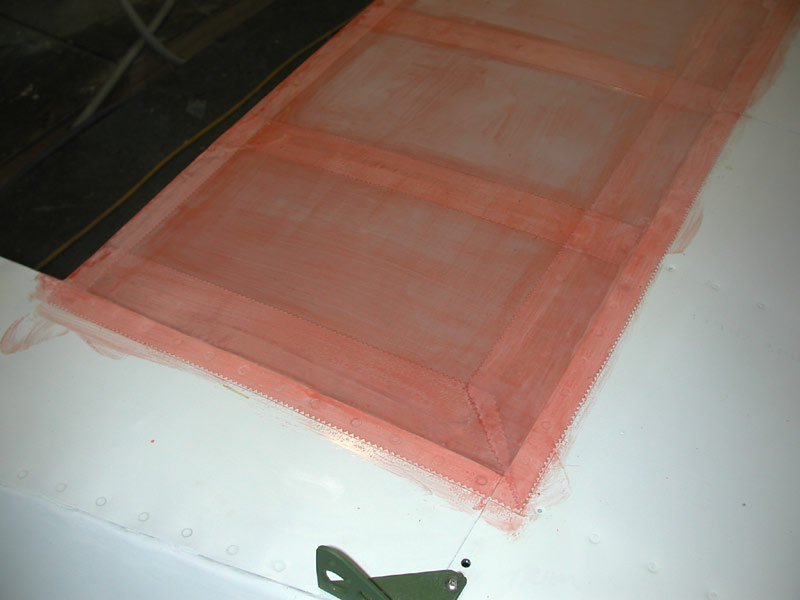
| Above the lower surface fabric is attached - time to turn it over. | |
 |
|
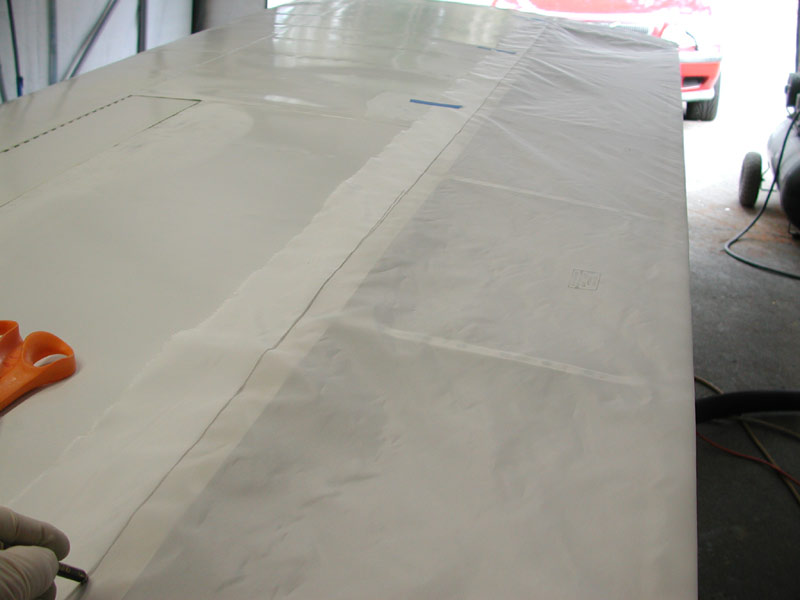
| Above - I mark the upper surface fabric leading edge for trimming. | |
 |
|
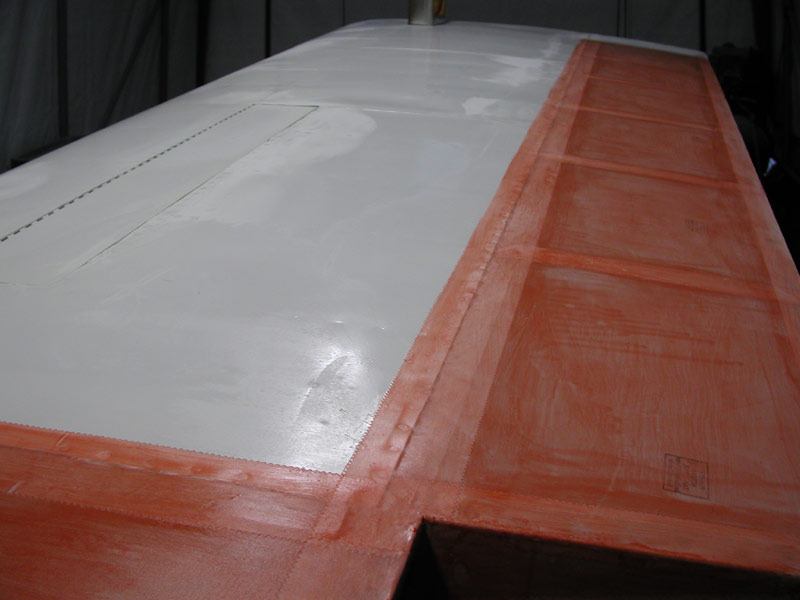
| Above - Lower surface fabric almost completely glued in place. | |
 |
|
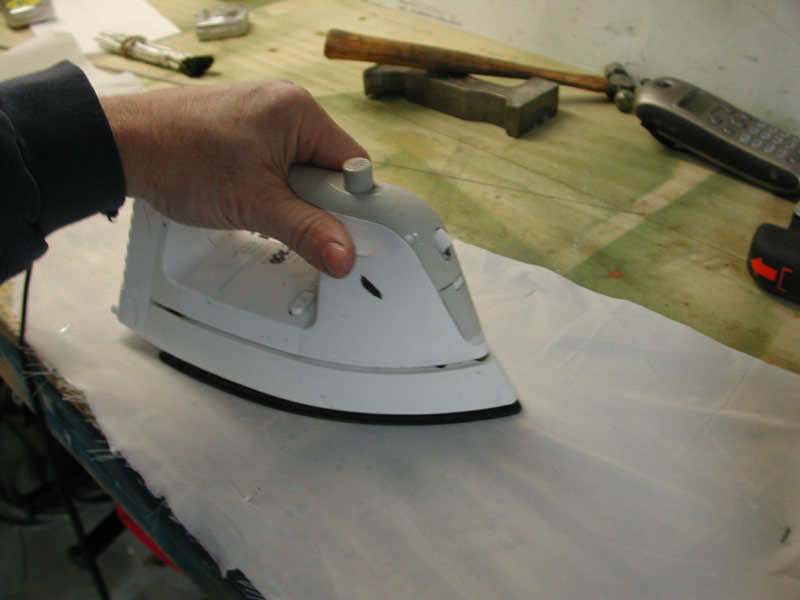
| With the lower surface Polytak setting up, I flip the wing back over and shrink the lower surface fabric with a 250° iron. | |
 |
|
Above - after a final pass with the iron set to 350°, I brush Polytak thinned with MEKL through the fabric to attach the ribs to the fabric. This technique worked like a charm - the layers of Pliobond and Polytak I applied to the ribs before laying on the fabric softened and melted though the dacron immediately. It's amazing how strong those Polytak/Pliobond edge seams are, I can hear the structure creak when tightening, yet the seams held nicely! |
|
 |
|
| Wing inverted and the upper surface is tightened fully and the ribs are adhered with the thinned Polytak. | |
 |
|
 |
|
| I installed the aileron so that I could get a sense of accomplishment - this wing is getting closer to being done. | |
 |
|
I'm very pleased with how this part of the process went. It took all day, but it came out OK. Now I have to take the old dog for a walk - he's been bugging me all day to play ball, but I've been too busy. |
|
 |
|
 |
|
 |
|
| March 23, 2005 - Polybrush is brushed on and taping begins with the upper surface first. | |
 |
|
 |
|
Above - The runs are on the inside surface of the fabric. It's important to brush plenty of Polybrush into the fabric and penetrate the fabric completely. The best way to make sure you are getting the fabric thoroughly wetted is to watch for the runs on the inside of the fabric - they are a good sign. |
|
 |
|
Above - March 26, 2005 - I had to go to Spencer Aircraft and get more tape, paint and CherryMax rivets (for the right wing) to finish taping this lower surface. Below, I make doilies for the inspection holes in the wing lower surface for access to the aileron bellcrank. |
|
 |
|
| Above - to make a doilie, first staple some fabric to the workbench and shrink it with a 350° iron. | |
 |
|
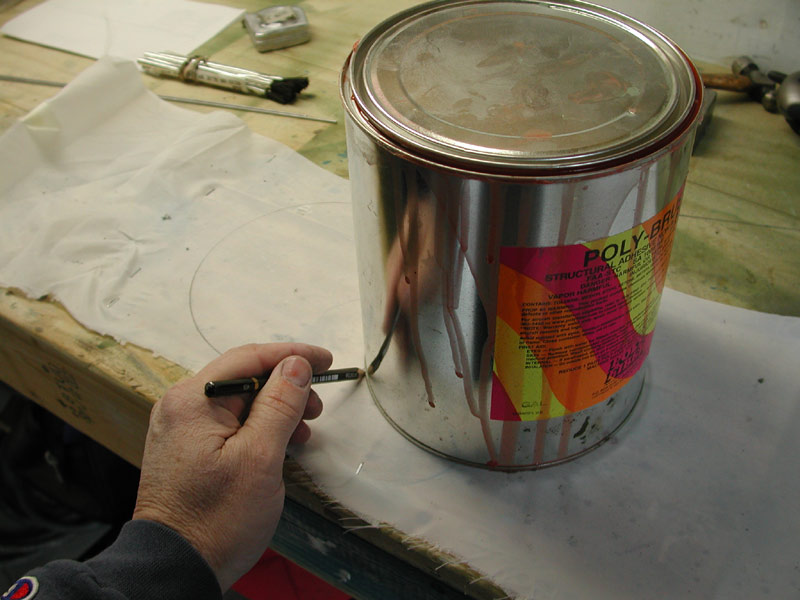
| After it's shrunk, mark the outline of the doilie, a Polybrush gallon can is the perfect size for the inspection hole reinforcement doilie. | |
 |
|
| Below - the double-doilie Polybrushed onto the lower surface with the plastic reinforcing rings glued in place with Polytak. | |
 |
|
 |
|
| Above - second coat of Polybrush brushed on. | |
 |
|
Above - I have to clean the excess Polybrush off around the edges of the tape because I don't want masking tape lines. I use a cloth rag soaked in Polybrush reducer to wipe the excess Polybrush off and now I can spray the fabric and there should be no transition lines. |
|
 |
|
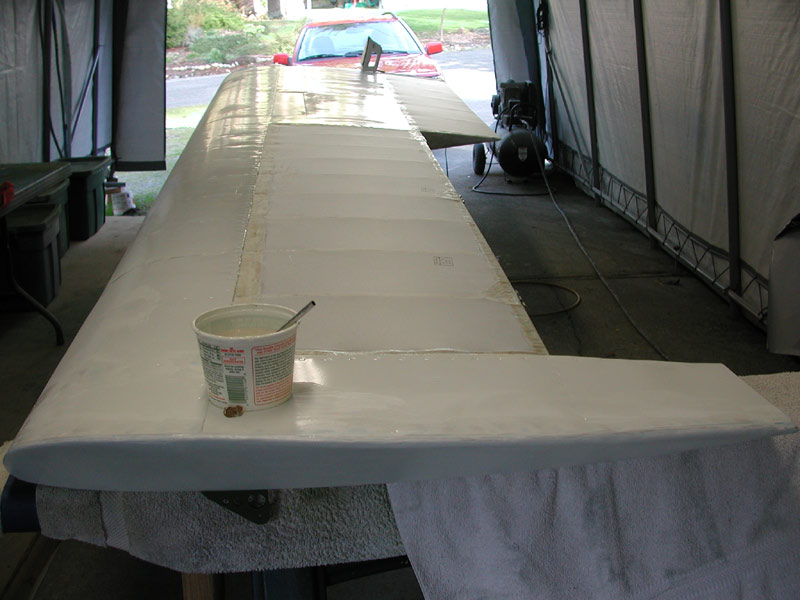
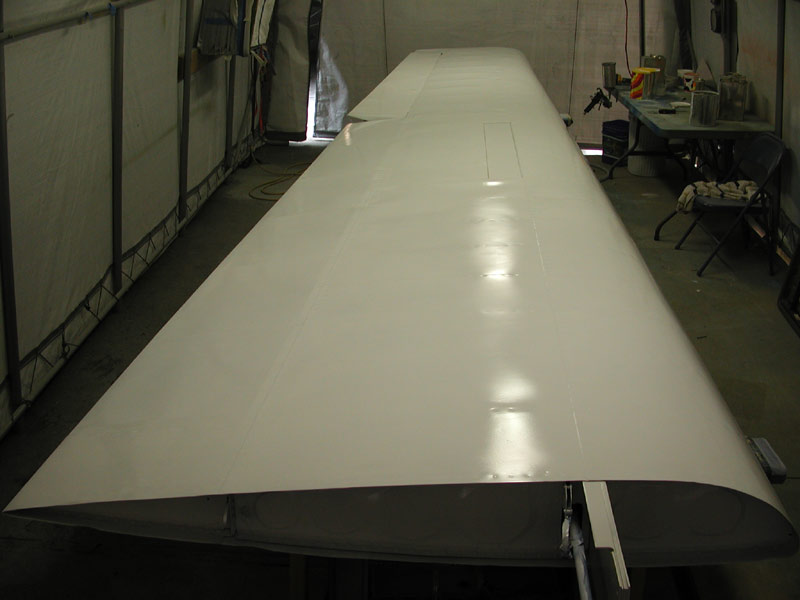
| Above - the cleaned wing ready for the spray coats of Polybrush. | |
 |
|
 |
|
| Above and below - two sprayed coats of Polybrush top and bottom. This wing is ready for silver. | |
 |
|
| Above - first thing tomorrow, I'll do one last interior vacuum and seal the end rib holes with fabric. | |
 |
|
 |
|
| Above and below - March 27, 2005 - the left wing gets silver. | |
 |
|
| Above - this wing goes on the trailer while the right wing comes in for skin replacement therapy. | |
| Below - exactly one month later, April 27, 2005 and the left wing is back in the paint tent for the final color topcoats. | |
 |
|
| Above April 28, 2005 - I wet-sand the entire upper surface with 600 and next I spray on a fresh coat of EP-420 epoxy primer (below). | |
 |
|
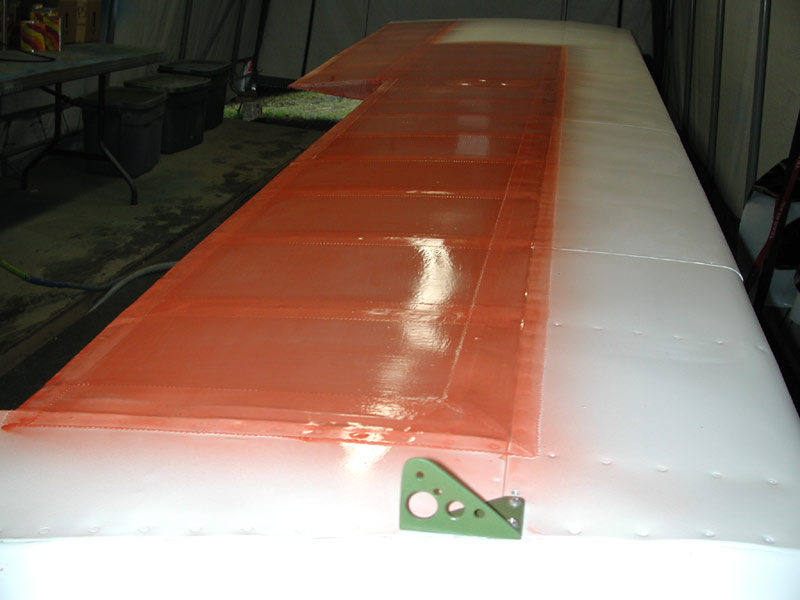
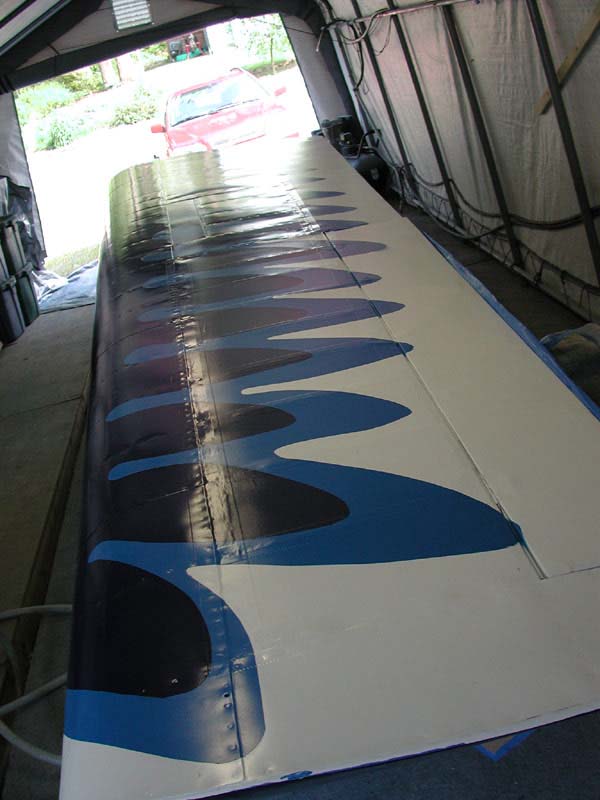
Below - while the epoxy primer is still tacky, I spray on two coats of Polytone Insignia white. This is the method described in the Polyfiber manual for ensuring the best adherence of Polytone to aluminum. |
|
 |
|
 |
|
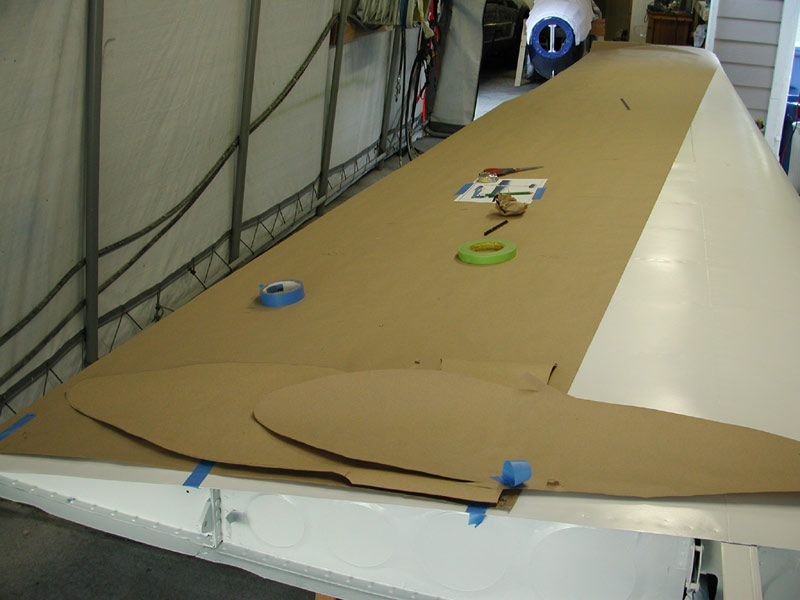
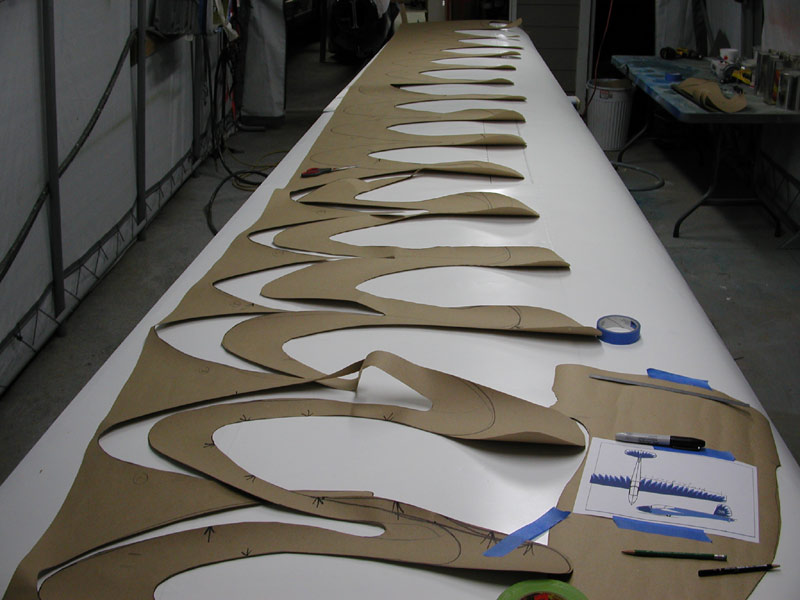
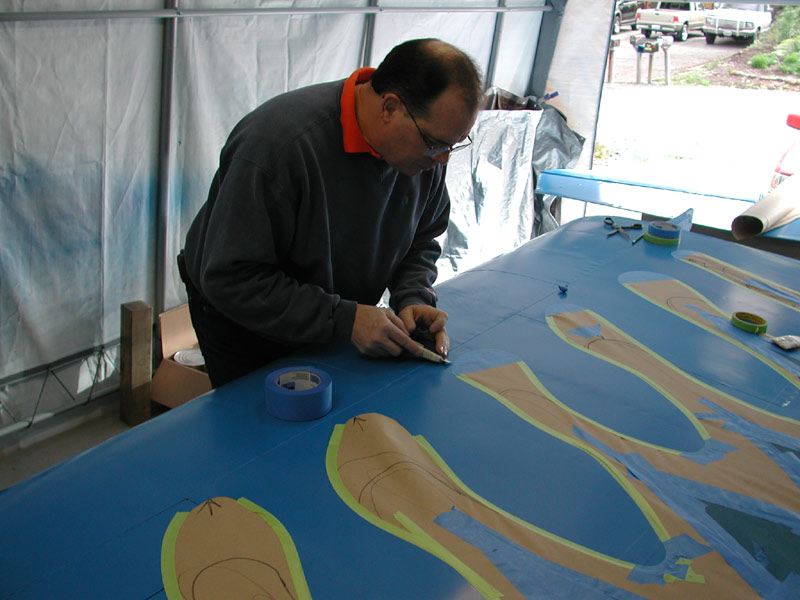
Above - I found some thick paper to use as a mask for the feathers. The thin stuff I used on the fuselage allowed the Polytone to bleed through in some places - this stuff should be thick enough to prevent that from happening again. |
|
 |
|
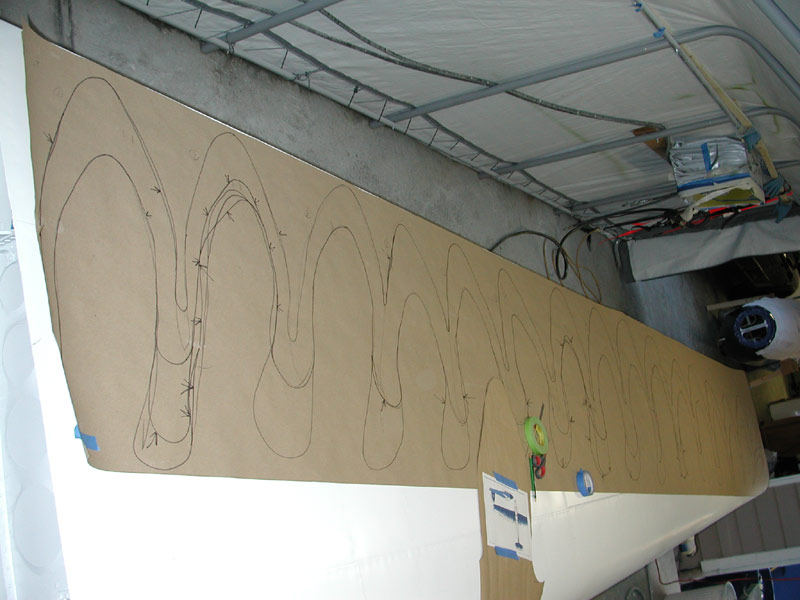
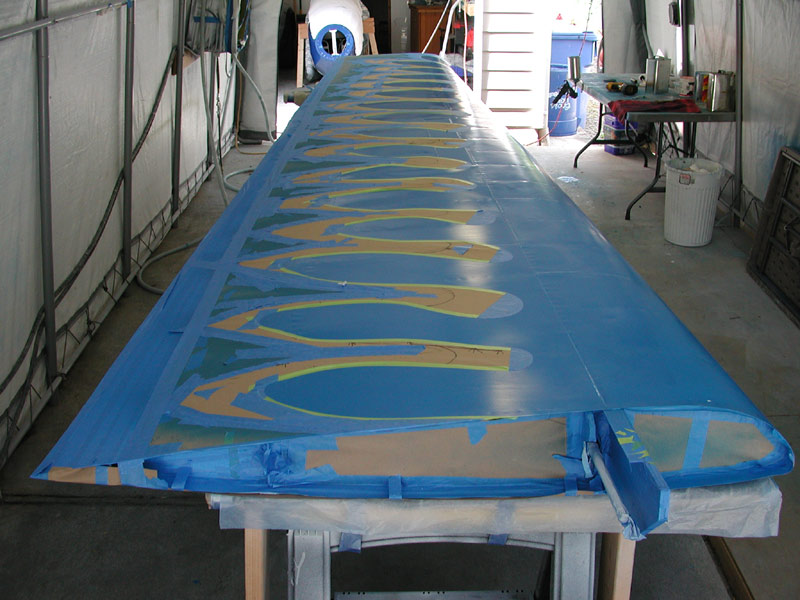
| Above - I lay out the feathers, bit light blue and dark blue, then I cut them out (below). | |
 |
|
| Tomorrow, I will tape it up and paint Bahama Blue. | |
 |
|
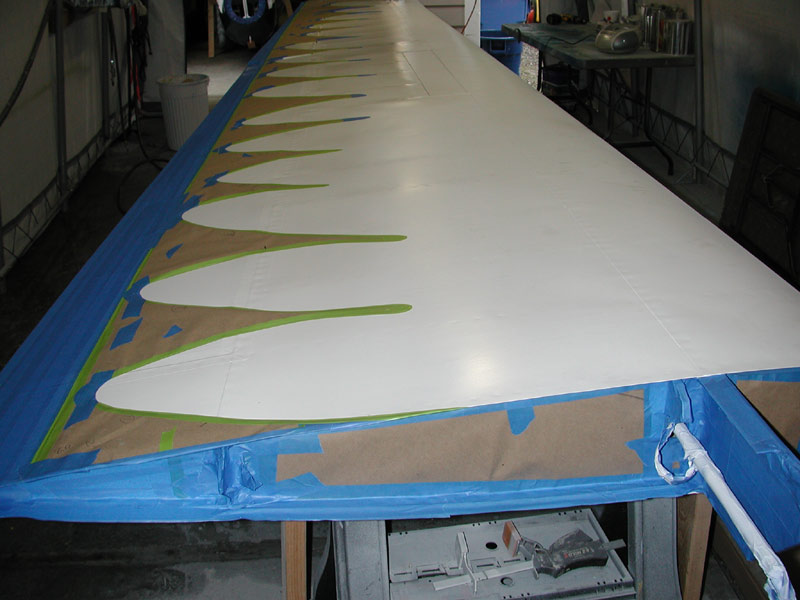
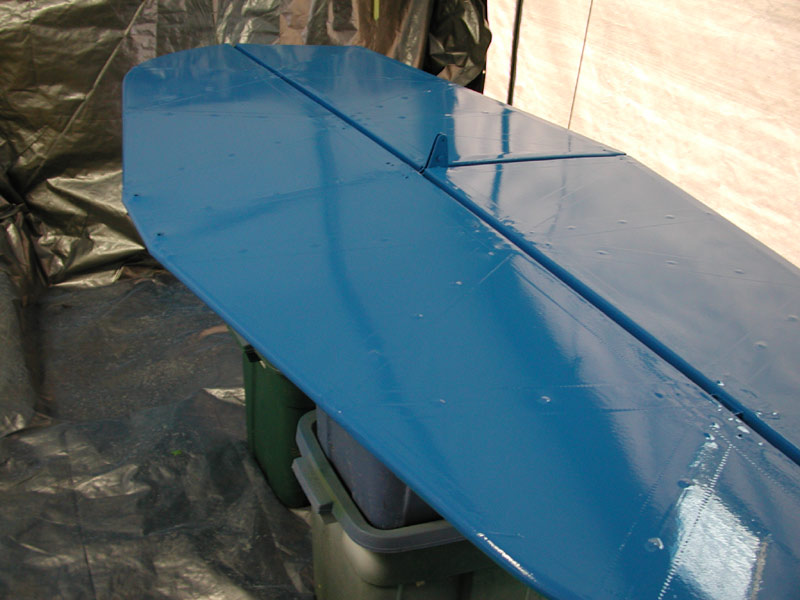
| April 29, 2005 - Above and below - the wing and the horizontal stab are masked off and painted Bahama Blue. | |
 |
|
 |
|
| Tomorrow I'll turn them over and paint the lower surfaces Bahama Blue. Sunday should be dark (Christen Eagle) blue. | |
 |
|
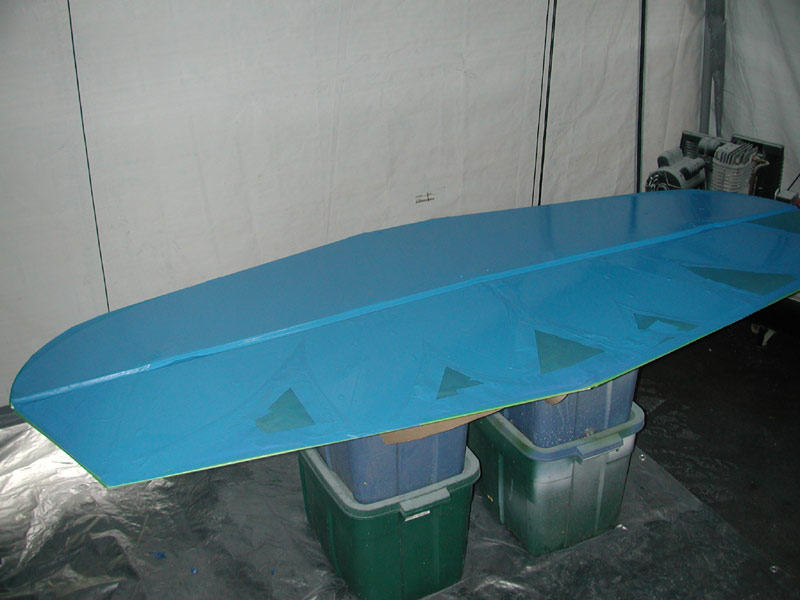
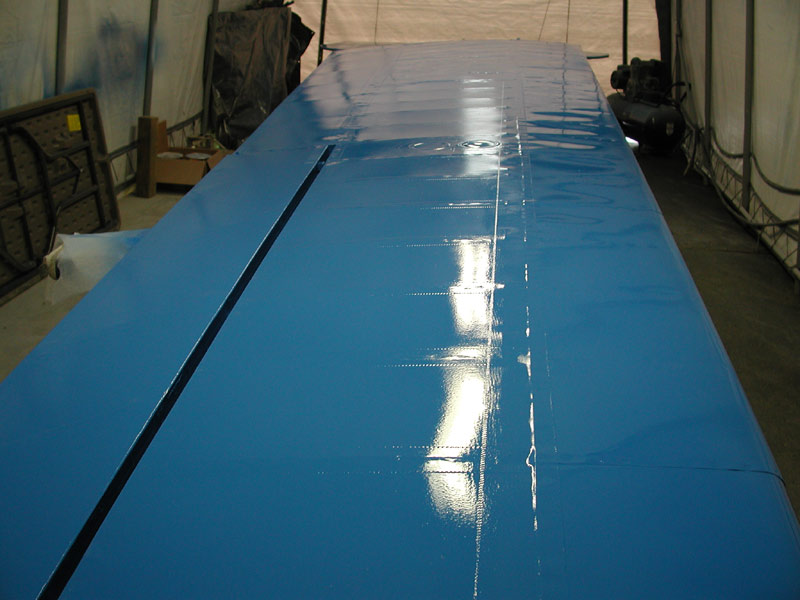
| Above and below - April 30, 2005 - I turn the wing and horizontal stab over and the lower surfaces get Bahama Blue. | |
 |
|
| May 1, 2005 - Below - Renee takes photos of me masking the feathers. | |
 |
|
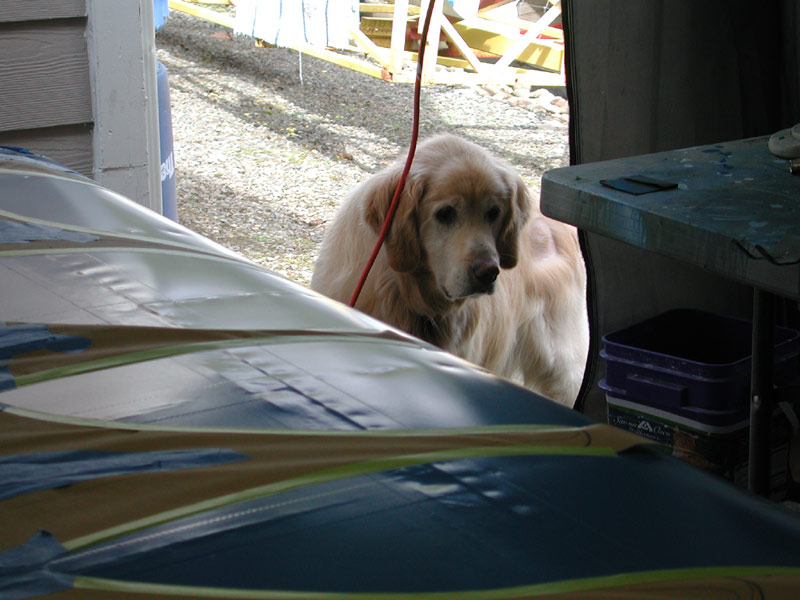
| Below - Samson thinks I have his tennis ball. | |
 |
|
 |
|
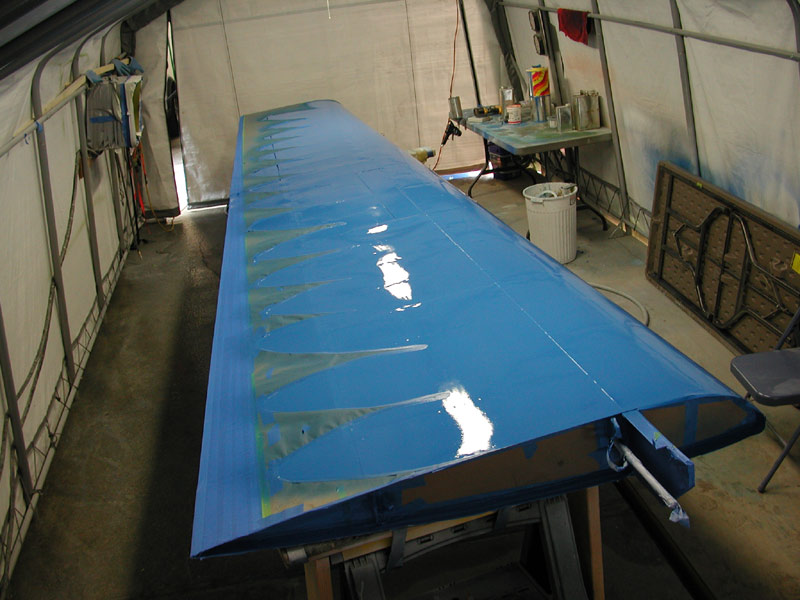
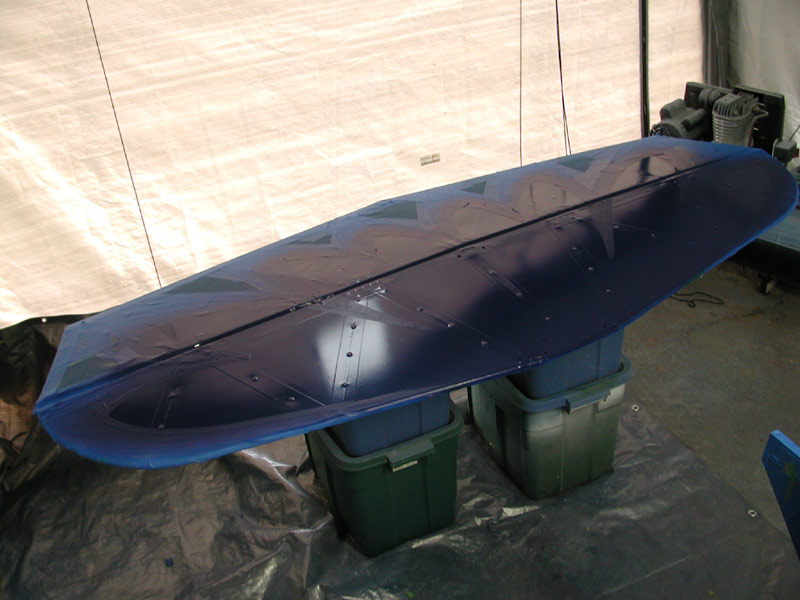
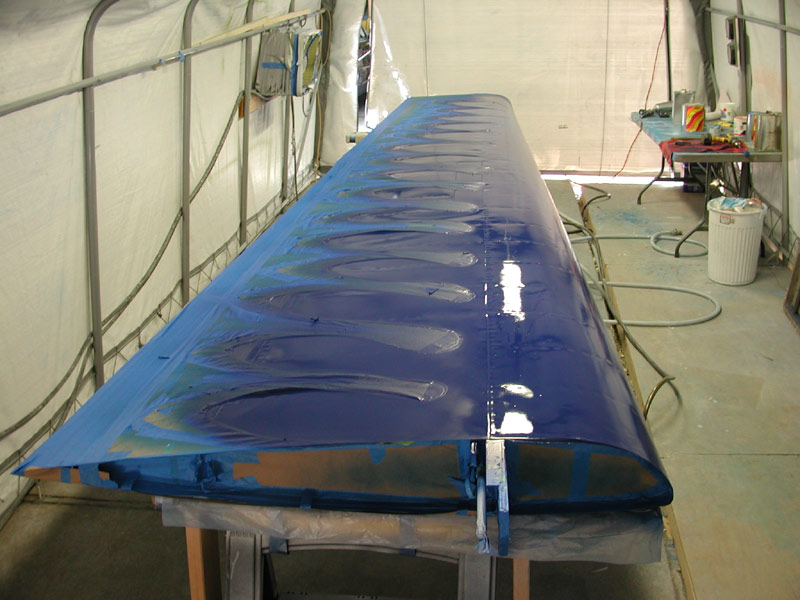
| Above - ready for paint, below - Christen Eagle Blue goes on. | |
 |
|
 |
|
 |
|
 |
|
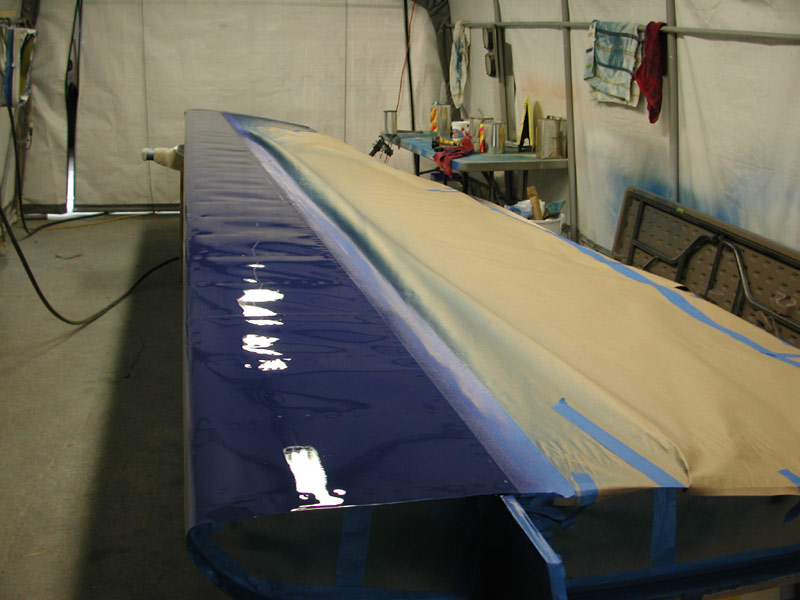
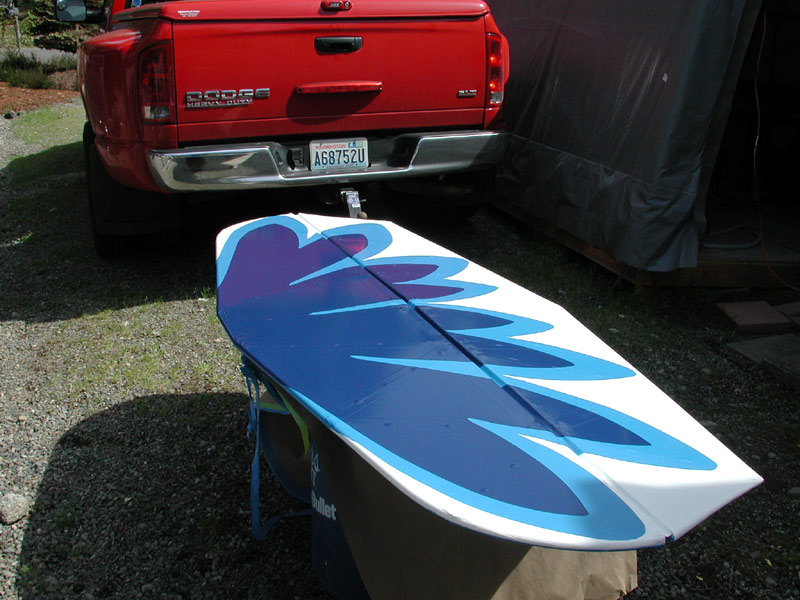
| Below - I unmask the wing, next I turn it over and paint the other side . | |
 |
|