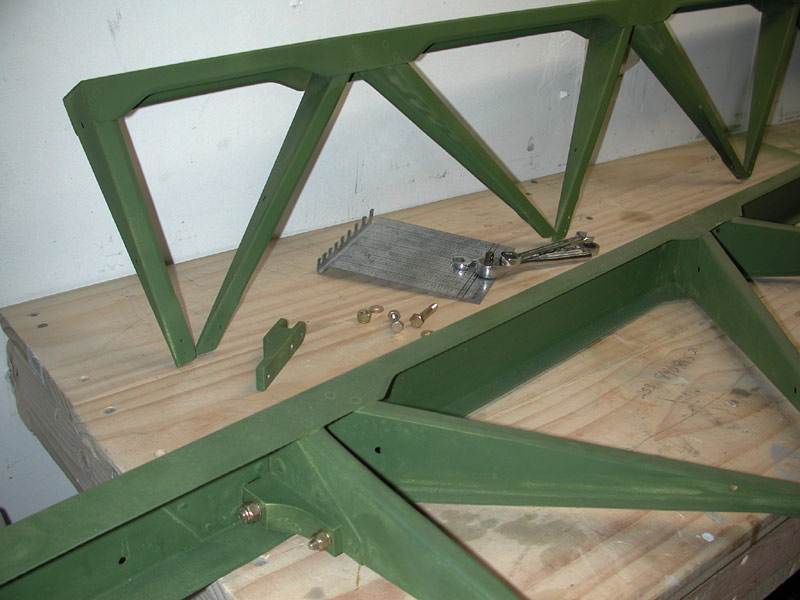
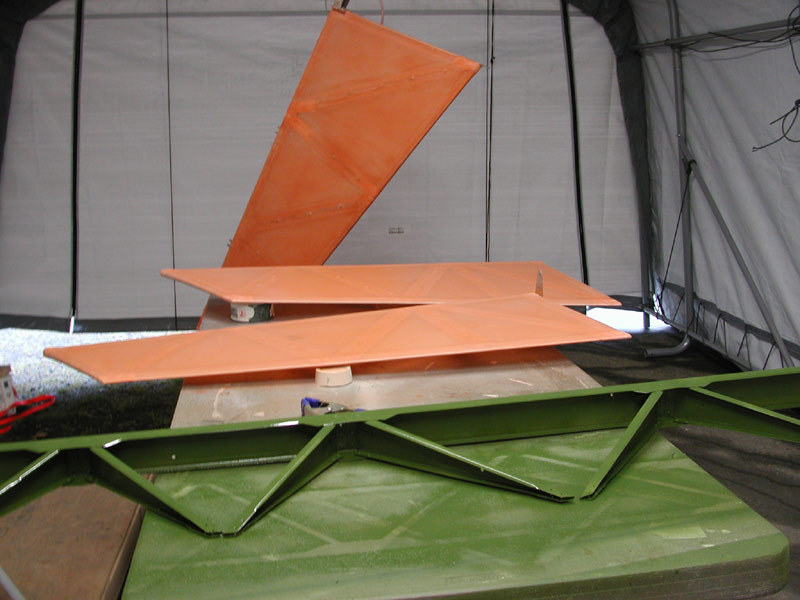
| |
|
|
|
| Above - prior to painting the fuselage Bahama blue overall, I fair in the edges of the fabric with epoxy-based PolyFill and touch up some small imperfections and holes. I wet-sanded the entire fuselage and will spray two more coats of silver tomorrow, then two coats of white as a base coat for the Bahama blue. |
|
|
|
| Above - all flight controls have one side painted white - two coats. I'll let them set up overnight with the de-humidifier running (low of 53° predicted tonight) and tomorrow, I'll flip them over and spray the other side of the flight controls with two coats of white. |
|
|
|
| The horizontal with two coats of Insignia white Polytone. Polytone will dry to a satin finish and after all of the color coats are applied, I will polish it with white rubbing compound as instructed by the Polyfiber manual. |
|
|
|
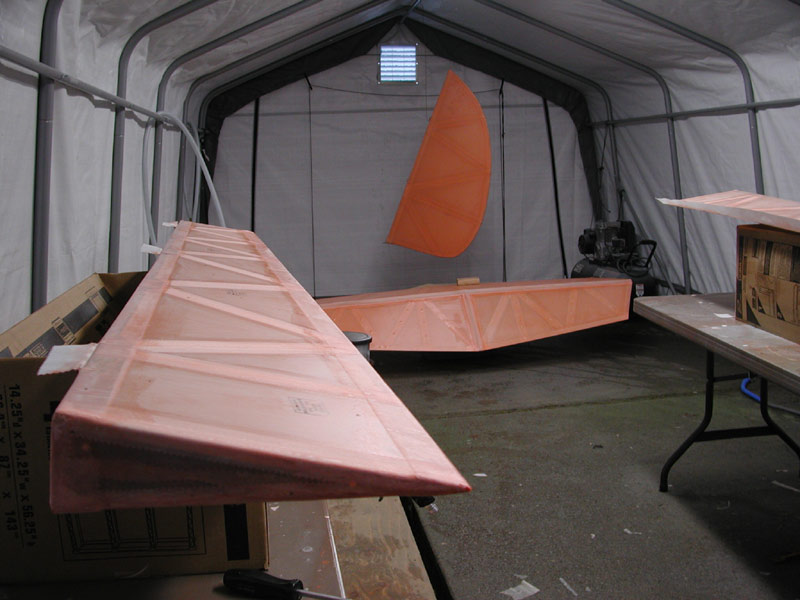
| Above - I've sprayed two more coats of silver on all surfaces top and bottom and I've moved right into the Polytone color coat. I'm using Insignia white as the base color - this will help bring out the bright Bahama blue that will go on next. You can se the rudder and vertical are still silver in this photo because they were sprayed silver last and are still drying. It's 60° today and raining - the de-humidifier under the ailerons helps keep the humidity low in the paint booth. |
|
|
|
| Above - all the flight controls are wet-sanded. You can see where I've sanded through the silver in some spots. This does not frighten me because I simply have to double the silver in those areas. It really helps the finish to sand all the imperfections right down into the Polybrush. The next two coats of silver will be nice and smooth after wet-sanding. I concentrate on sanding the pinked edges of the tapes, it really helps them blend in and eliminates pinked edges sticking up. |
|
|
|
Above - January 23rd, 2005 - after the second series of silver cross-coats, I wet sand the flight controls to remove all imperfections. |
|
|
|
The finish is very smooth even without sanding. |
|
|
|
| Above and below - 2 cross-coats of PolySpray on both sides. Tomorrow after it sets up I'll wet sand with 600 and spray on two more cross coats and then it's time for the color coats of Polytone. |
|
|
|
| |
|
|
|
Above - The flight controls all get the last coat of Polybrush sprayed on. |
|
|
|
Above - I attach the rudder seals to the vertical stab spar with Polybrush. |
|
|
|
| Below - 18 January 2005 - the ailerons are taped and the aileron to wing seals are applied. Above - all covering and taping and sealing is done, time for the last sprayed coat of PolyBrush. Next I will turn them over and spray the other side and then - it's time for silver. |
|
|
|
|
|
|
|
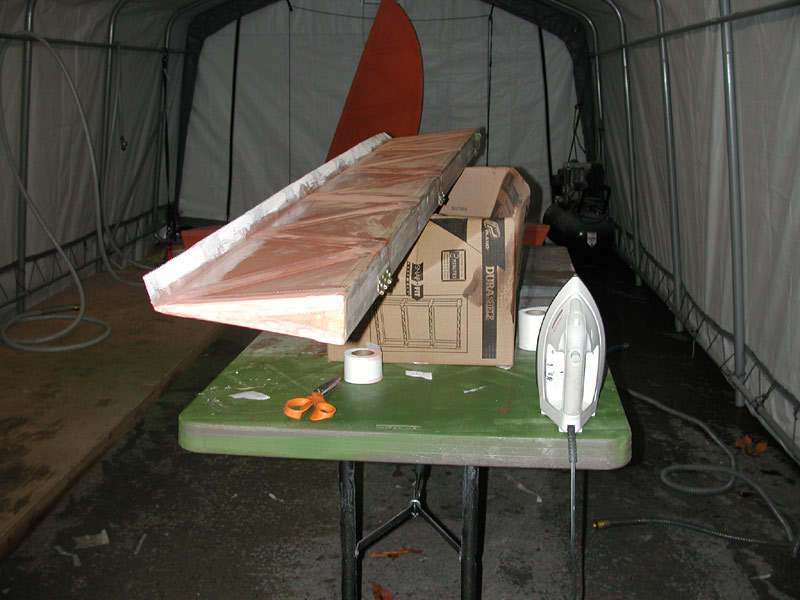
Below - the shrunk ailerons are brushed. Above - they are taped. I used the iron set at 225° to help the trailing edge tape form around the trailing edge without bubbles. It was warm today - almost 70° - that helped speed the process significantly. |
|
|
|
| |
|
|
|
Above and below - the elevators are assembled to the horizontal stabilizer and seal tapes applied prior to the last coat of PolyBrush. |
|
|
|
| |
|
|
|
Below - the last end all folded up - Above - ready for shrinking and taping. No pop-rivets are used in the aileron ribs. |
|
|
|
| |
|
|
|
Above - top and end pieces folded down and over, next the bottom and that's the last bit of covering for this glider. |
|
|
|
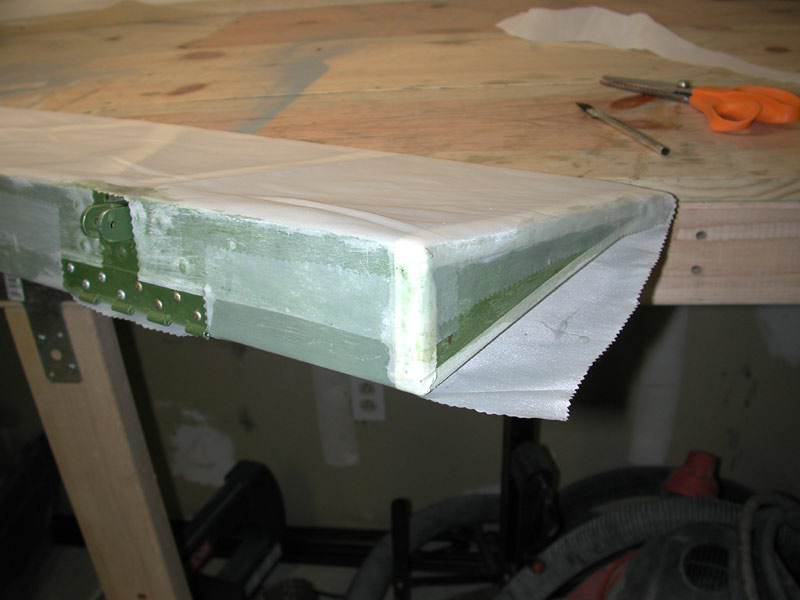
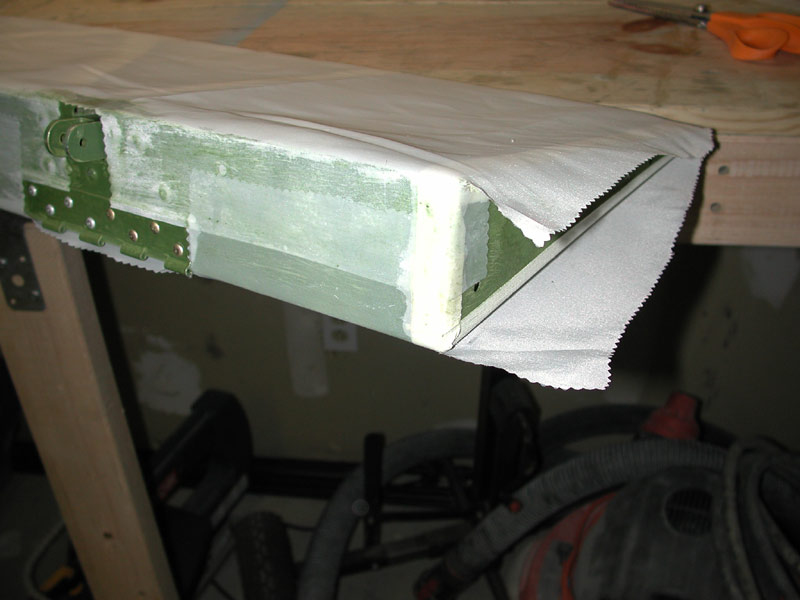
| Above - I'm ready to wrap the ends - just like wrapping a present. I enjoy covering, it's kind of fun! |
|
|
|
| Above - I put the seam on the wide spar of the aileron to give a good overlap. That's MEK thinned PolyTak in the butter tub. |
|
|
|
Above - The right aileron is covered, the left one is taped up and ready for covering. |
|
|
|
| Above - I rivet the hinges back on. The old hinge pins were rusted frozen and I could not remove them,. I had to drill the hinge plates off to remove the ailerons from the wing. With the hinges on the bench, I was able to cut away the old rusted hinge pins, soak them in Kroil and knock them out of the hinges with a pin punch. It took over an hour today to get every piece of hinge pin removed from all of the hinges. Then another hour to clean and paint them and then another hour to rivet them all back on to the ailerons prior to covering. |
|
|
|
| Above - I used steel shanked, aluminum pop-rivets to attach the trailing edge pieces. I refuse to use those little tiny PK screws be they invariably rust due to dissimilar metal reaction between the steel screw and the aluminum trailing edge. The pop-rivets are stronger and the aluminum part of the rivets is in contact with the aluminum trailing edge. The steel shank of the rivet provides strength and is cad-plated so it won't rust inside the rivet. |
|
|
|
Above - I use straps and clamps to hold the aileron spars straight while I drill the trailing edge holes. |
|
|
|
Above - the trailing edges are located, ready for drilling and riveting. |
|
|
|
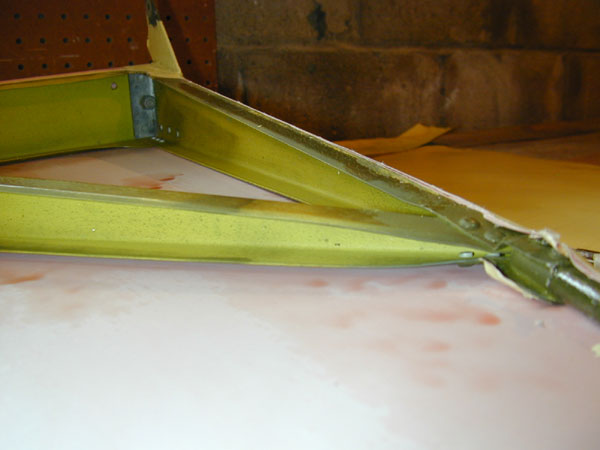
| Above - I use the anvil end of my bucking bar to flatten the crimped part of the trailing edge where the ribs attach. You can see the anvil on the bucking bar in the photo below. |
|
|
|
Above - the new trailing edges are marked for cutting and fitting of the crimped trailing edge section to fit over the ribs. |
|
|
|
Below - the left aileron gets painted, above - the aileron rod end attach fitting is re-installed with new hardware. |
|
|
|
January 15, 2005 - Inside the paint booth - the other flight controls get another sprayed coat of PolyBrush. |
|
|
|
The cleaned aileron structure is painted with zinc chromate paint to provide corrosion resistance. It has taken me the entire day to remove the trailing edge screws and clean the aileron structure and paint it. Tomorrow, I will clean the other aileron and paint it and the following day - Martin Luther King Day, I will re-assemble the trailing edges, re-install the hinge structure, rivet the 3 hinges back on and attach the fabric. I have Tuesday off as well, so I should be able to brush on a coat of Polybrush and tape the ailerons. Then I can start spraying silver on the flight controls. |
|
|
|
| Using the fiber wheel to avoid damaging the aluminum, I clean all of the old glue, rust corrosion and paint from the aileron spar and ribs in preparation for painting and re-assembly. |
|
|
|
The last screws on this aileron are removed and the trailing edge is ready to be removed. |
|
|
|
The aileron rod end attach structure will be removed for cleaning and painting and the rusted bolts will be replaced. |
|
|
|
| Above - with the head of the screw sanded off - I can insert my screwdriver and pop the trailing edge free. There were six screws I had to sand off on this aileron. The trailing edge will be discarded, so the aluminum I sanded into is not an issue. |
|
|
|
|
|
| I sanded the head off this screw so I could pop the trailing edge out - next I'll pull the shank of the screw out of the rib without damaging the rib. This is another good example of why the cost to properly recover a fabric airplane can be so expensive - it's not the cost of the fabric and labor of taping and painting - it's the problems you find underneath the fabric in the aircraft structure that can really run the cost up. |
|
|
|
Above - the bent aileron trailing edge. |
|
|
|
There are about 30 screws on each side of each aileron. |
|
|
|
| Above - old glue and rust get cleaned off and Kroil penetrant applied so I can get the screws out. They are frozen solid and more than one is impossible to remove with the screwdriver. |
|
|
|
The trailing edge on this aileron is bent - same as the other aileron. Both trailing edges will be replaced. |
|
|
|
| January 15, 2005 - the old fabric is removed from the ailerons - lots of water has seeped into the covering and rusted the screws holding the trailing edge in place and the old fabric glue has gone brown and cracked and the structure is OK, but needs a lot of work to get cleaned up properly before they can be recovered. This will be tedious work! |
|
|
|
Vertical gets taped and a second coat of brushed-on Ploybrush, next step for these is to spray them. |
|
|
|
Above - you can see the exit of the TE tubing in the bottom rib of the vertical. |
|
|
|
| |
|
|
|
| January 2005 and I start brushing Polybrush and taping the flight controls. I still have to clean and recover the ailerons - that will be a big job because they are a mess! |
|
|
|
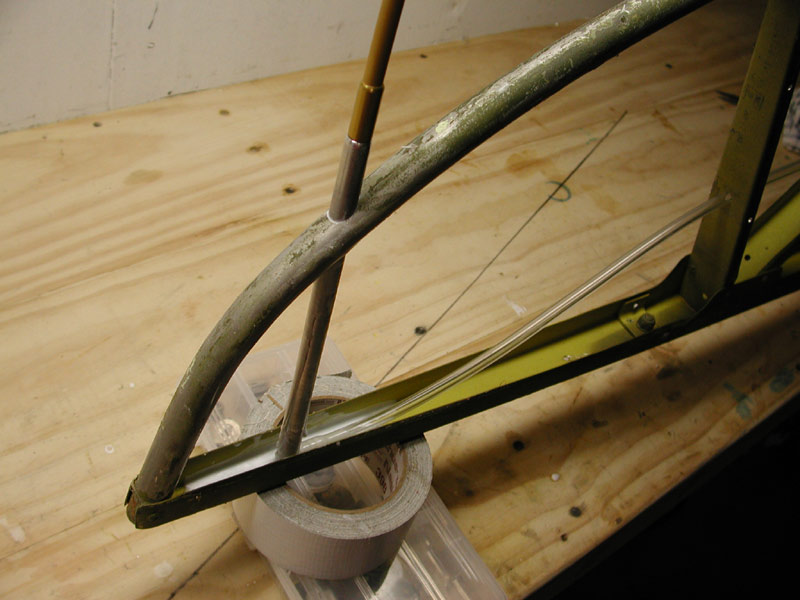
I drilled through the forward tube and used some MGS epoxy with colloidal silica to mount the tube in place. I ran the TE tubing through holes drilled in the ribs to the bottom of the vertical. The Unibit comes in handy for drilling these holes. |
|
|
|
| Above - the vertical stab was not damaged in the accident, but I decided I needed to install a TE probe mount inside the vertical stab structure. I had planned to install it on the top of the fin as described in the 1-26 Association Restoration Manual - but I did not like the looks of that and after some consideration decided to bite the bullet and remove the fabric. I used a piece of left over aluminum tubing (from the nose stringer installation) that had the same O.D. as the TE probe (Ilec unit) and drilled out the I.D. to match the TE probe's O.D. and it fits perfectly. |
|
|
|
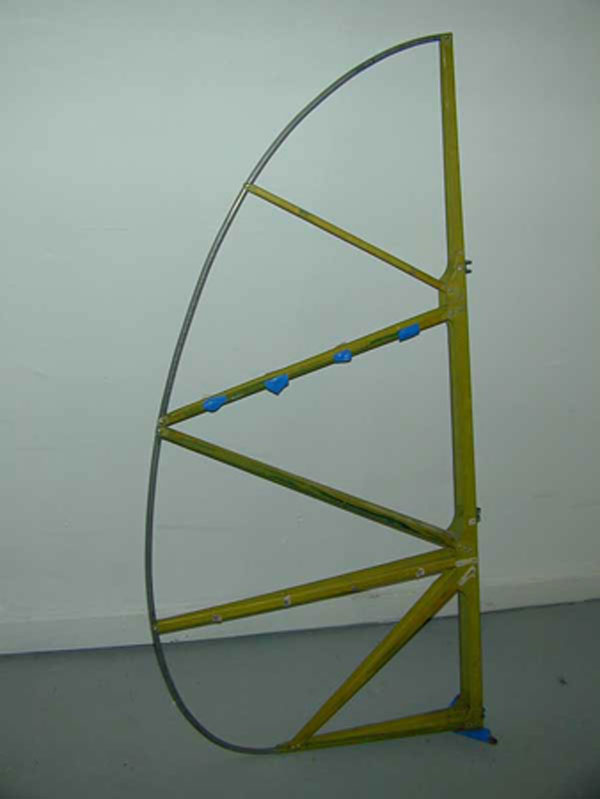
Above - on top of the un-covered ailerons, the left side of the horizontal showing the bent outer rib - this one gets replaced as well. |
|
|
|
New rib ready for riveting. |
|
|
|
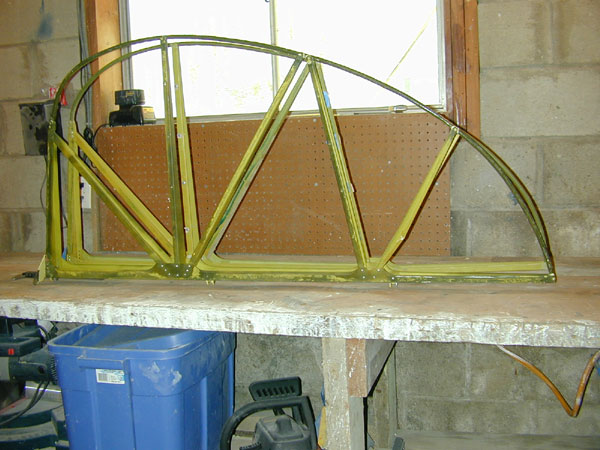
| Above - December 2004, I'm getting ready to rivet the replacement ribs into place. The broken bottom of the plastic box that holds my rivet assortment occurred when it hit the hard ice in the median of I-80 in Rock Springs. I should replace it, but it serves as a nice reminder that cars and gliders will kill me if I give them half a chance! |
|
|
|
| The horizontal stab suffered the worst - both end ribs were bent and one was cracked, so I put the call out on the 1-=26 Association e-mail list for new ribs and was promptly rewarded with a message from Bill Vickland. He had a couple he could send me, so I bought them and removed all of that brand new fabric and started over. |
|
|
|
The rudder gets recovered, repaired elevators covered in the background. |
|
|
|
The rudder suffered a bent rib and spar that I had to straighten - easy job. |
|
|
|
Above - the new trailing edge installed. |
|
|
|
| Above - It's December 2004 and I've had to remove all of the fabric from all of the flight controls that I previously installed. I have to do this because I had all of the flight controls loaded in the back of my Chevy pickup when I hit the corduroy ice in Rock Springs Wyoming and rolled it. I wasn't hurt, but the truck was totaled and all of the flight control suffered some sort of minor bending. (Except the ailerons - they were in Oke City still attached to the wings that were sitting on the trailer with the fuselage that Mitch "The 1-26 Sheriff" Hudson had delivered for me.) The elevator shown above had a bent trailing edge, so it had to be replaced with a new piece from Wicks Aircraft Supply. |
|
|
|
| January 3, 2004 - Elevators assembled to the stabilizer for a fit check - I still have to do the final taping and install the elevator seal. |
|
|
|
Here's a detail photo of how the two elevators are aligned at the aft end by the alignment screw. |
|
|
|
The right hand elevator drying in the sun. |
|
|
|
Next I coat the tape thoroughly with Polybrush to wet it out completely and work out any bubbles. |
|
|
|
Then I lay the tape in the wet Polybrush. |
|
|
|
|
|
|
|
To install tapes, first a fresh coat of Polybrush over the rib line. |
|
|
|
Detail of the elevator, control horn and alignment screw. |
|
|
|
| After shrinking the fabric - first coat of Polybrush, then pop-rivets. These are special Stits pop-rivets with large heads - required by the STC. |
|
|
|
|
|
Ready for shrinking. |
|
|
|
December 21, 2003 - Starting on the elevators - same process as the horizontal stabilizer. |
|
|
|
Tapes applied - same process as I used for the elevators above. |
|
|
|
I cut the tapes. |
|
|
|
Stabilizer pop-riveted and ready for tapes. |
|
|
|
| After the first coat is dry, I use a soldering iron to create holes for the pop-rivets that attach the fabric. The I use the handy-dandy pop-rivet puller to attach the fabric securely to the ribs. |
|
|
|
| Both sides have the first coat of Polybrush brushed on - the runs you see are on the inside of the fabric - that's the way it's supposed to be done, plenty of Polybrush is applied to thoroughly coat the weave - until it runs on the inside - but not so much that it drips from one inside surface to the other. |
|
|
|
Flipped over - brushing the other side. Polybrush dries fast - even at 50 degrees outside temperature. |
|
|
|
| First coat of Polybrush goes on - one nice thing about Seattle is that it's normally 46 or so degrees throughout most of the winter, no problem working outside. |
|
|
|
Final shrink completed, I'll brush on a coat of Polybrush prior to cutting the hinge holes. |
|
|
|
It's getting there. |
|
|
|
Fabric attached on all sides, it's now ready for the first 250 degree pass with the iron. |
|
|
|
| One side attached, I cut the second half and proceed to glue it to the leading edge - that's Polytak in the plastic tub and an acid brush to spread it liberally over the area to be attached. |
|
|
|
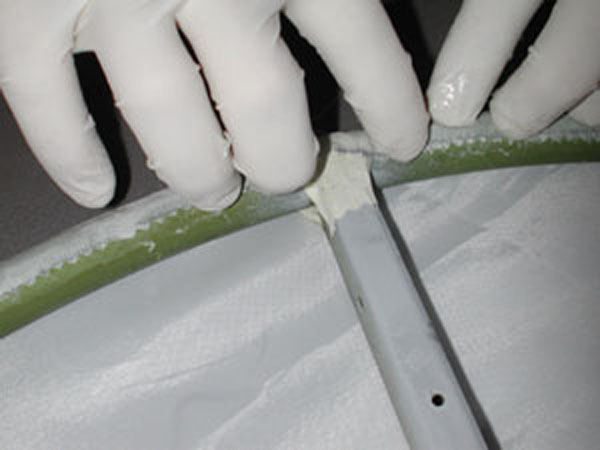
| Polytak is used to attach the fabric to the stabilizer leading edges, at least an inch overlap per the manual, gloves are necessary to prevent Polytak from permanently adhering to your fingers - nasty stuff and MEK is needed to clean it up - not good on bare skin. |
|
|
|
Cutting out the Stits Dacron. |
|
|
|
| Getting taped up prior to covering per the STC manual. All sharp edges and screws get a covering of the Stits fabric tape. Masking tape may not be used because it is paper-based and holds moisture. I saw that on 686's empennage. |
|
|
|
Stab all cleaned up, hinges re-installed, ready for cover. |
|
|
|
New hardware for the cleaned up and painted hinge bracketry. |
|
|
|
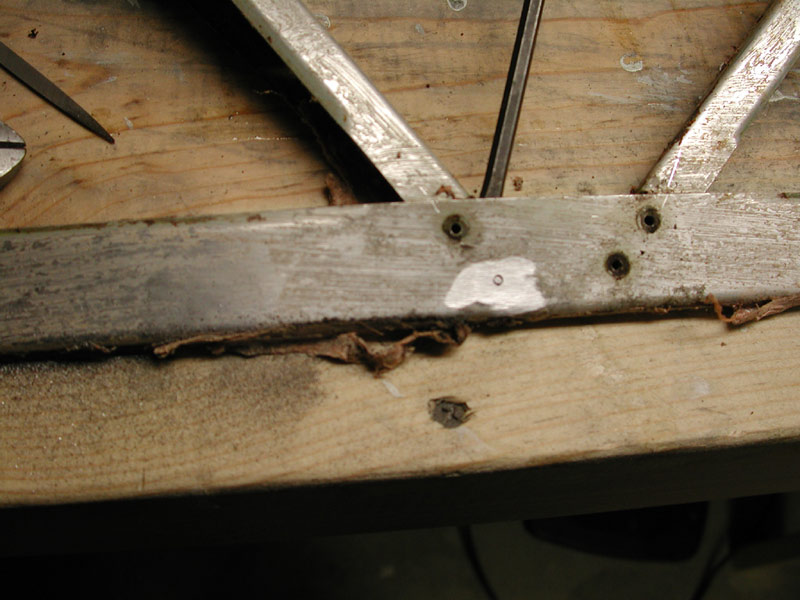
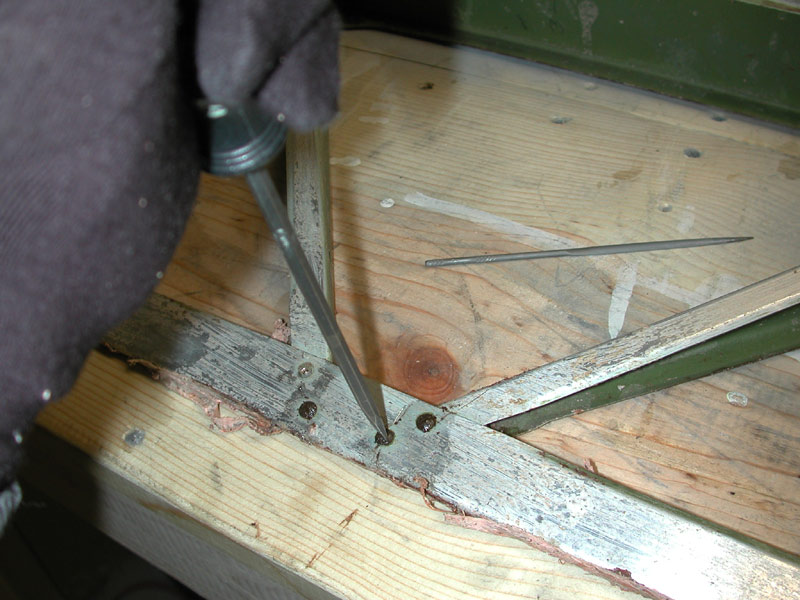
| Here's a photo of a screw hole in the rib of the horizontal stabilizer after all of the minor corrosion was cleaned up. Next I'll paint the bare aluminum with epoxy primer and replace all of the hardware that attaches the hinge brackets - the steel bolts were pretty corroded. |
|
|
|
| Above - It's November 2003 - we have moved to Seattle and the flight control saga continues. I remove the screws that held the covering to the horizontal stabilizer ribs. The screws are steel, the ribs are aluminum and that guaranteed some amount of dissimilar metal corrosion, but not too bad. |
|
|
|
|
038's rudder and vertical baking in the sun, ready for boxing up for the trip to Seattle
|
|
|
|
|
Jeff Daye's rudder getting boxed up and readied for shipping back to him.
|
|
|
|
|
6 July 2003 - Jeff's rudder taped up and ready for silver.
|
|
|
|
|
Percy stakes out the covering table
|
|
|
|
| This is Jeff Daye's 2-22 rudder. There's no way to distinguish the two except for the residue of blue paint on the control horn of his rudder. Once I paint them silver I'm going to have to figure a way to identify them so I don't get them mixed up. |
|
|
|
|
038's rudder with the first coat of Polybrush drying.
|
|
|
|
|
038's vertical stab gets the first coat of Polybrush.
|
|
|
|
| The rudder fully tightened with the tools on the left, calibrated iron, Black Max MolyKote iron and soldering iron. |
|
|
|
|
After the hinge holes are cut out, I set the iron to 350° for the final tightening.
|
|
|
|
|
I use the Black Max iron to shrink around the hinge holes.
|
|
|
|
|
After the initial 250° pass, I open the hinge holes on the rudders with a soldering iron tip.
|
|
|
|
|
Shrinking the 2-22 rudder with a 250° iron
|
|
 |
|
|
The two rudders covered and ready for shrinking.
|
|
|
|
| Above - The vertical stab envelope is glued into place with PolyTak. Above - the rudders are ready for shrinking at the initial setting of 250°. |
|
| Below - May 31, 2003- Jeff's 2-22 rudder has a new trailing edge and with some final cleanup, will be ready for recovering. |
|
|
|
|
The 2-222 rudder next to the 1-26 rudder - they are indeed identical.
|
|
|
|
| the lower rib suffered compression damage, probably happened at the same time the rib was bent, but not sure how it occurred. Easy fix. |
|
|
|
| With half of the old covering removed you can see the pink Polybrush, indicating the Stits Polyfiber process was used on the rudder the last time it was recovered. |
|
|
|
|
This is the bent rib that caused the twist in 038's rudder
|
|
|
|
| May 11, 2003 - I'm going to start with the rudder because it is bent and probably has damage. The blue rudder in the background belongs to a 2-22 that is owned by Jeff Daye's glider club. It has a damaged trailing edge. I've got a new piece of the 7/16" diameter 61ST needed to repair that trailing edge. I'll repair the damaged structure, clean up all the flight controls and recover them all at once. The 2-22 rudder is identical to the 1-26A rudder - there is no difference in materials or thickness. Same rudder. |
|
|
|
|
 |