 |
|
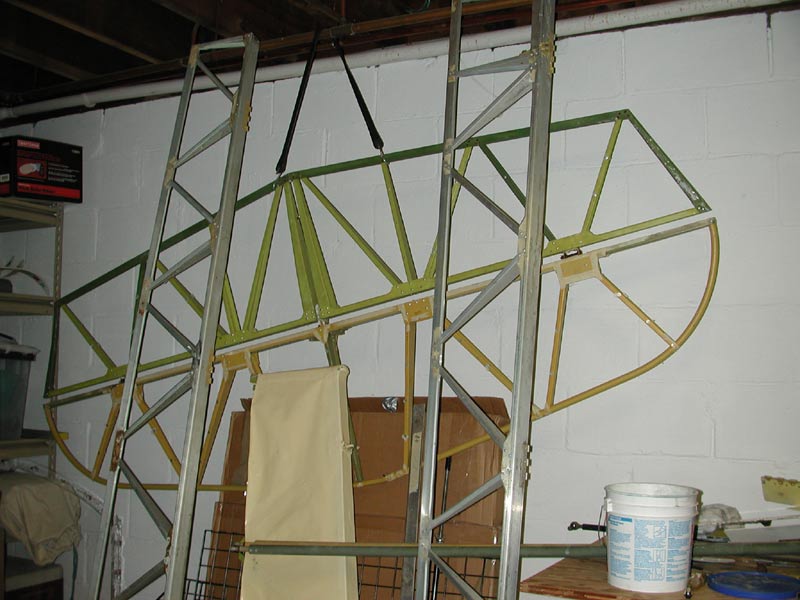
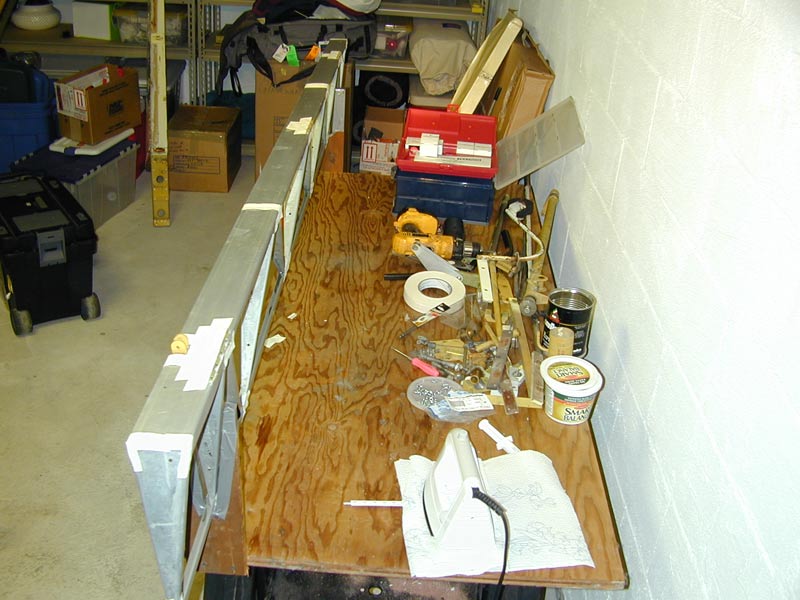
(Thanksgiving 2000) The flight controls had their fabric removed years ago and had been stored at the former owner's house. They were fine except the rudder trailing edge was damaged. Schweizer quoted $386 for a new rudder trailing edge. Got a new trailing edge for $10 from Aircraft Spruce (Thanks to my friends at the 1-26 Association for the heads up on that one.) |
 |
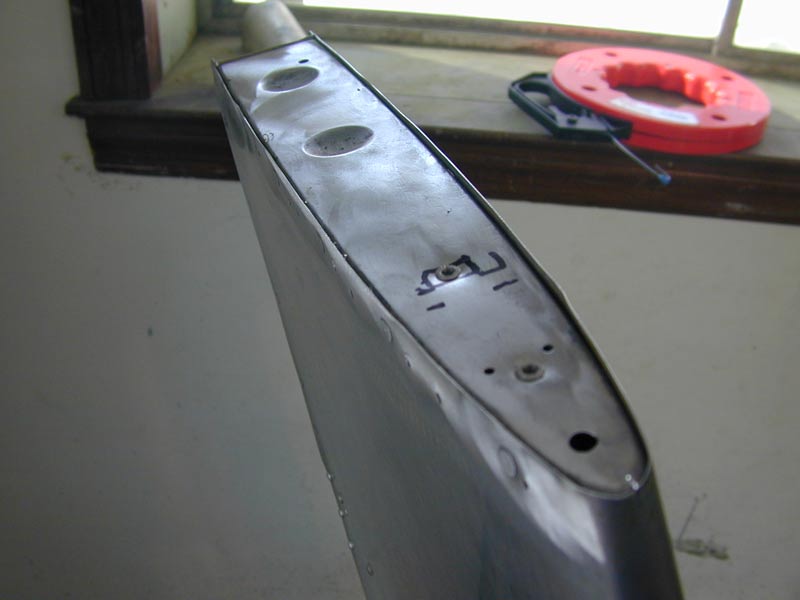
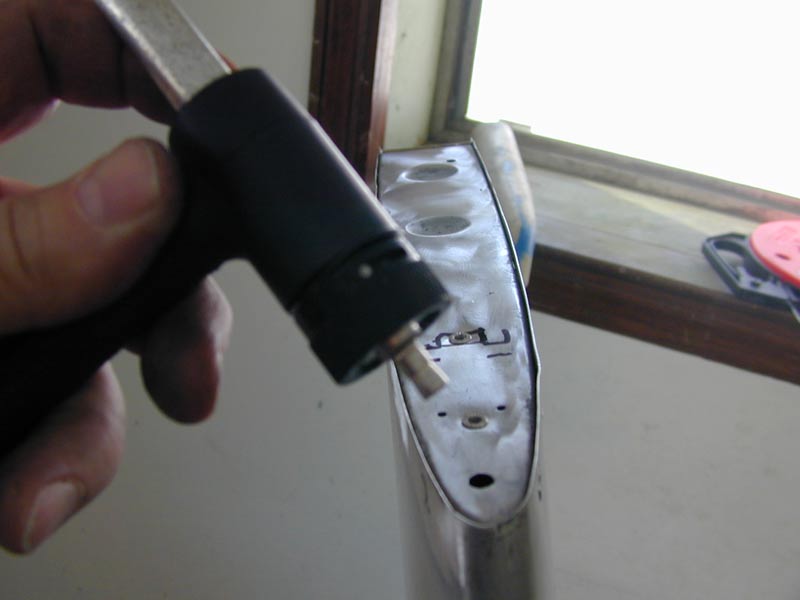
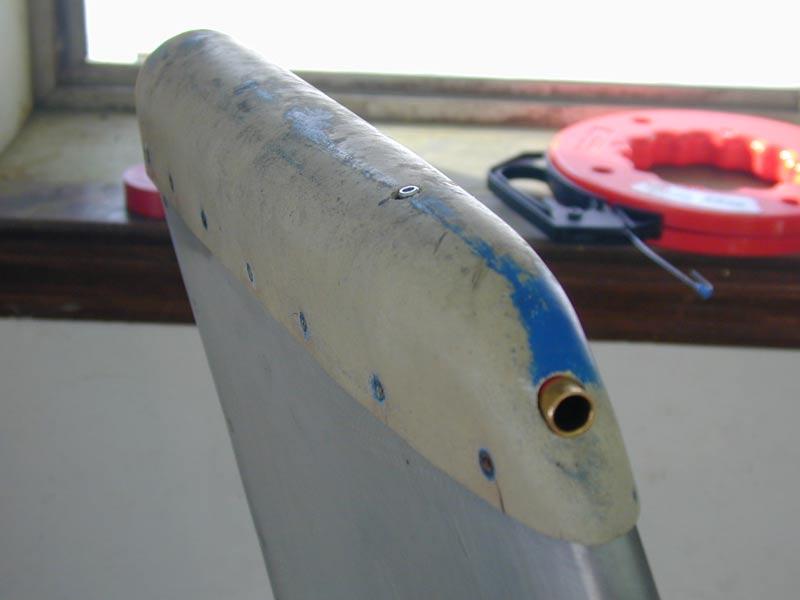
| Rudder upper spar at the hinge mount area has two vertical cracks that require an internal doubler. The rudder is going slower than the other flight controls. It takes time to prepare flight controls for covering - all in all about 20 hours to get them all cleaned up, repaired and new steel PK screws installed. |
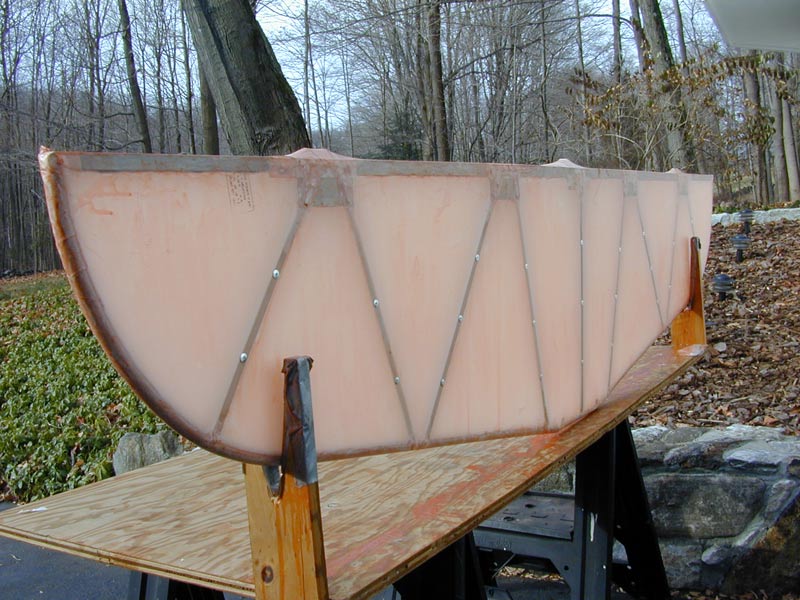 |
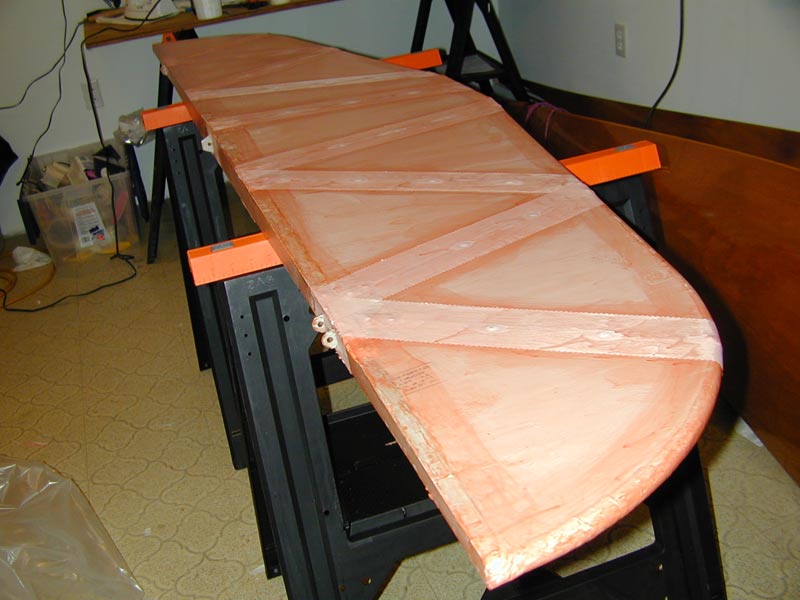
Above - the horizontal stab has the basic envelope installed, one coat of Polybrush and the fabric attached to the ribs with pop-rivets. |
 |
Below - putting on the rib tapes. |
 |
| I'm using the Stits Polyfiber process. In my opinion, it's the only way to go. |
 |
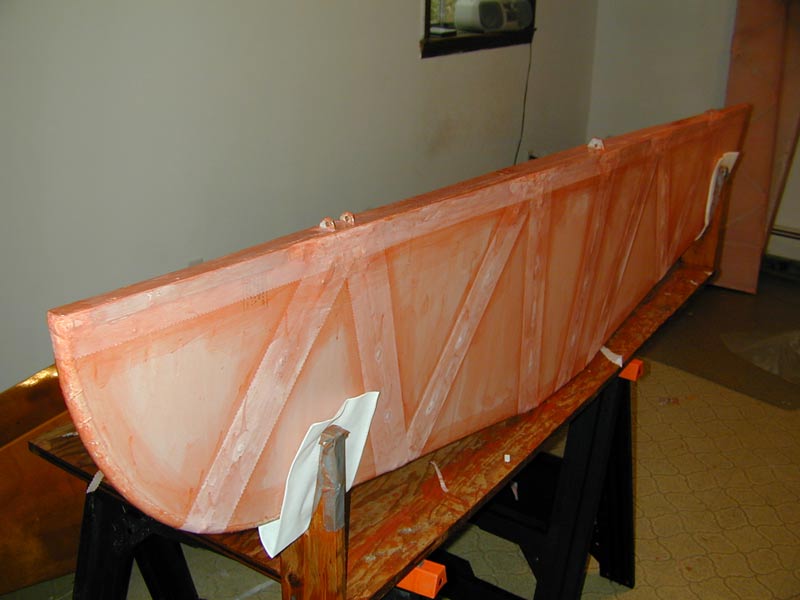 |
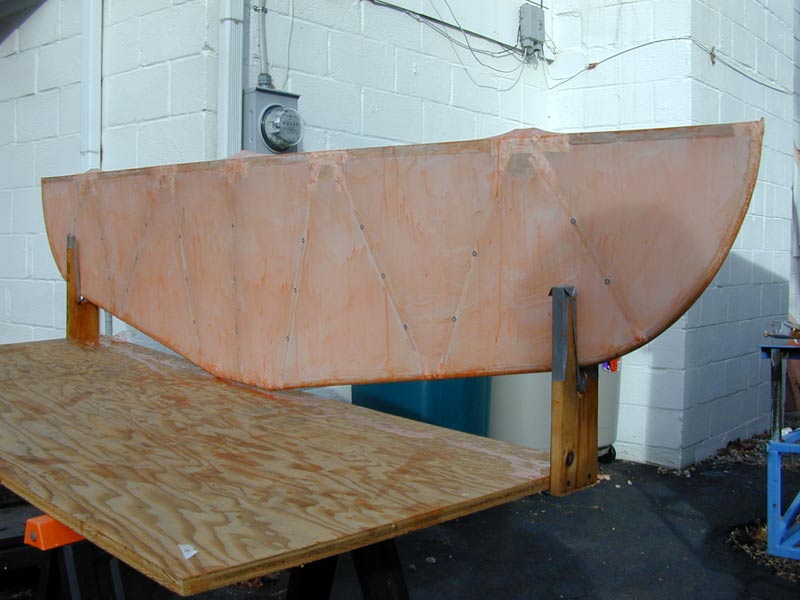
| All taped up except for the bias around the edges and ready for the spray coats of polybrush. I'll finish the flight controls through silver, then clear Aerothane to match the polished metal fuselage. |
 |
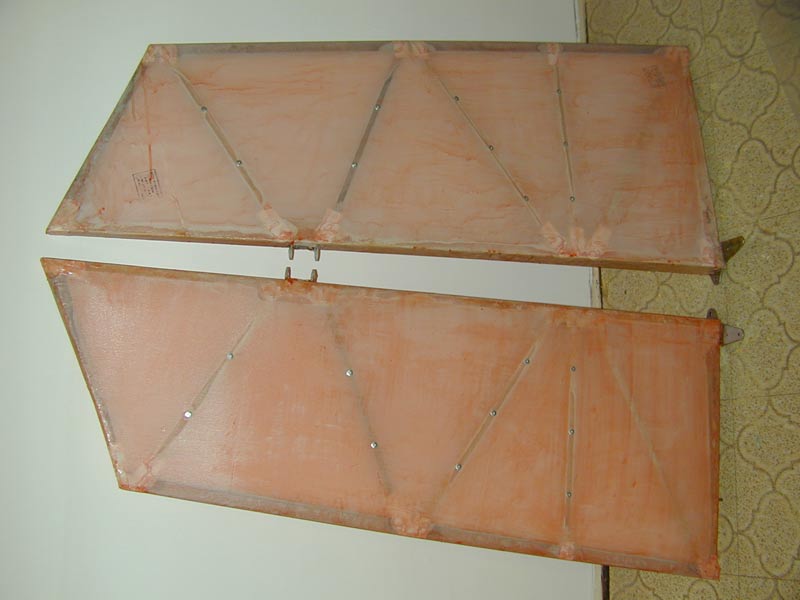
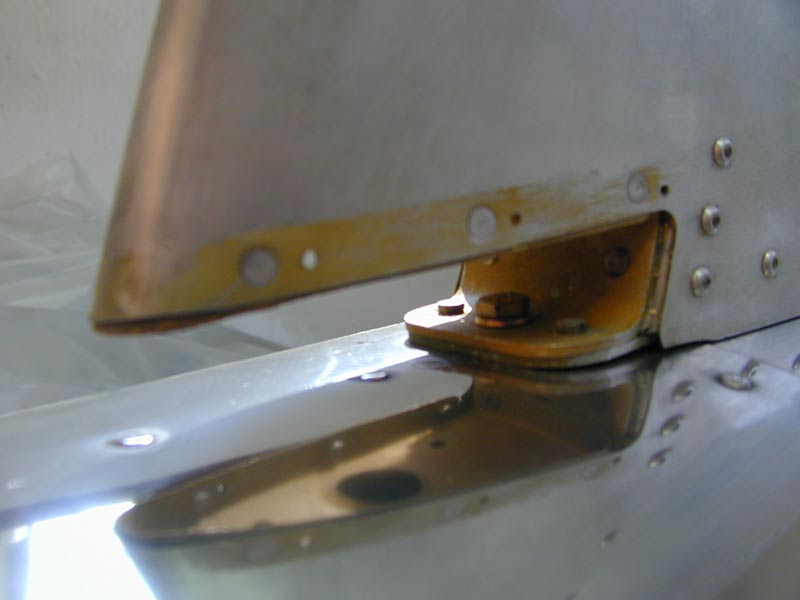
| Two last coats of Poly-brush spayed on and ironed smooth in preparation for the silver. Rudder is against the wall, elevators are assembled to the horizontal and a gap seal installed. The ailerons and rudder also have gap seals installed and will be attached to the wings and vertical stab with Poly-Tak. You can see the rudder gap seal hanging down in the picture below. |
 |
| Two cross-coats of silver Poly-Spray - next step is to sand it smooth and apply two more cross-coats of Poly-Spray. Then the clear Aerothane over the Silver and they're done. |
 |
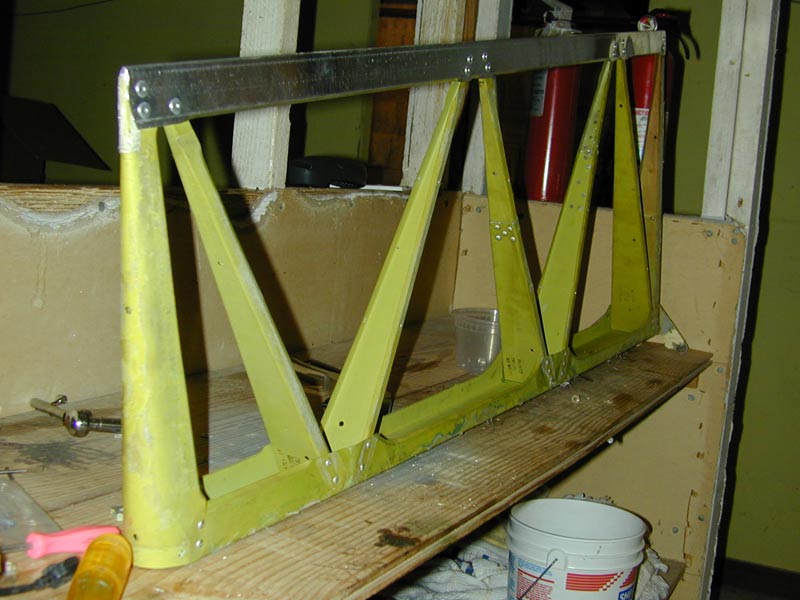
Below - the ailerons are cleaned up and readied for covering. |
 |
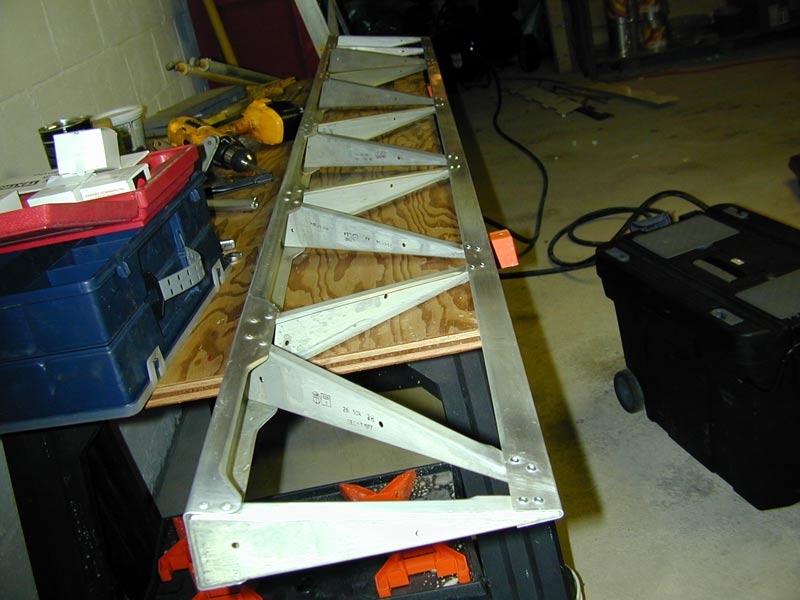 |
Below - ailerons getting taped and almost ready for cover. |
 |
 |
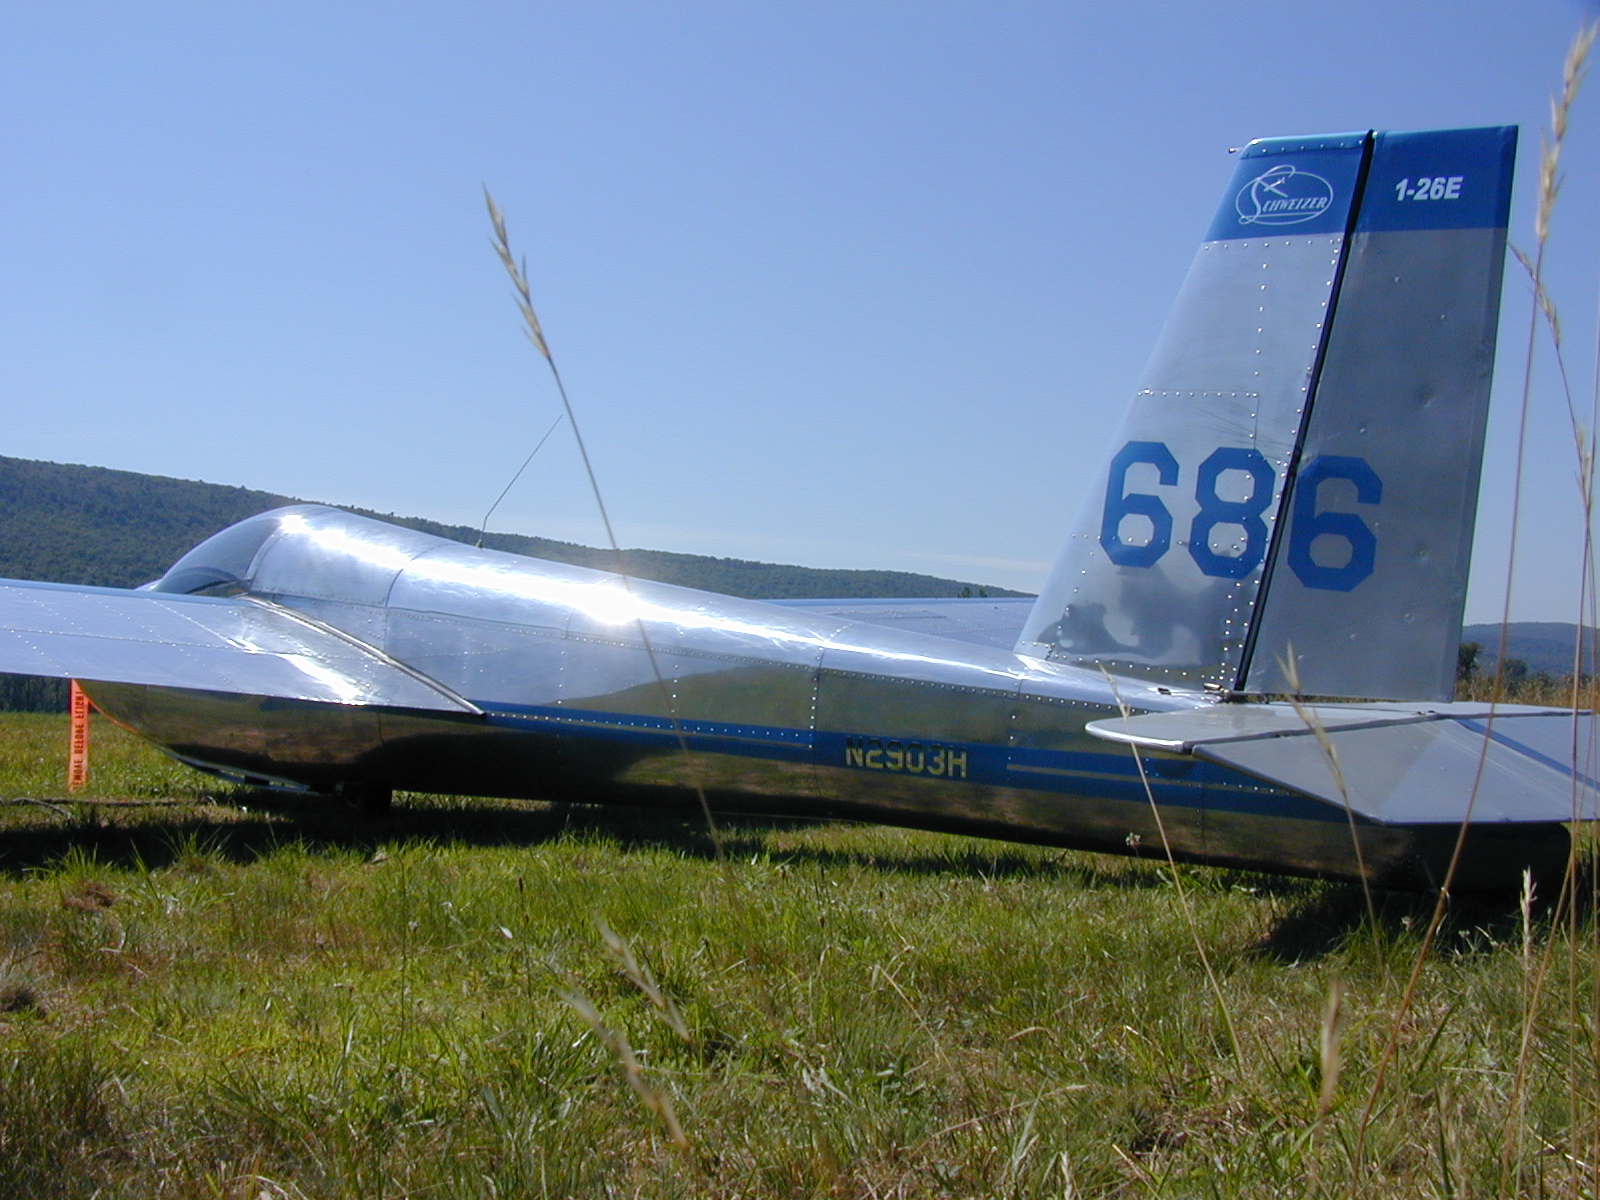
| Above - March 2001. |
 |
 |
 |
 |
 |
 |
 |
Below - May 2001. |
 |