|
Nimbus Rudder - 17 February 2002
|
|
|
Vertical is finished, now for the rudder and elevator.
|
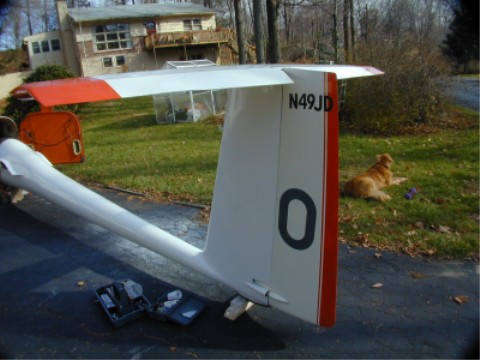 |
| Here's the rudder balance jig I built to check and record control surface balance before and after re-finishing. |
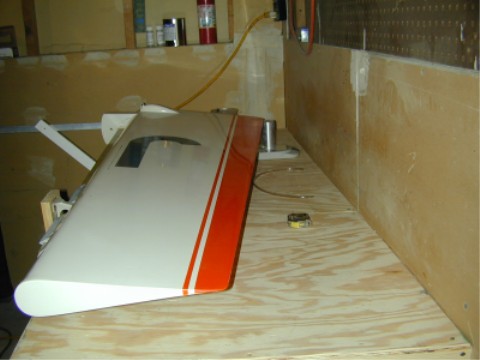 |
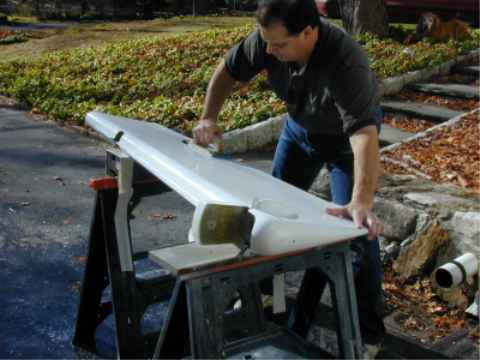
| Thanksgiving day 2001 is a good day to sand the rudder. The air file keeps it flat and knocks the gel-coat off quickly. I finish up with the 5" DA below. I'm taking all the gel-coat off down to the fiberglass, except for any low spots because I want to prevent any future cracking and, especially on the flight control surfaces, keep it light. |
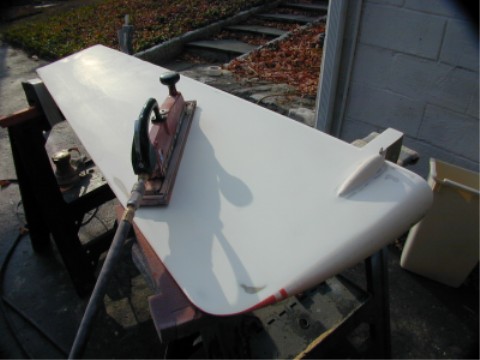 |
| The rudder and the forward portion of the fuselage are the only fiberglass components on the glider, rest of it is all carbon fiber composite. Consequently, the rudder houses the VHF antenna. |
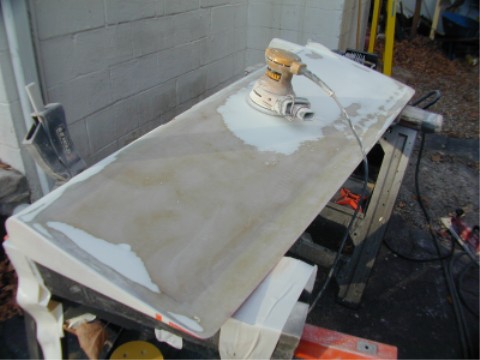 |
| All sanded down smooth, both sides, small areas are filled and it's ready for some gel-coat. |
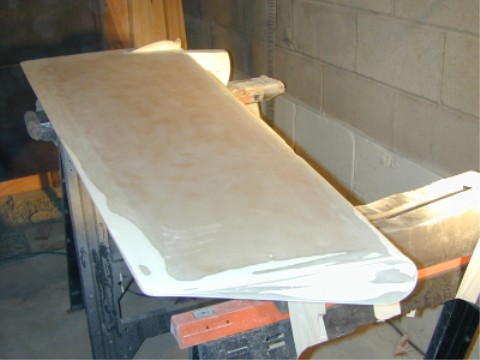 |
| More Simtec 2481 rolled on and sitting under the heat lamp to get the temp up to 80°. I'll flip it over tomorrow and do the other side. 2 or 3 more coats and it will be ready for sanding and polishing. |
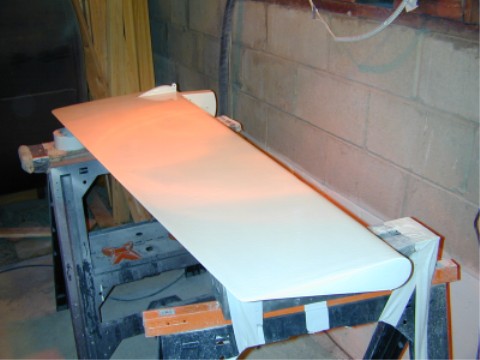 |
| OK, December 1st 2001 and it's 60° in Ridgefield, CT! Time to sand that new coat of gel-coat down flat and get ready to spray on a couple of coats with my new gel-coat gun. |
 |
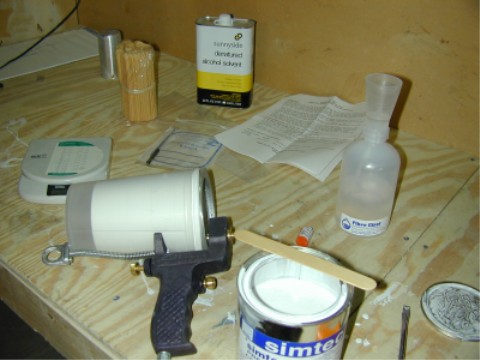
| Here it is - made specifically for spraying gel-coat, about $100 from the Fiber-Glast company. They also sent some more MEKP and that handy-dandy MEKP measuring bottle, makes mixing a breeze. I tried a test spray with the gun and boy does it put out the gel-coat! Kind of like MIG welding - you need to get on with it or you're gonna be left behind! A quart of Simtec 2481 - and more on the way. |
 |
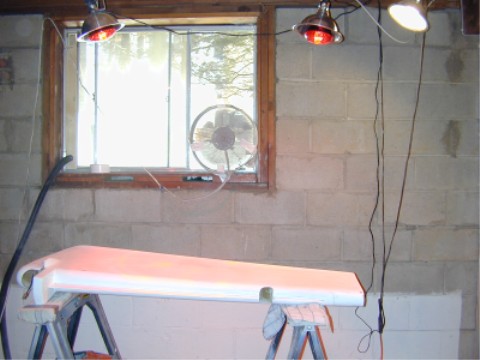
| Set up for spraying, good exhaust fan, plenty of light and a couple of heat lamps to really get the temp up. Needs to be at least 70°F, but 80°F or higher really helps. You can see the sanding exhaust duct in the LH side of the window - works great - no sanding dust in the basement at all. |
 |
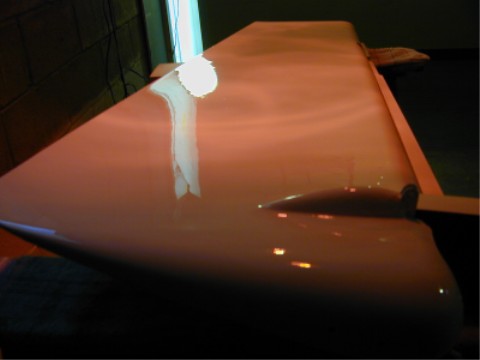
| I love this gel-coat gun! 1/3 quart of Simtec sprayed on in about 15 seconds! What a machine! |
 |
|
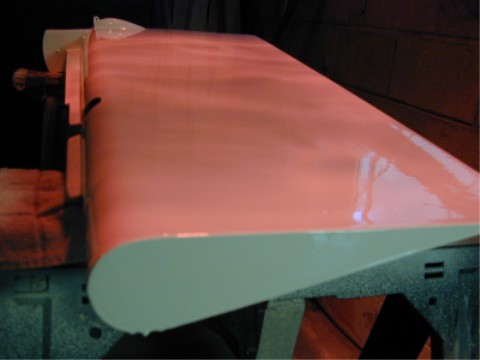
It goes on thick.
|
 |
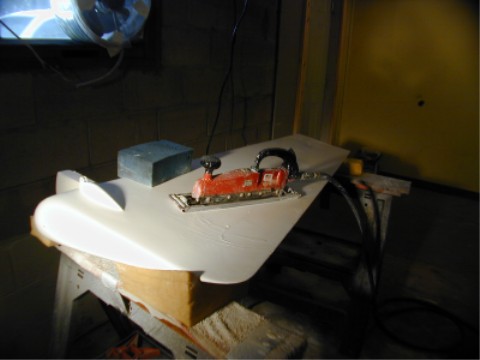
| December 8 and I sand the rudder down flat again. Now there's enough gel-coat that I can get it totally flat with the air file, but not go through to the fiberglass. One more thick coat is all we need. |
 |
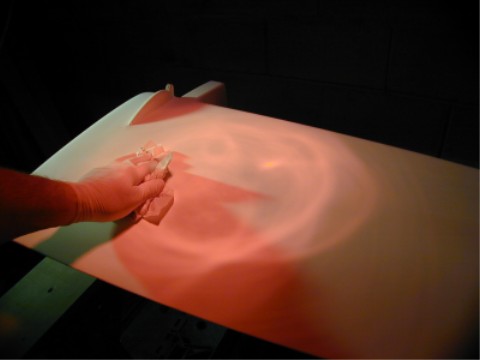
| After sanding, I thoroughly rinse the rudder with clear warm water and add a few ounces of acid to provide a water break-free surface, this insures there's no oil or wax or fingerprints. After another clear water rinse, it's time to put on a new pair of latex gloves - no more fingerprints. I blow it dry with compressed air, heat up the surface to be gel-coated with heat lamps and do a final wipe-down with a paper towel. |
 |
|
Above, the final, thick coat of Simtec 2481.
|
 |
|
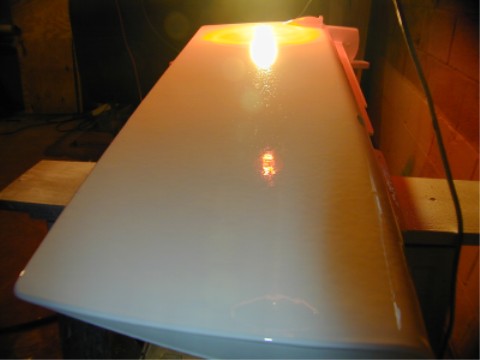
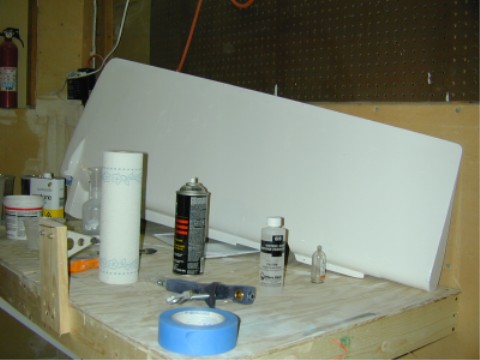
The rudder is done, just needs a final sanding through 1500 and then polishing.
|
 |
|
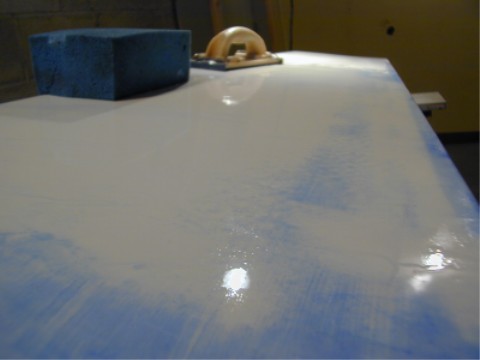
22 December 2001 and I've painted blue ink on the surface to show the sanding progress.
|
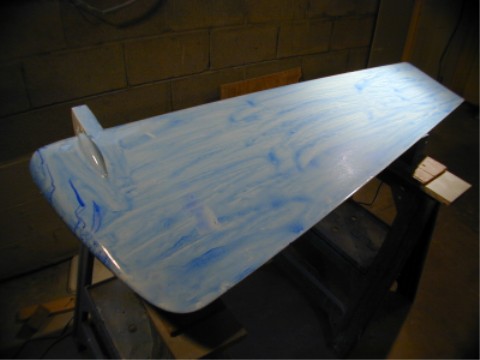 |
| You can see where it's flat - and where it's not. Starting with 220, then 400, 600 and finally 1500 and it's ready for polishing. I bought that drywall sander and screwed a 1/4" piece of Plexiglas to the bottom to provide a large, flat surface for the sandpaper to rest against. This insures a very flat rudder surface. The original rubber pad on the sander will not cut the gel-coat flat. It will look OK until you polish, then you'll see the minor imperfections left because the rubber just rides over the bumps. The Plexiglas cuts through the hills and valleys and levels the gel-coat. Big blue sponge to keep lots of clean water on the surface. It's important to wash away the sanding residue and keep the surface clean, otherwise dirt and previous sandpaper grit will cause scratches. |
 |
|
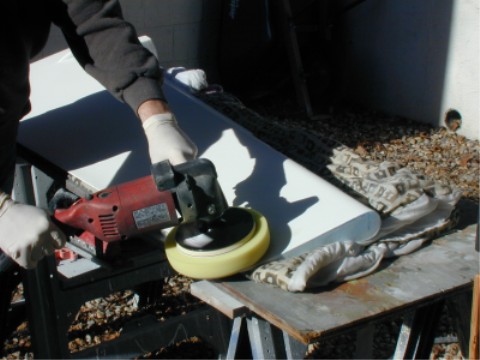
Foam polishing pad and some 3M fine cut polish does nicely.
|
 |
|
It's hard to see because it's white, but it's a very shiny rudder.
|
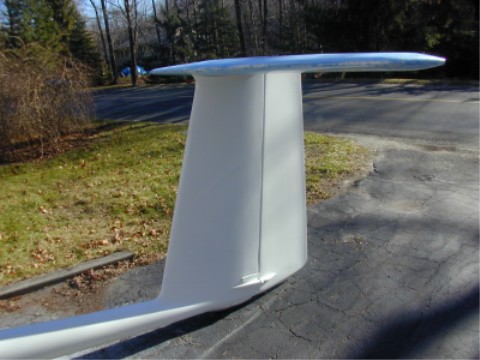 |
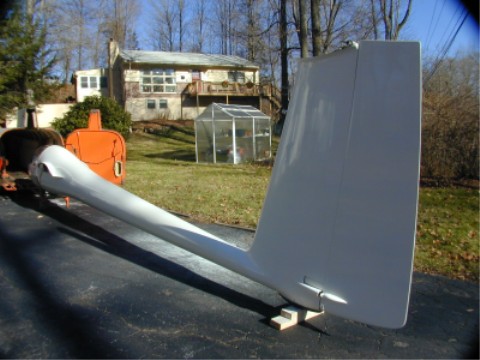
| It's a big rudder - with the red stripe removed, it really looks bigger than it did. Horizontal is dyed blue because it gets sanded and polished next. |
 |
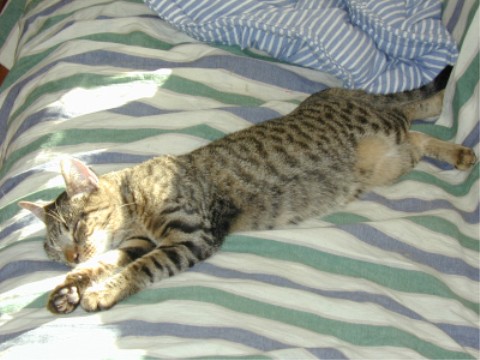
| All that work makes one very tired. Time for leftover turkey sandwich and a nap in the sun. |
 |
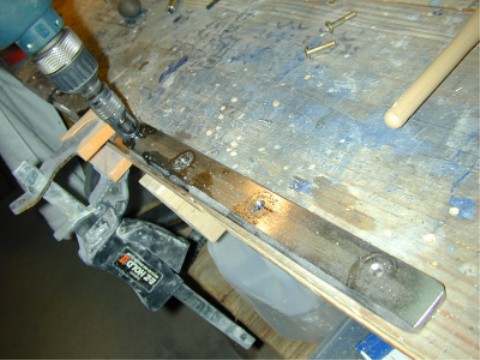
| 17 Feb 2002 and it's time to balance the rudder and install the additional weight required to offset the re-finishing. The additional gel-coat requires 14 ounces of steel to be added to the leading edge. I spent the entire morning grinding this piece of hot-rolled steel to the proper shape and drilled attach holes every 4 inches as required by the maintenance manual and now I'm using the microstop to countersink the screw holes. |
 |
|
|
|
|
|
|
|
|
|
|
|
|
|
|
|
|
|
|
|
|
|
|
|
|
|
|
|
|
|
|
|
|
|
|
|  |