Kayak for sale
$700 OBO
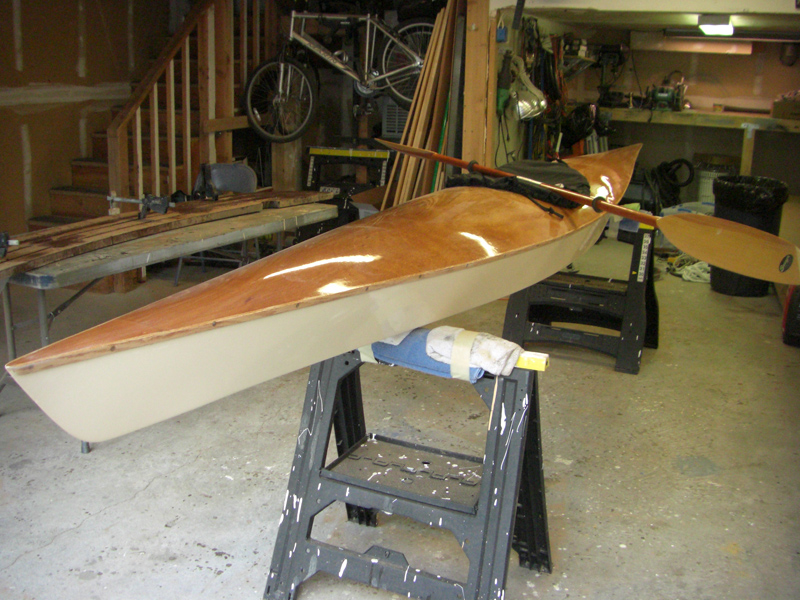
Chesapeake Light Craft Cape Charles 17
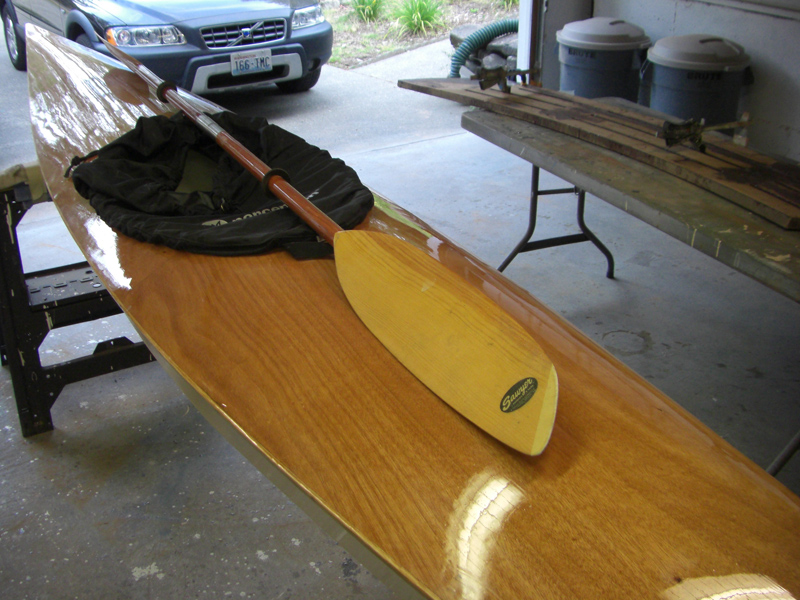
Perception spray skirt, paddle, Yakima double kayak roof rack - all included
Home
Make me an offer (253) 863-1059 home, (253) 620-7233 cell
|
 |
Below - paddling in Quartermaster harbor at Dockton. |
 |
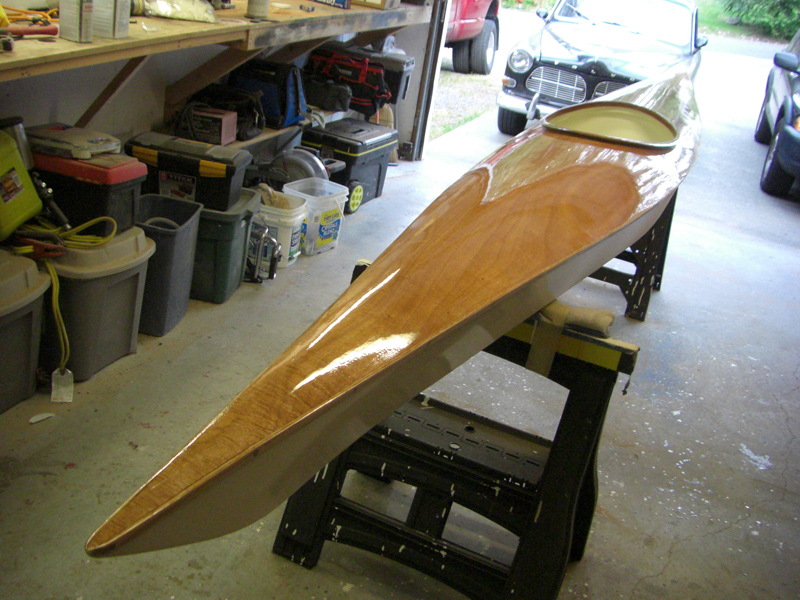
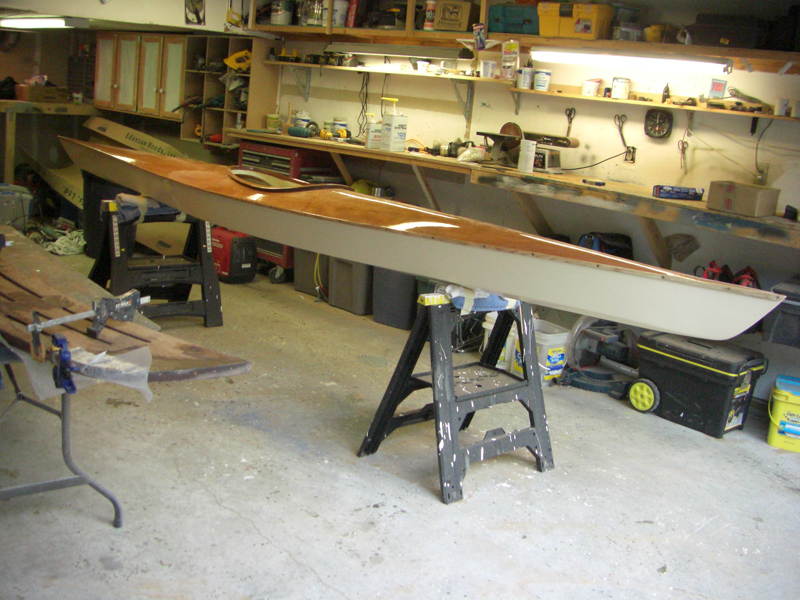
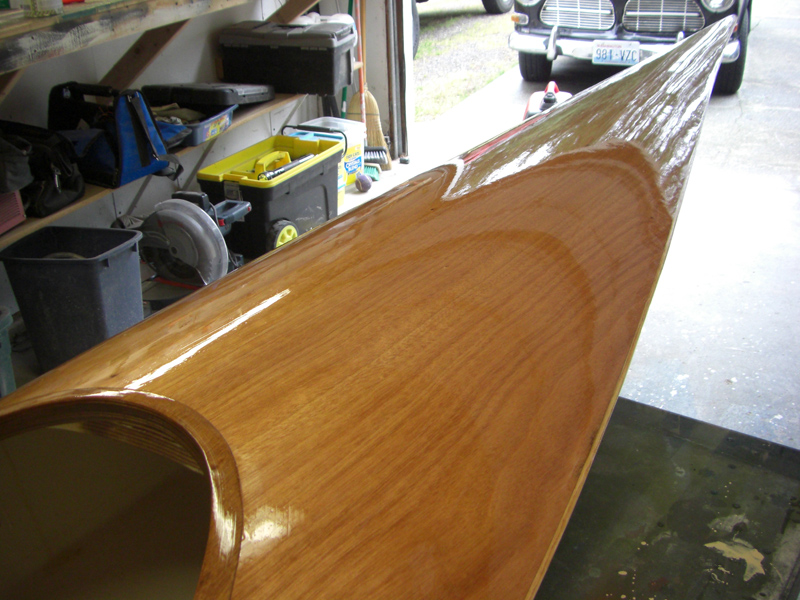
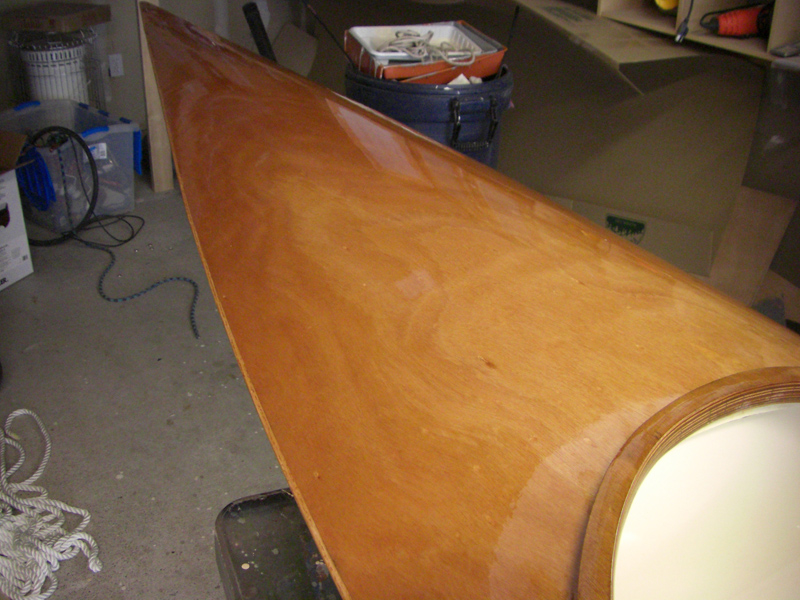
| New deck mahogany plywood replaced and varnished with 7 coats of Epifanes high gloss and new hull paint just finished. |
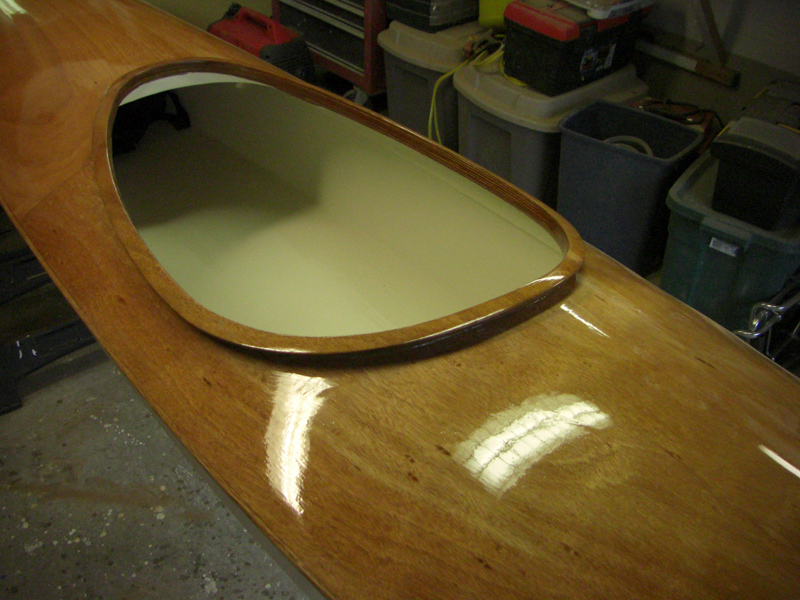 |
| Perception spray skirt, double paddle included. There is a finished and painted compartment aft of the seat, you just need to cut a hatch in the deck if you want a cargo area back there. |
 |
| |
 |
| All Bruynzeel BS1088 mahogany (Okoume) plywood, 3oz crowfott cloth epoxied on exterior of hull. Interior and deck all epoxy coated (West System). Very light - 35 lbs. |
 |
| |
 |
| |
 |
| |
 |
| |
 |
Below - Yakima dual kayak roof rack included. |
 |
| |
See deck replacement process below. |
| |
| |
| July 5, 2007 - Renee built this 17' Chesapeake Light Craft design kayak in 1997. I decided to replace the deck since the old one had suffered from inattention over the past 10 years. |
| |
|
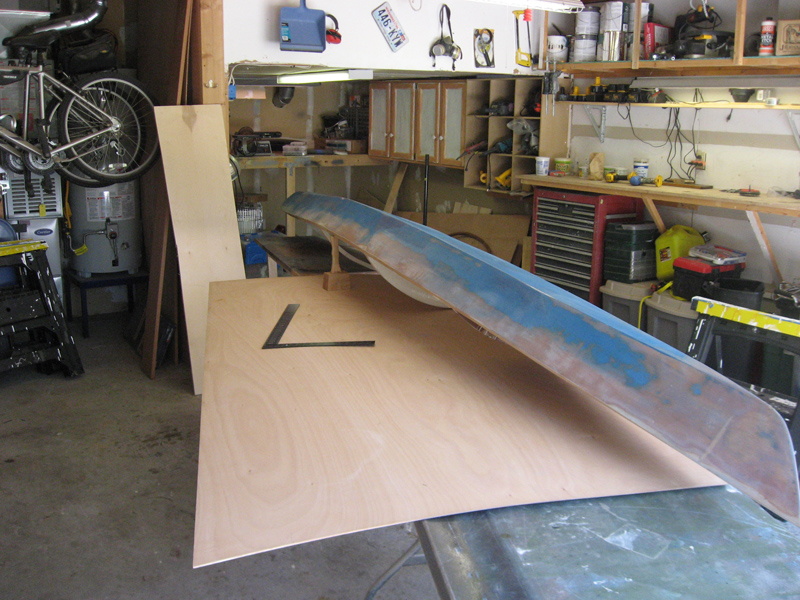
| First I need to go up to Kent and visit Edensaw Woods. Very nice and helpful people there - they let me run around and salivate over all their wood - they have everything here,. like Walmart for exotic woods. Above is a nice selection of any kind of specialty plywood you can imagine in all thicknesses and grades, from Teak to Oak to - what I came for: Joubert BS1088 Okoume mahogany in 3mm. $54 for a 4x8 sheet. |
 |
| 30 minute drive back home and I'm ready to cut and glue. First I have to lay out the deck piece and scarf it together to form a deck that's just shy of 17' long and 26" wide. |
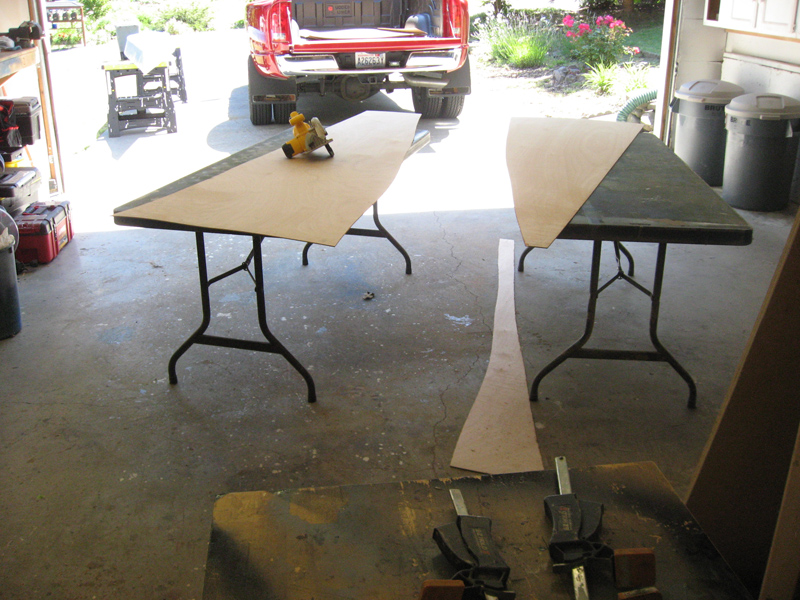 |
Below - I cut the two panels together to form a nice straight butt-joint line. |
 |
|
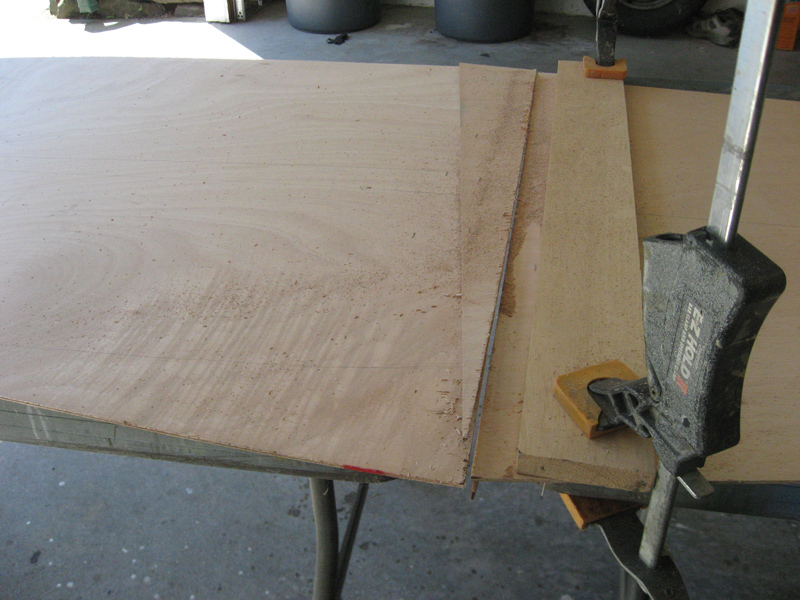 |
Then I epoxy the two panels together with a backing plate. |
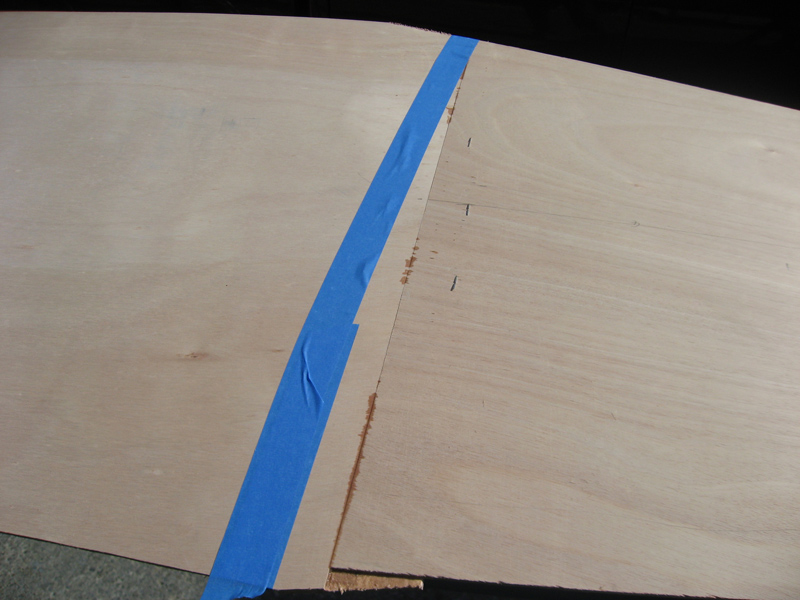 |
|
 |
|
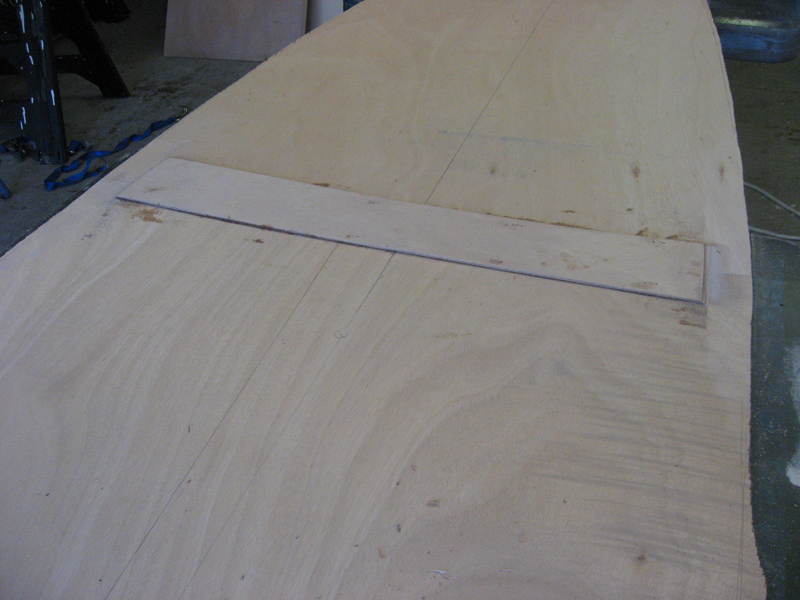 |
I have to trim the edges of the butt block to clear the gunwales. |
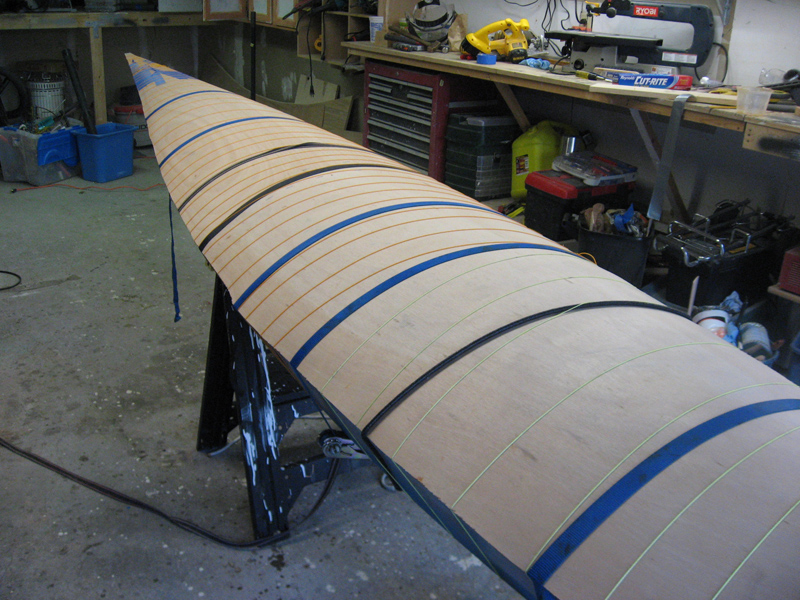 |
| Using some ratchet straps to hold the deck down, Renee and I tie it up with string to hold the deck firmly to the hull while the epoxy sets up overnight. |
 |
| Below - July 6, 2007 - this morning I removed the string and prepared to cut the cockpit hole, install the skirt coaming and the rub rails. |
 |
First, I used the router to trim the edges of the new deck flush with the sides of the hull. |
 |
|
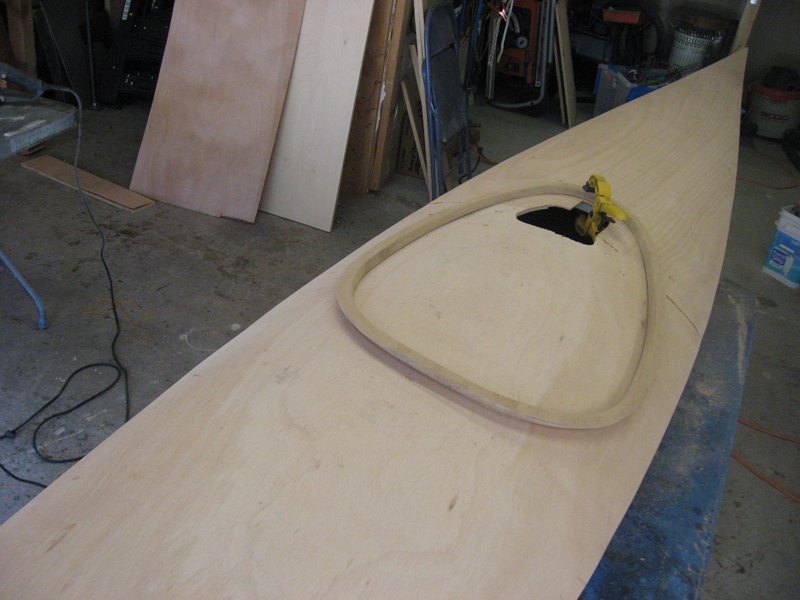 |
I located the coaming and drew the line for the hole that needs cutting. |
 |
Then I cut the cockpit hole. |
 |
Glued on the coaming... |
 |
...and prepared the rub strips for installation by masking off the rest of the hull and deck to minimize the epoxy mess. |
 |
|
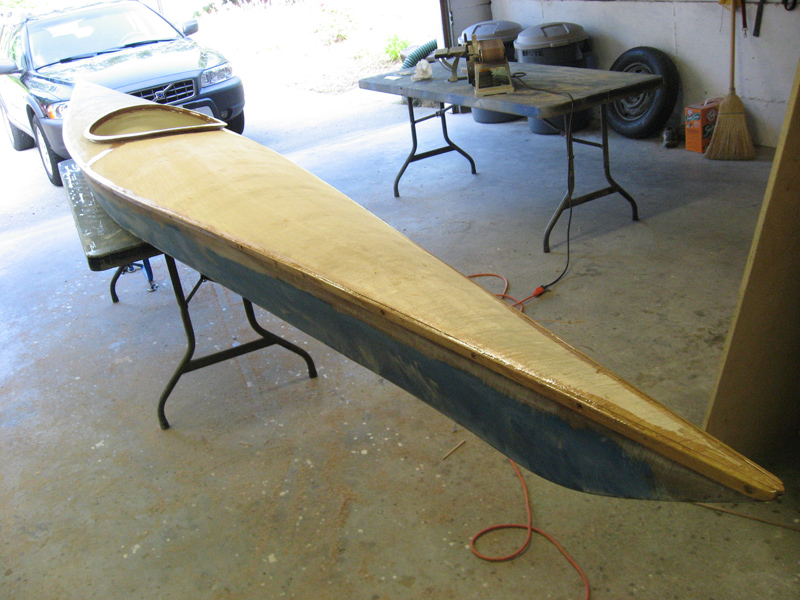 |
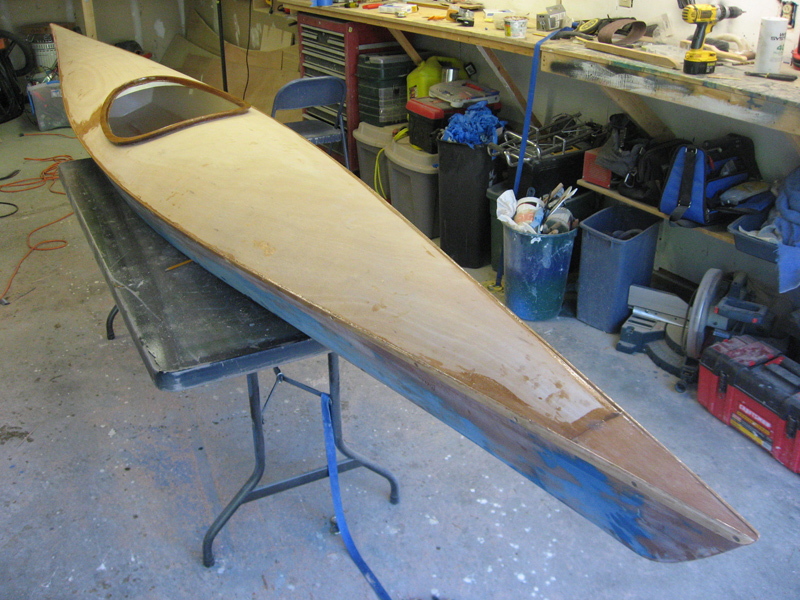
Above and below - rub strips glued on, epoxy coating the joints and the new coaming. |
 |
|
 |
|
 |
Next, I sand it all down and varnish the new deck. |
 |
July 10, 2007 - Second coat of varnish on the deck. |
 |
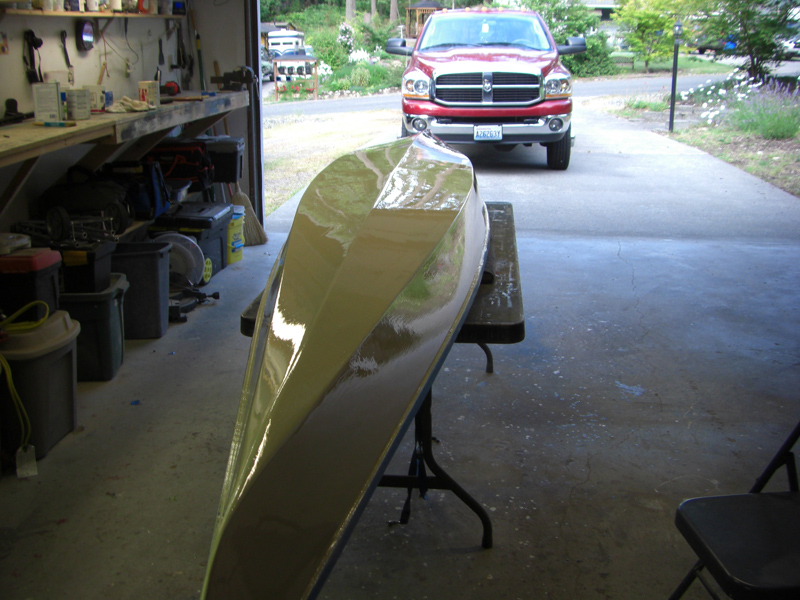
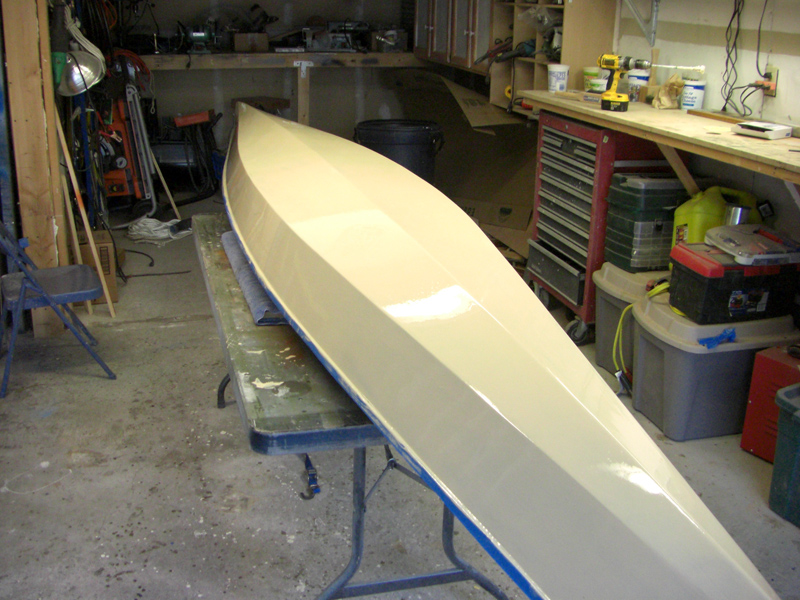
| Below - July 19, 2007 - I sand the blue paint off the hull - down to the epoxy and fiberglass covered wood. |
 |
Below - I brush on two coats of Interlux Bristol Beige. |
 |
| |
 |
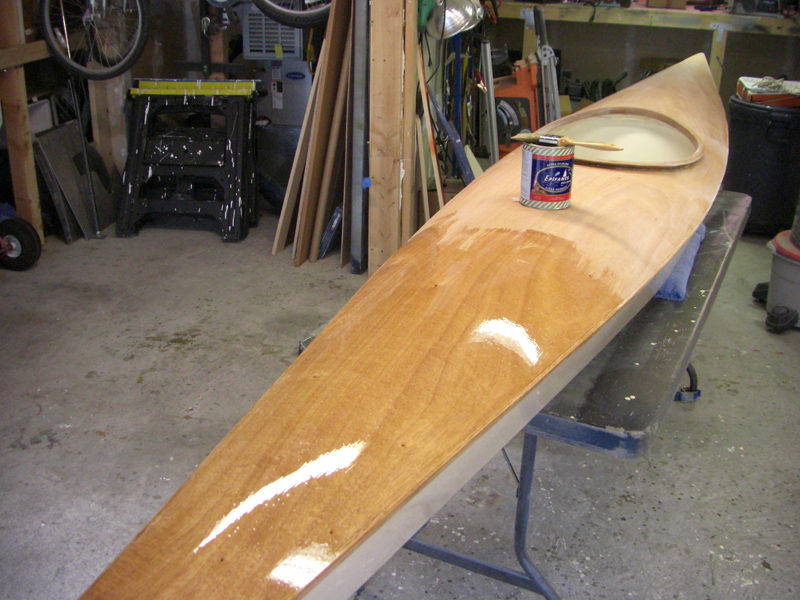
Next I roll the kayak over and sand down the deck for another coat of varnish. |
 |
| Above - you can see the rough second coat, I sand it down with the DA loaded with 220 until all of the uneven, mottled varnish is flat. The next coat will be much smoother. |
 |
| |
 |
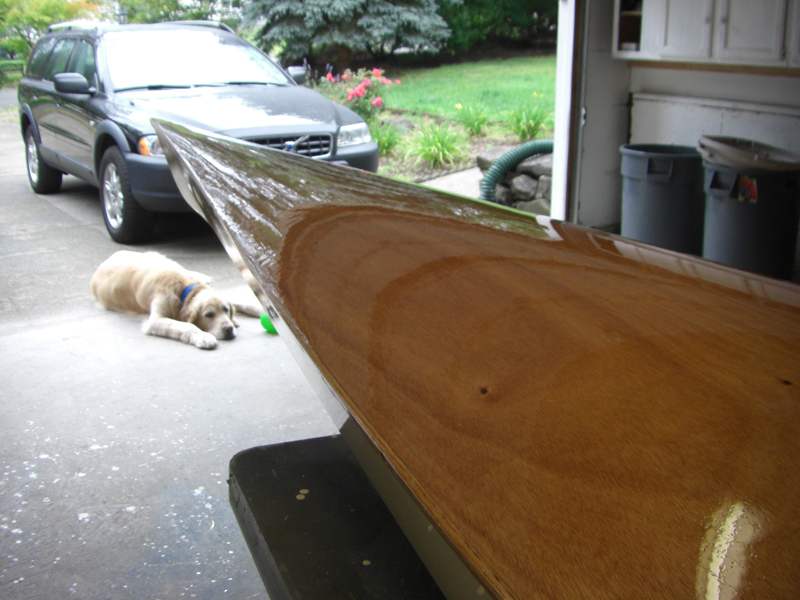
Below - this is the third coat of Epifanes, probably two more to go to get the finish I want. |
 |
| |
 |
| |
 |
Looking better than it used to. |
 |


