| This sequence of photos starts at the top and works its way down the page as progress marches on. |
| Latest photos start here. |
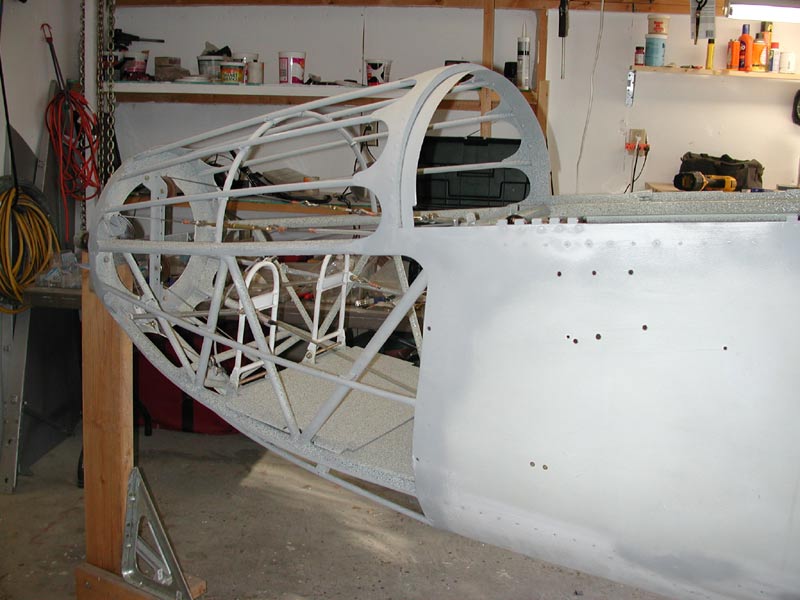
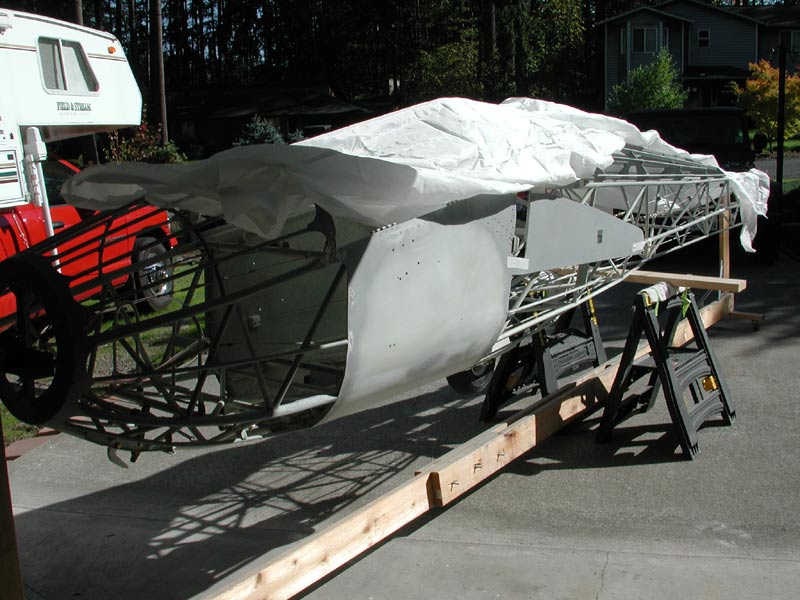
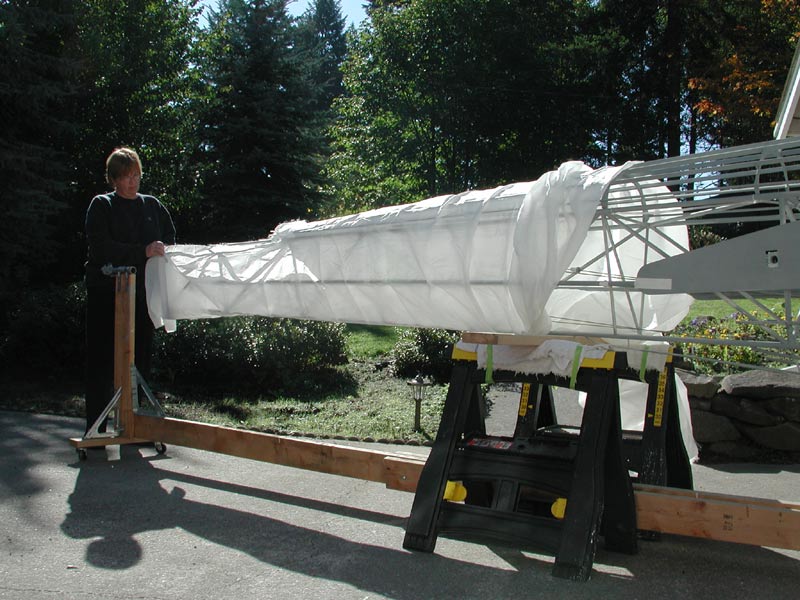
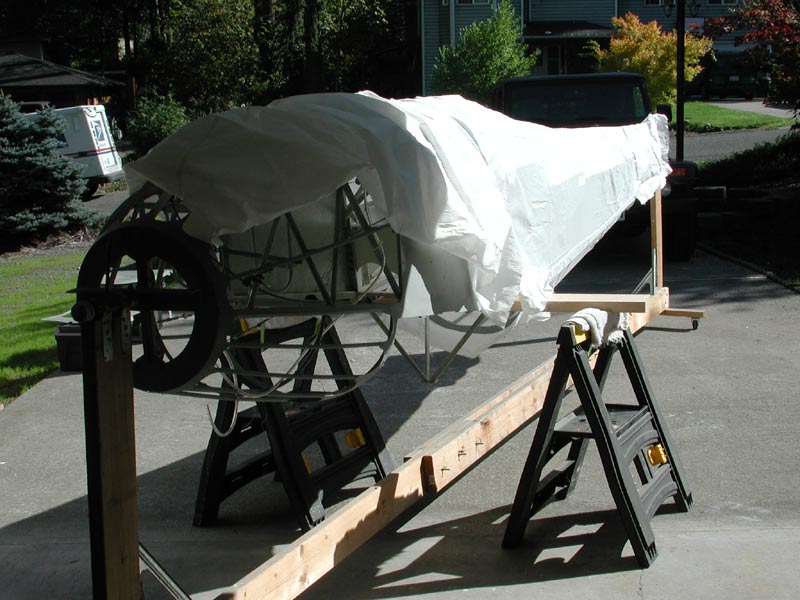
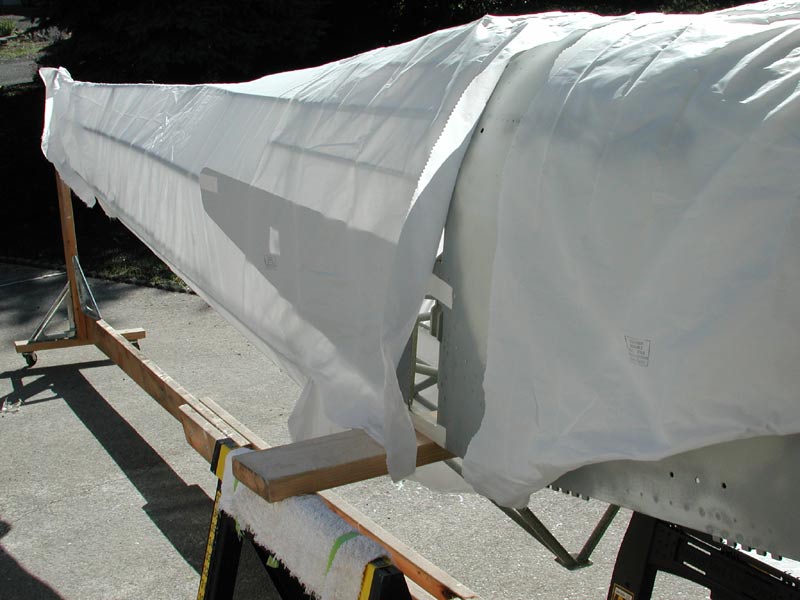
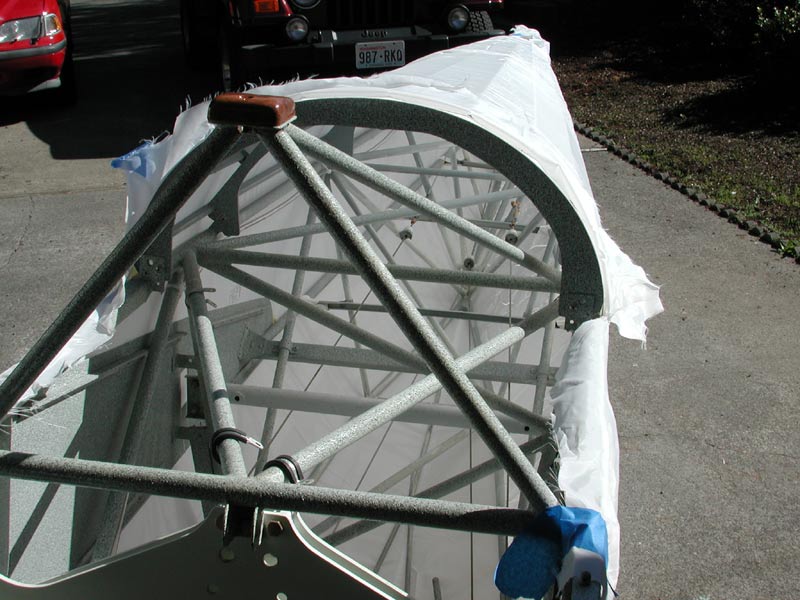
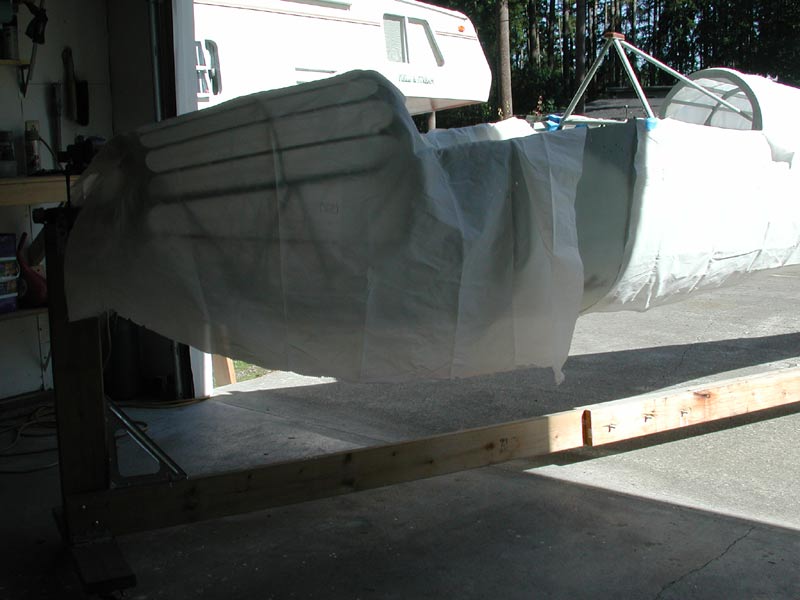
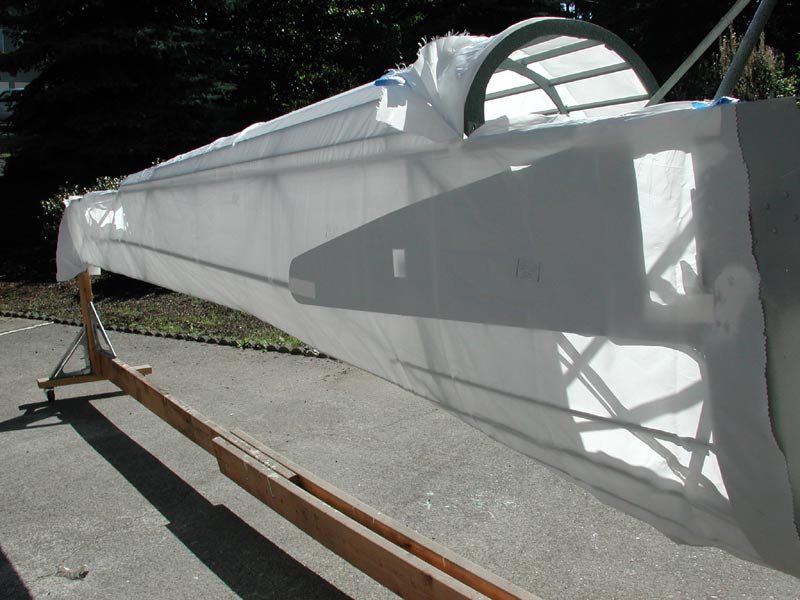
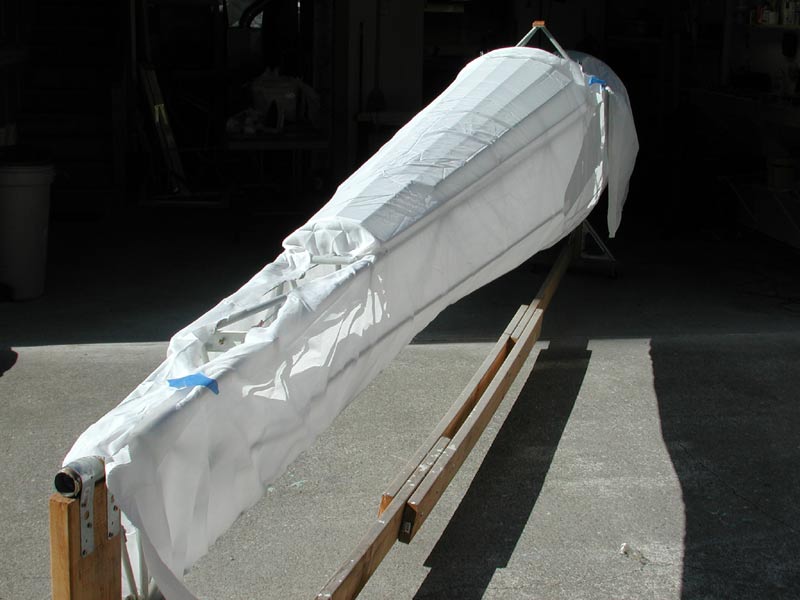
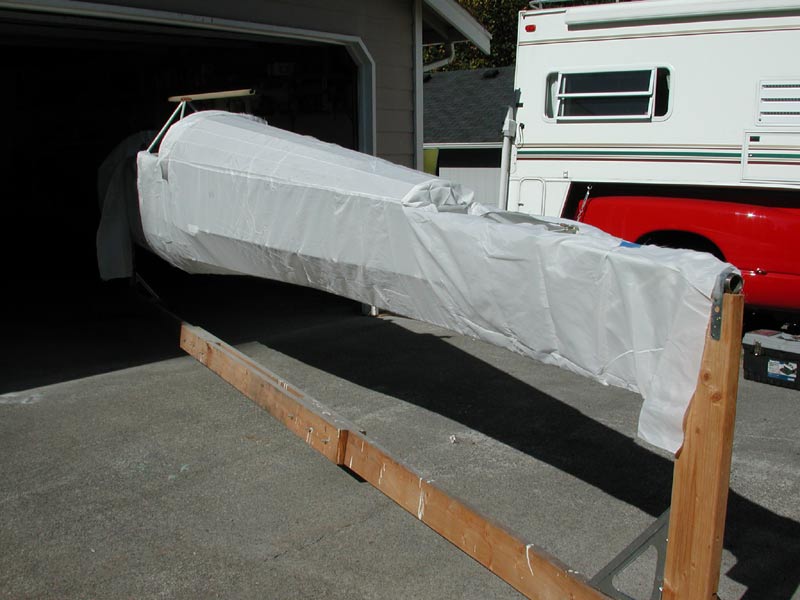
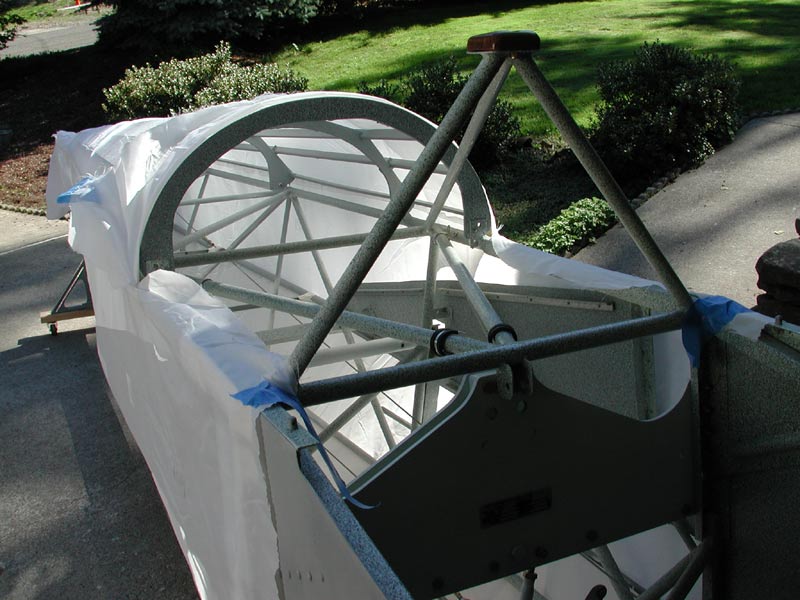
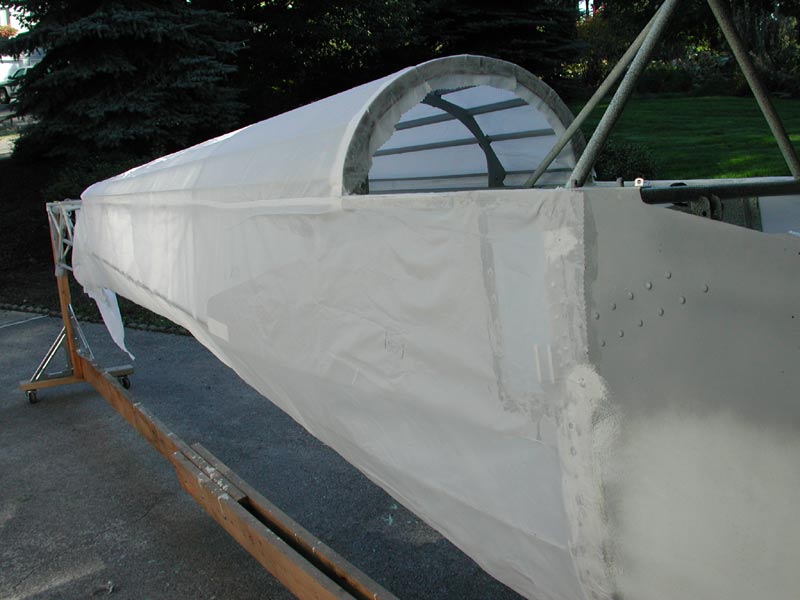
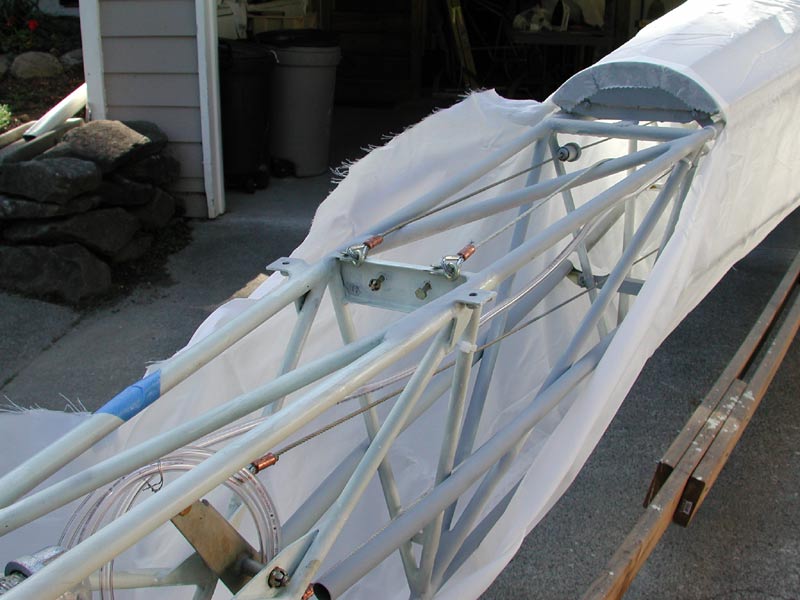
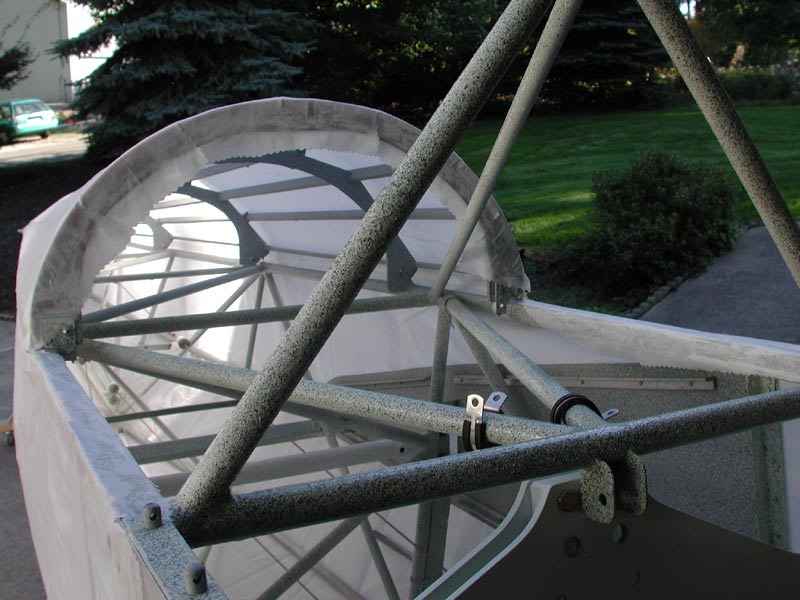
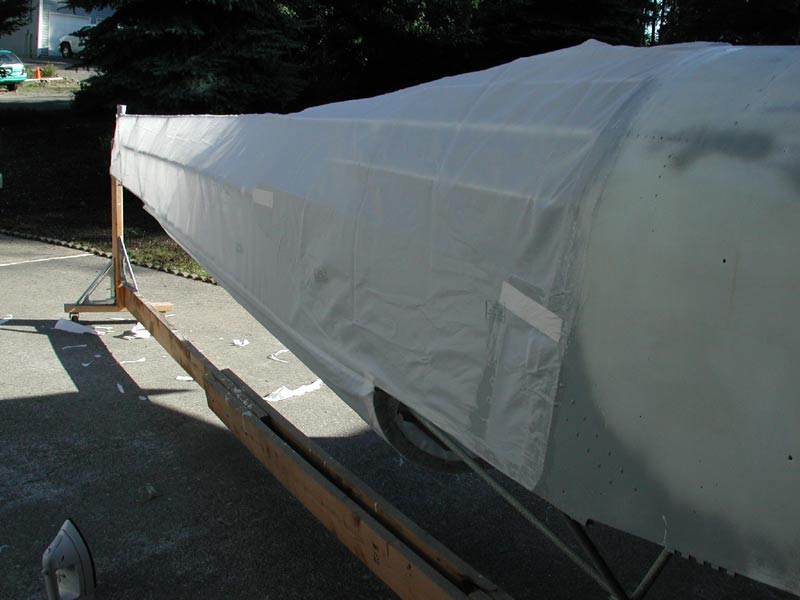
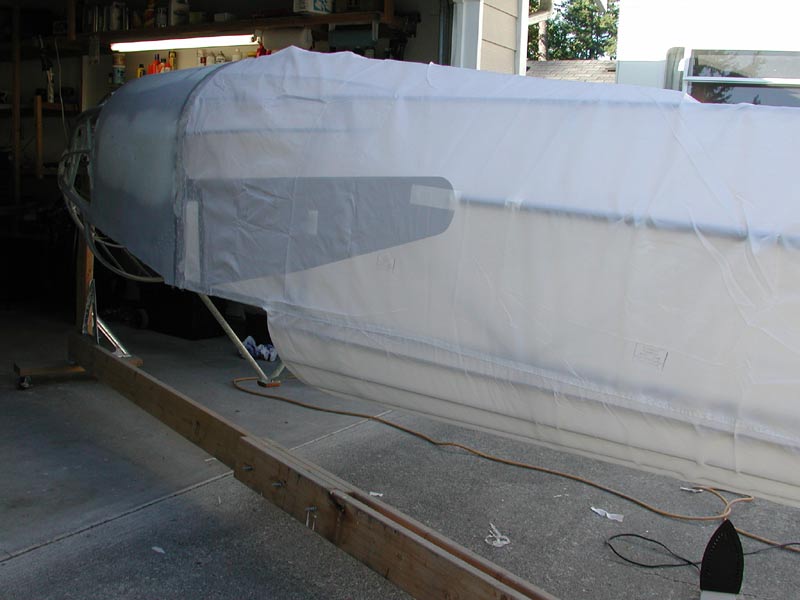
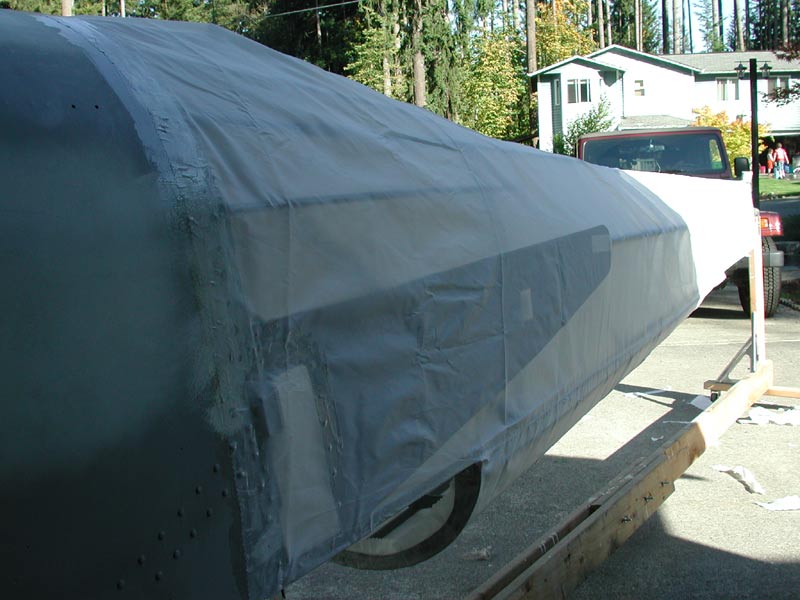
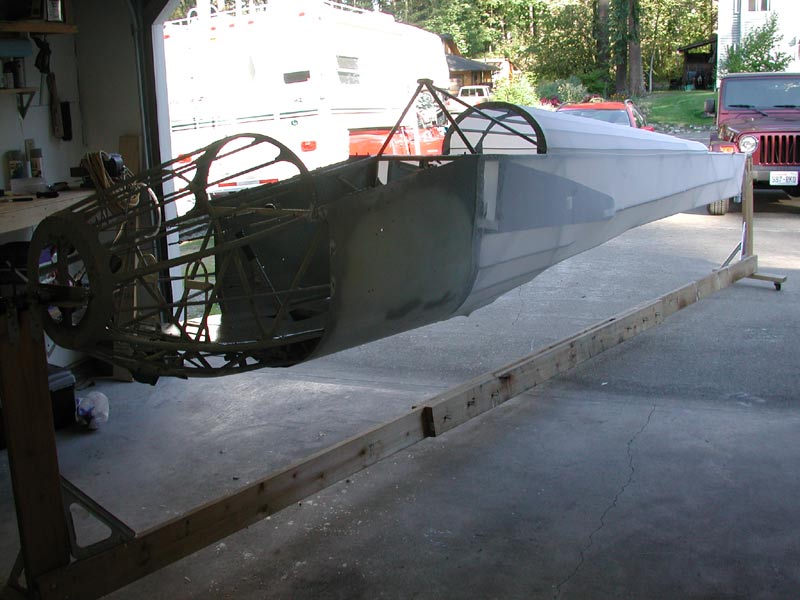
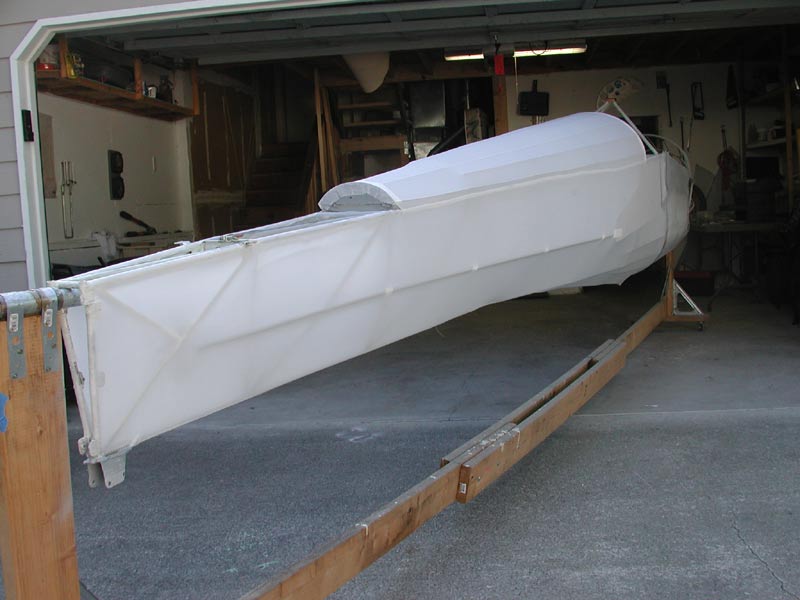
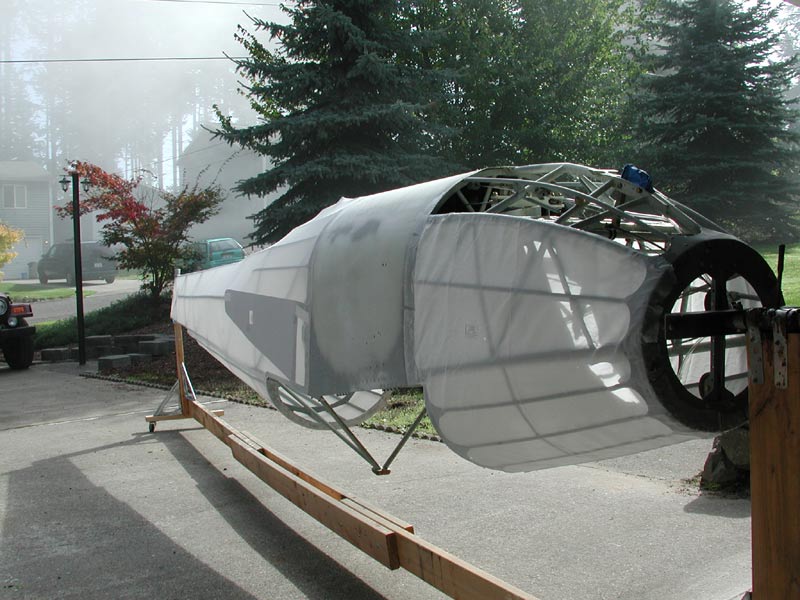
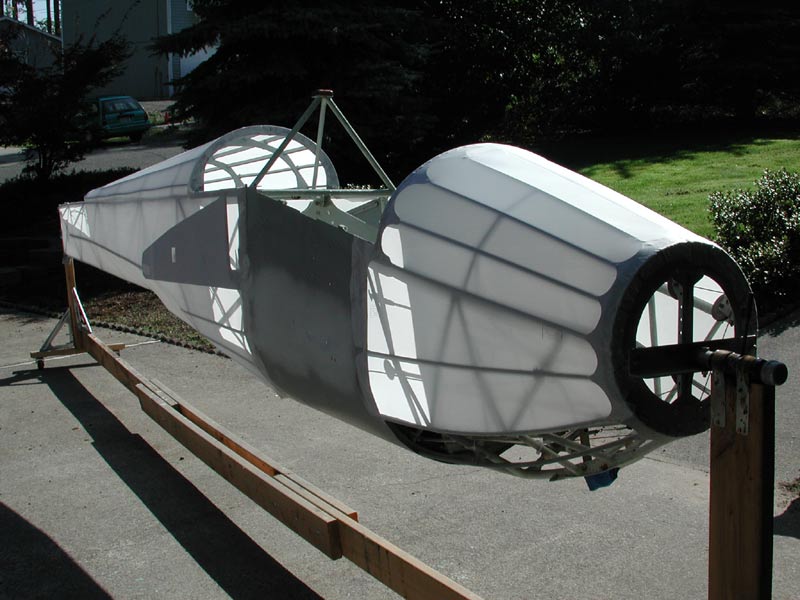
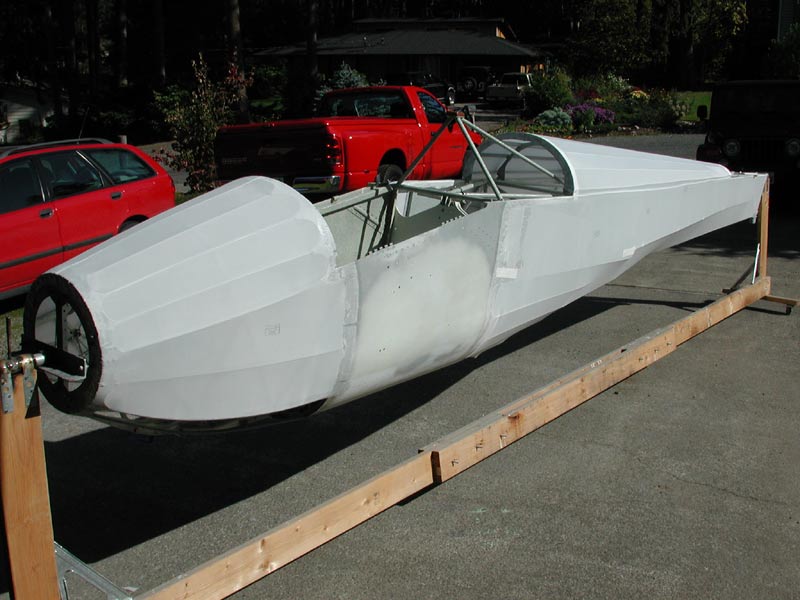
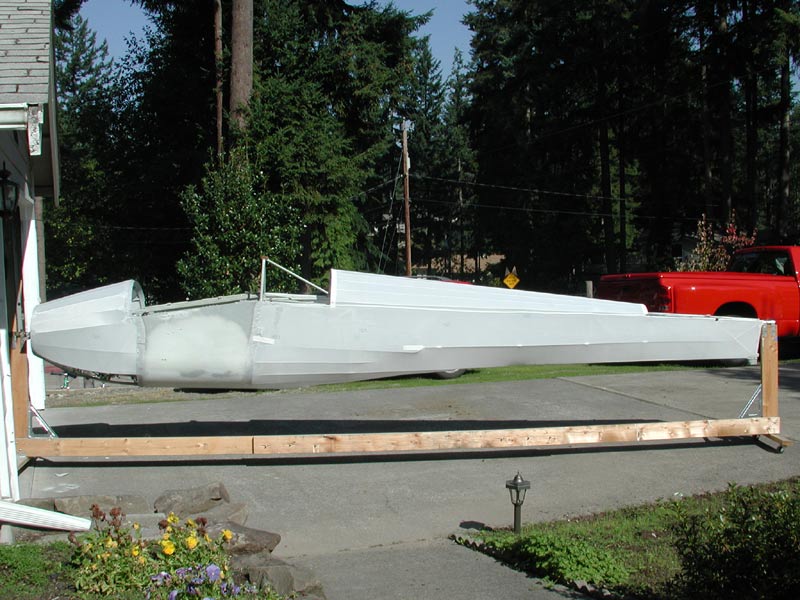
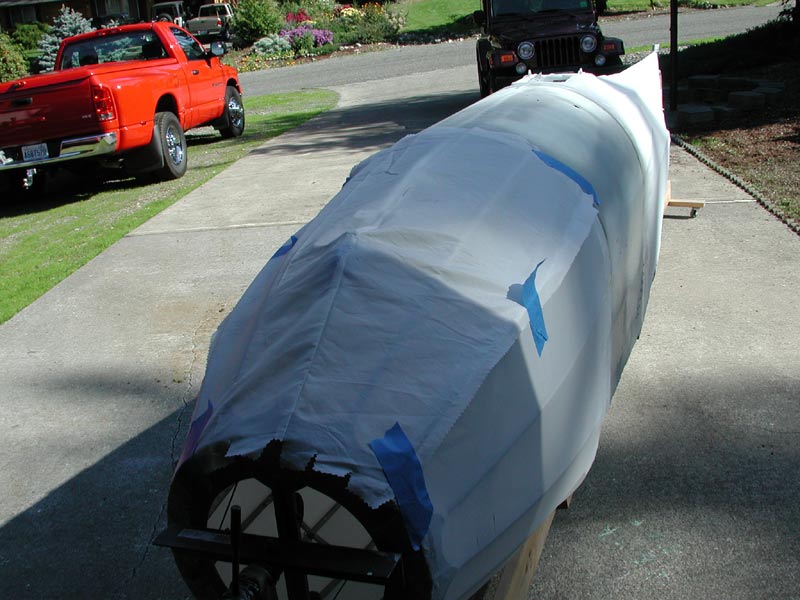
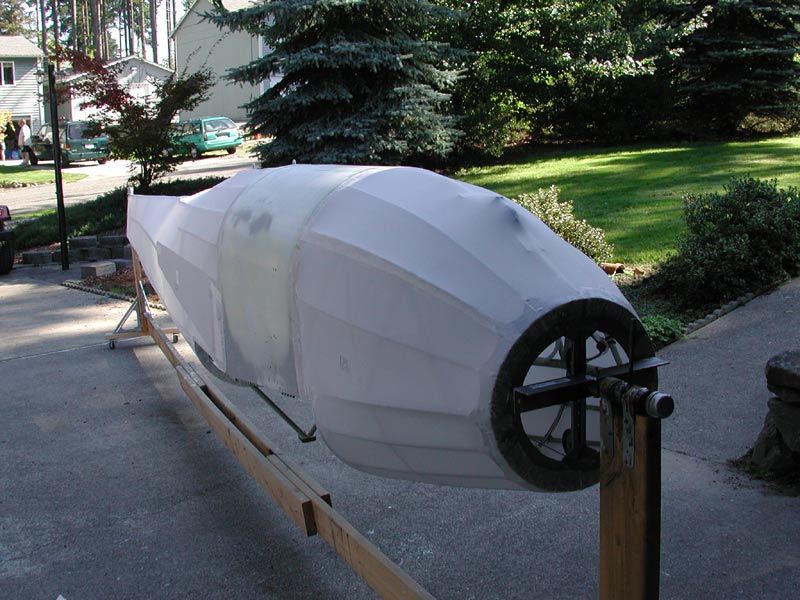
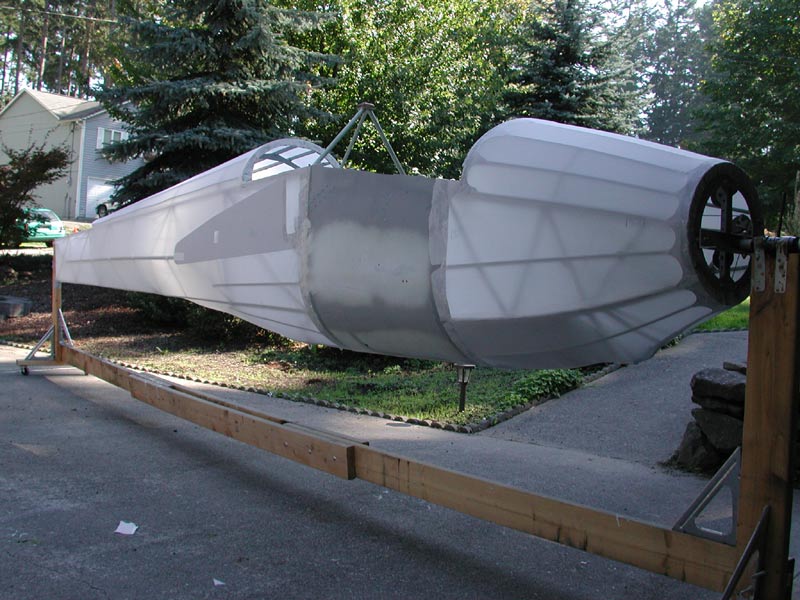
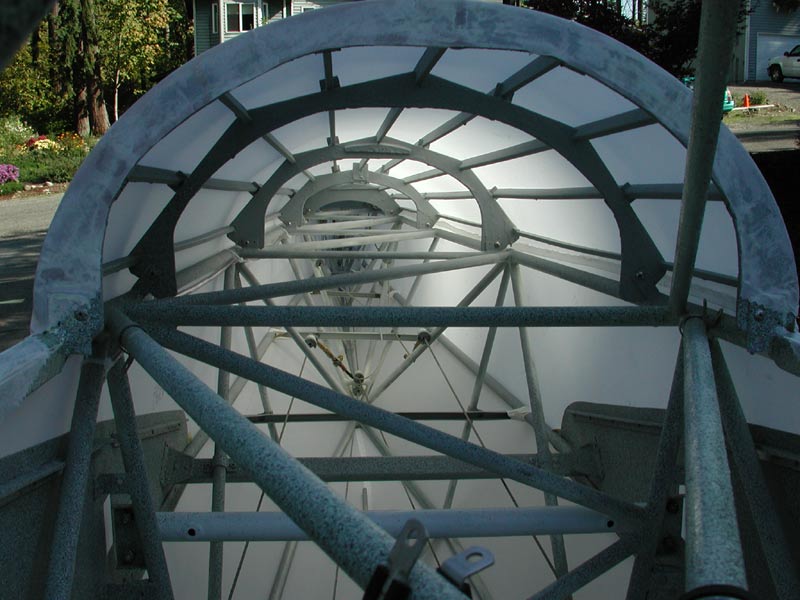
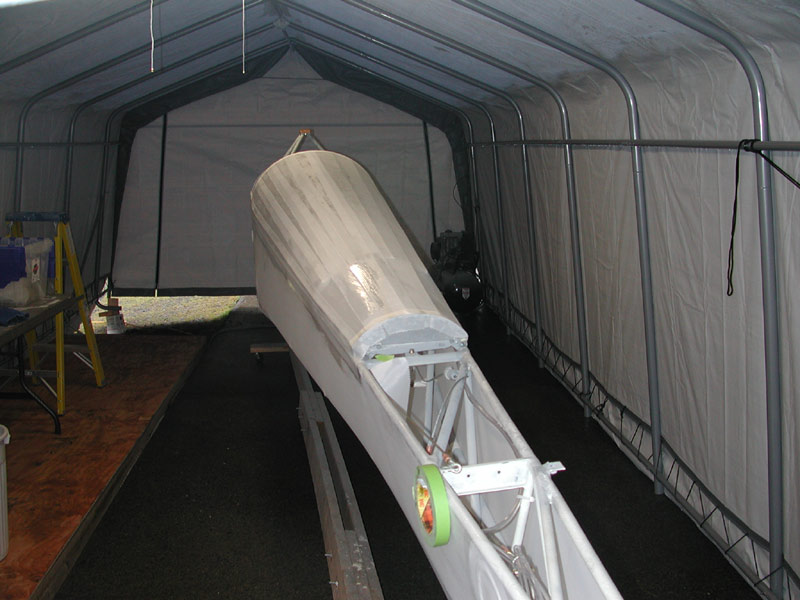
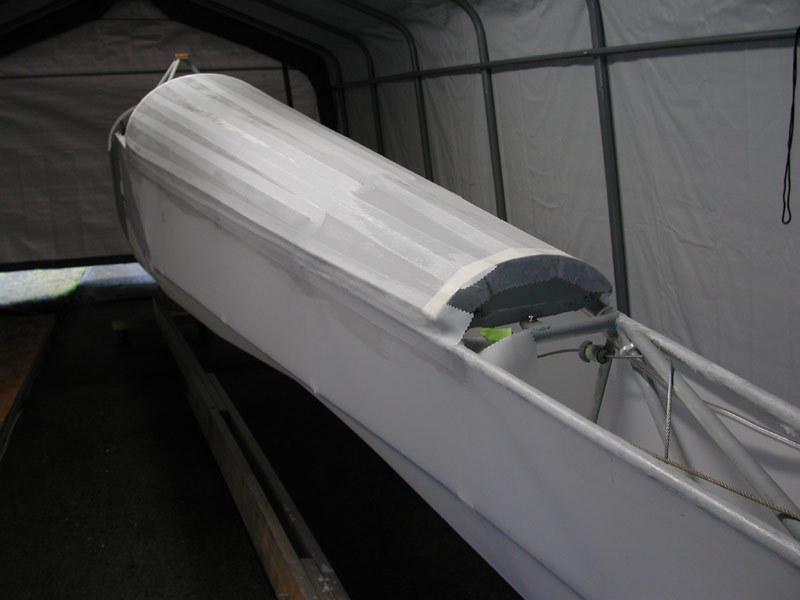
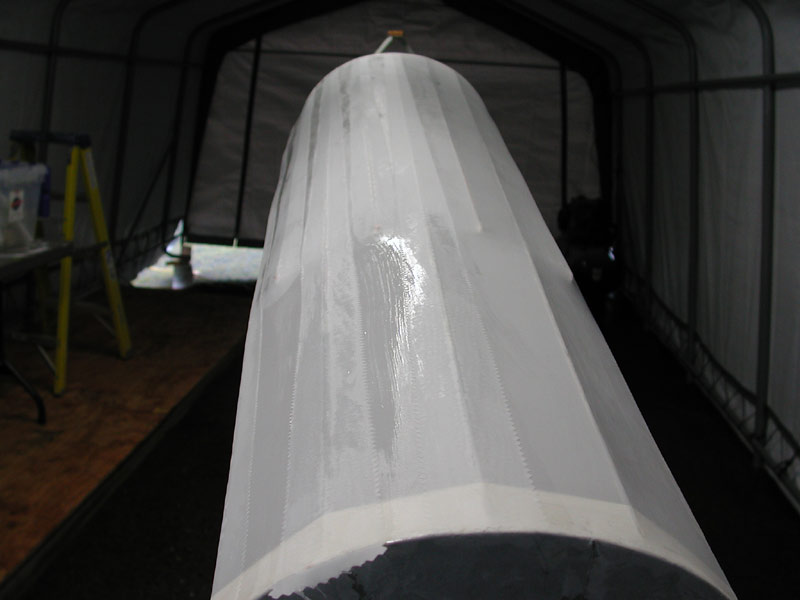
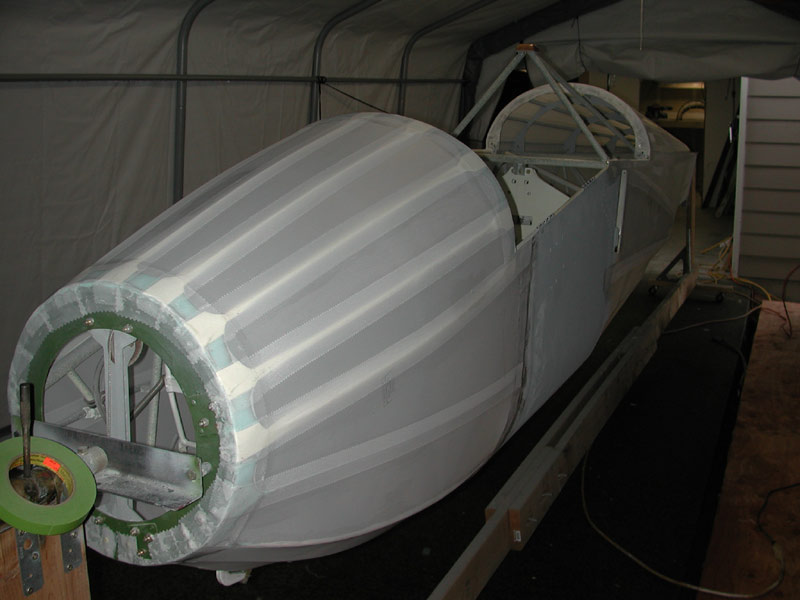
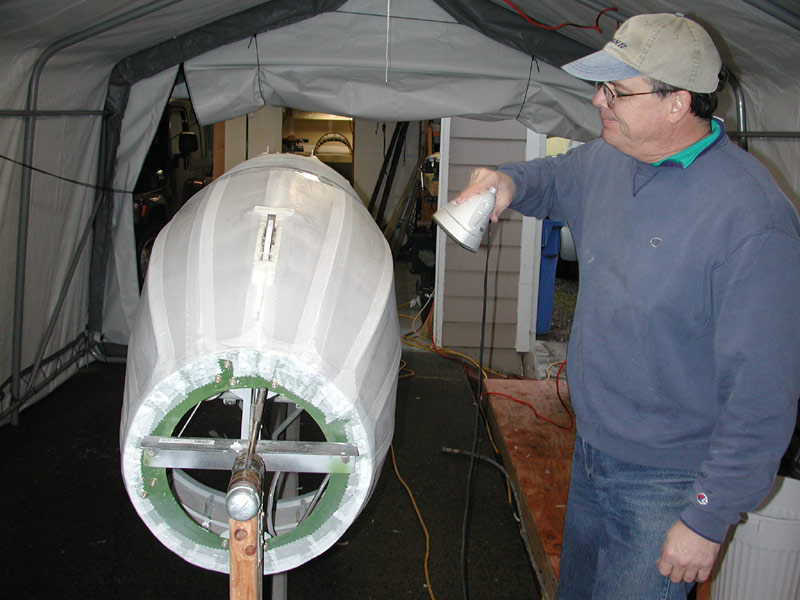
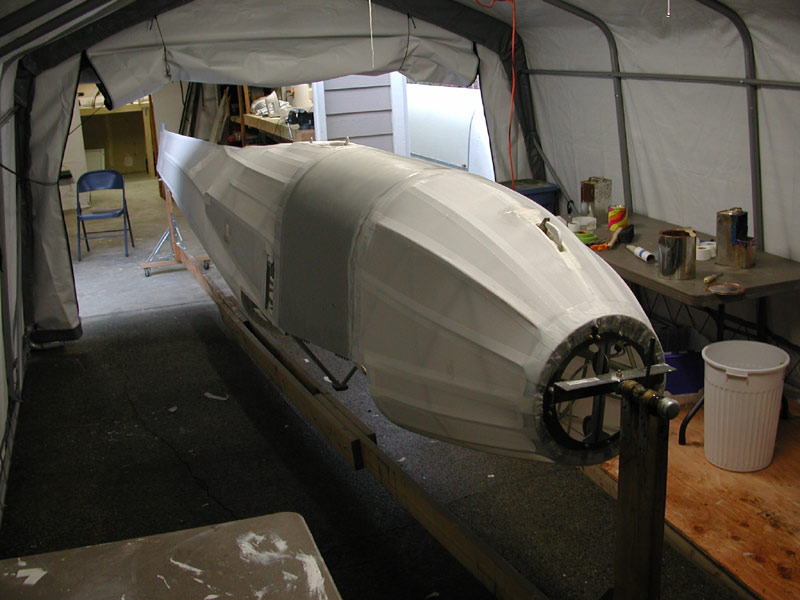
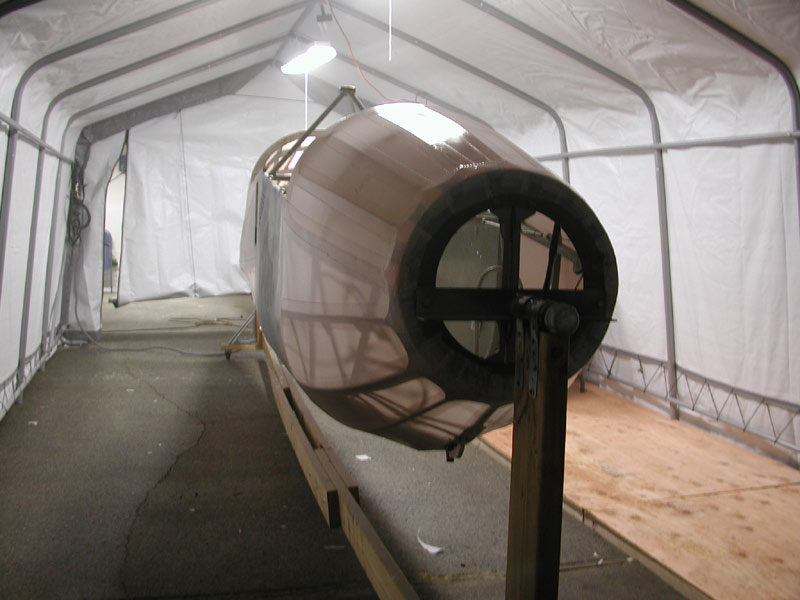
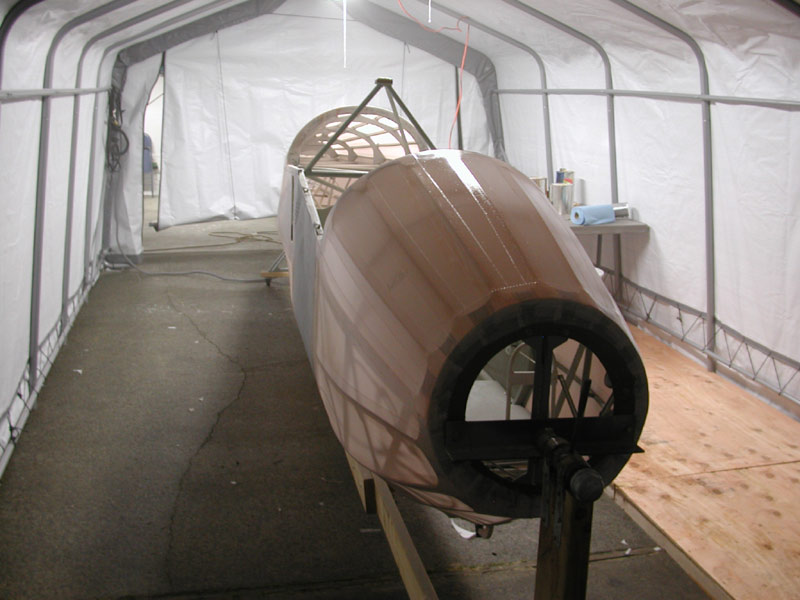
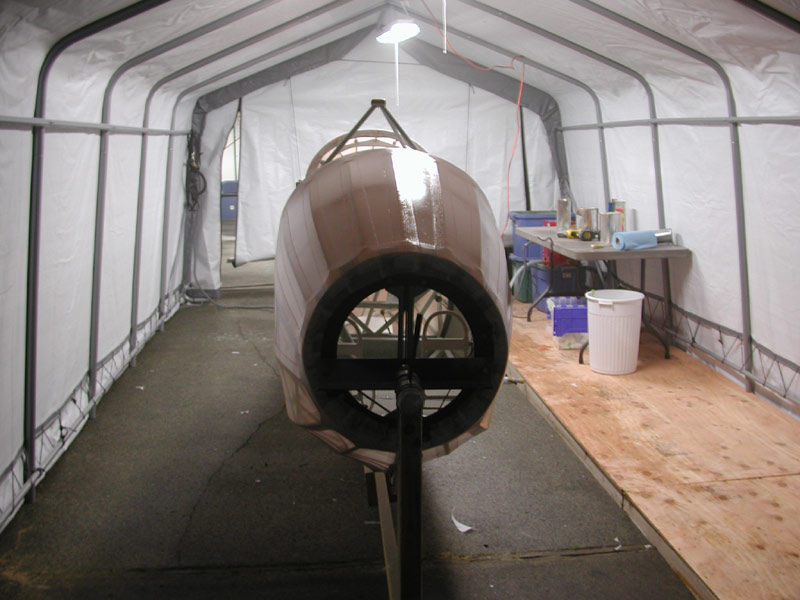
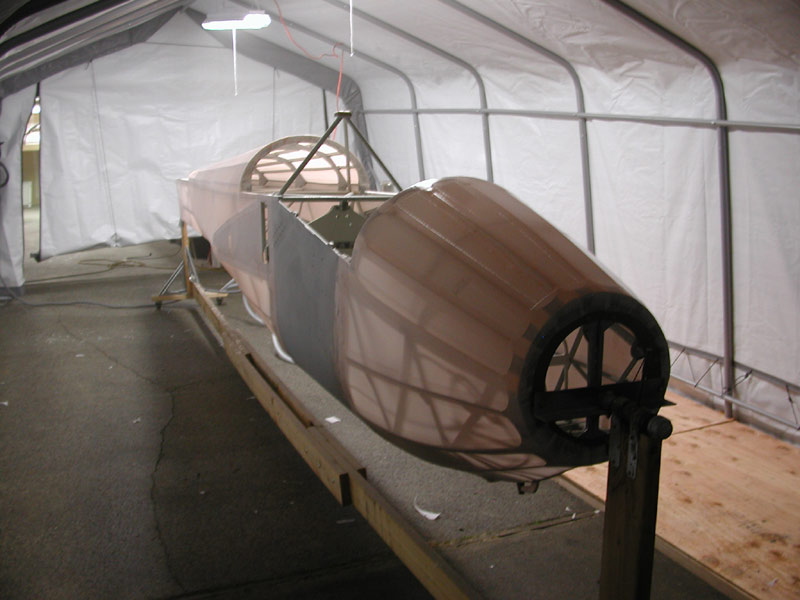
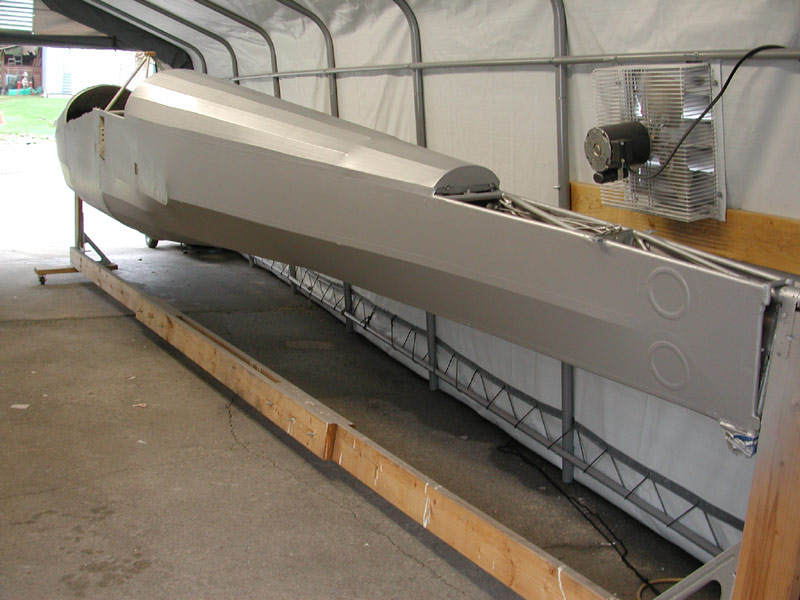
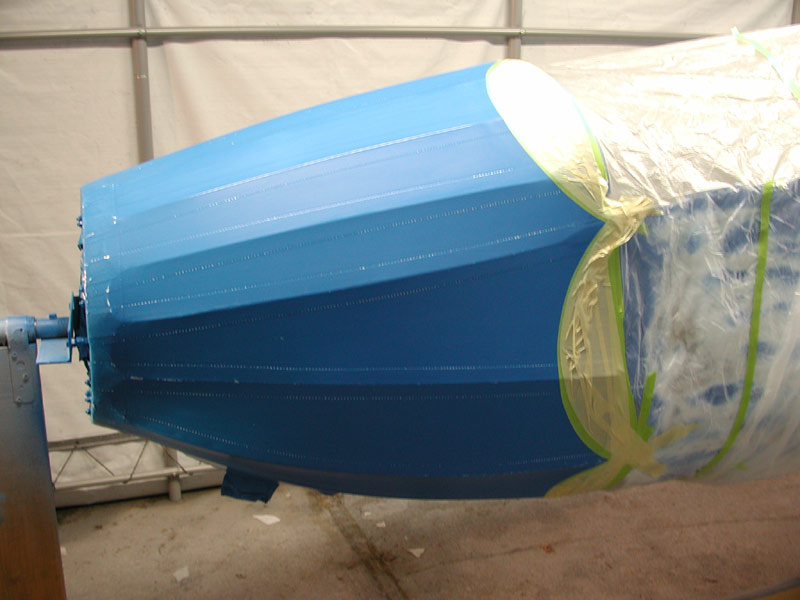
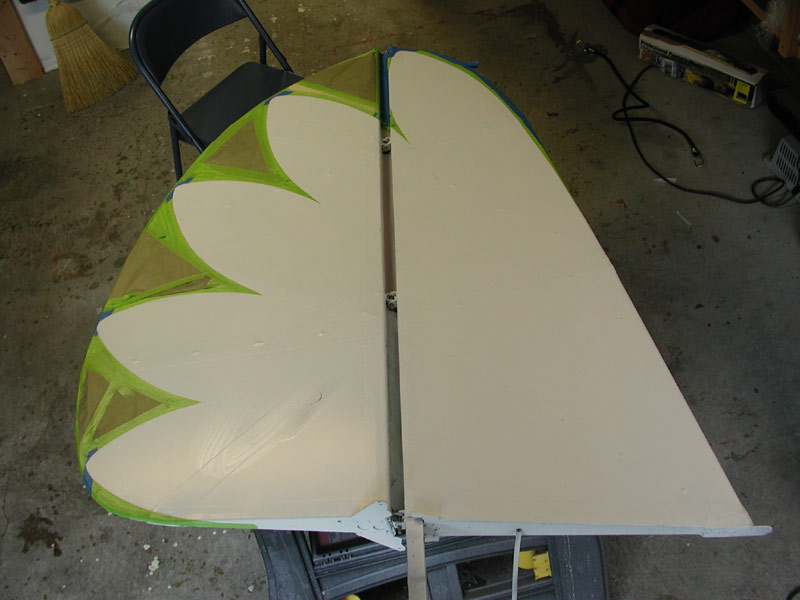
| October 2, 2004 - The recovering process begins. |
 |
 |
 |
 |
 |
 |
 |
 |
 |
 |
 |
 |
|
 |
 |
 |
 |
 |
 |
 |
 |
 |
 |
 |
 |
 |
 |
 |
 |
 |
 |
 |
 |
 |
 |
 |
 |
 |
 |
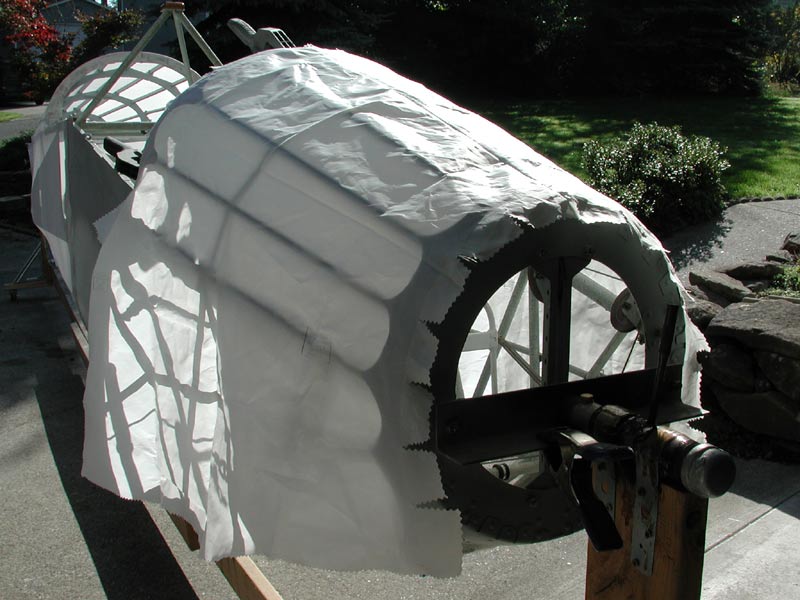
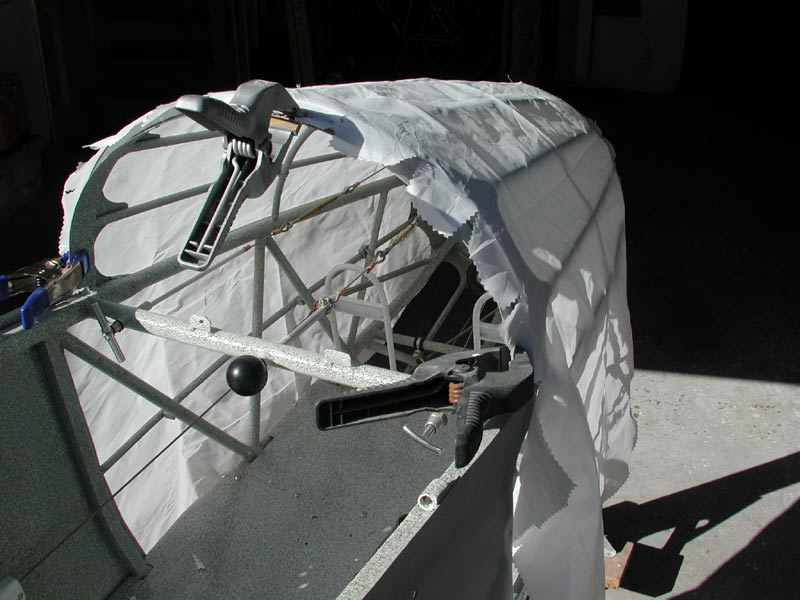
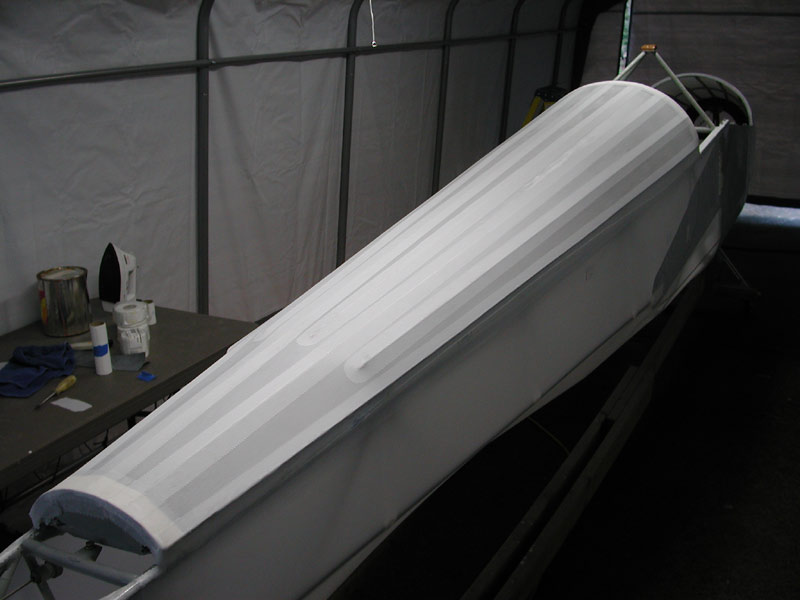
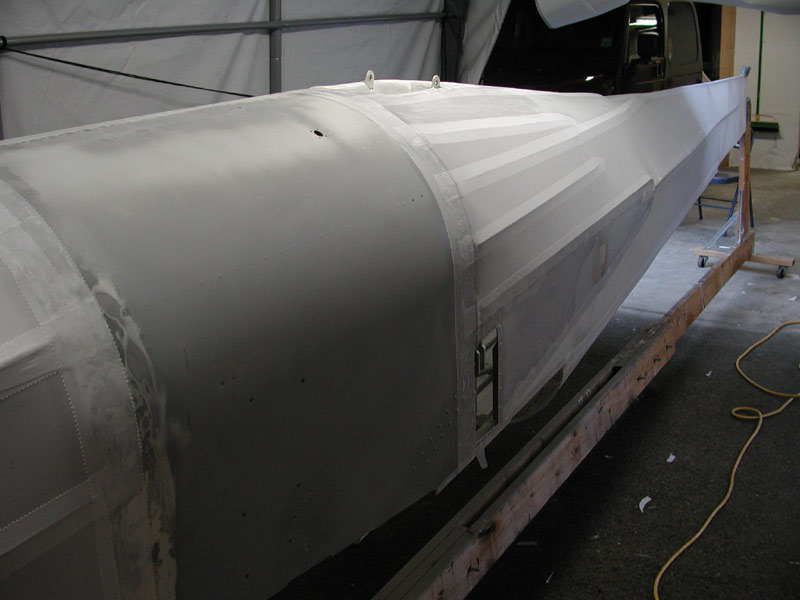
| Below - December 26 2004 and the taping and spraying begin. |
 |
 |
 |
| I'm using un-tinted Polybrush to lay the tapes. |
 |
 |
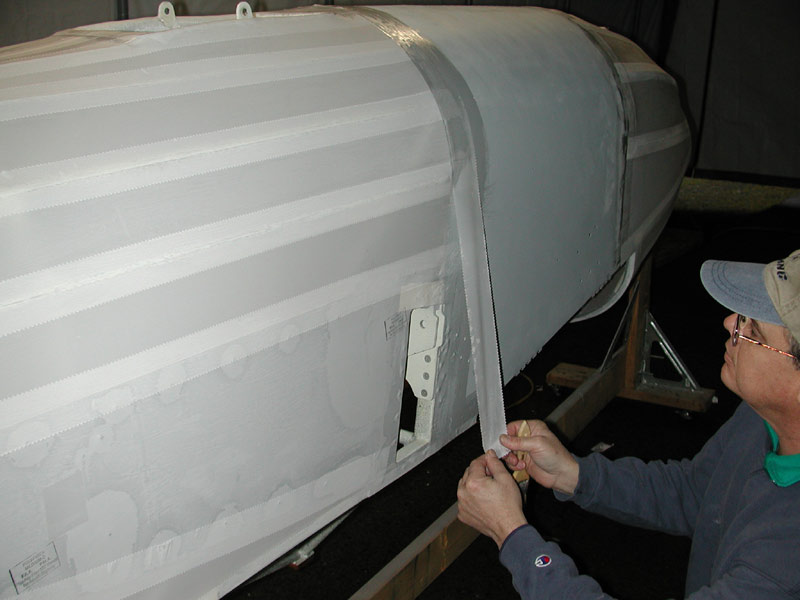 |
| Renee takes a photo of me laying a tape. |
 |
 |
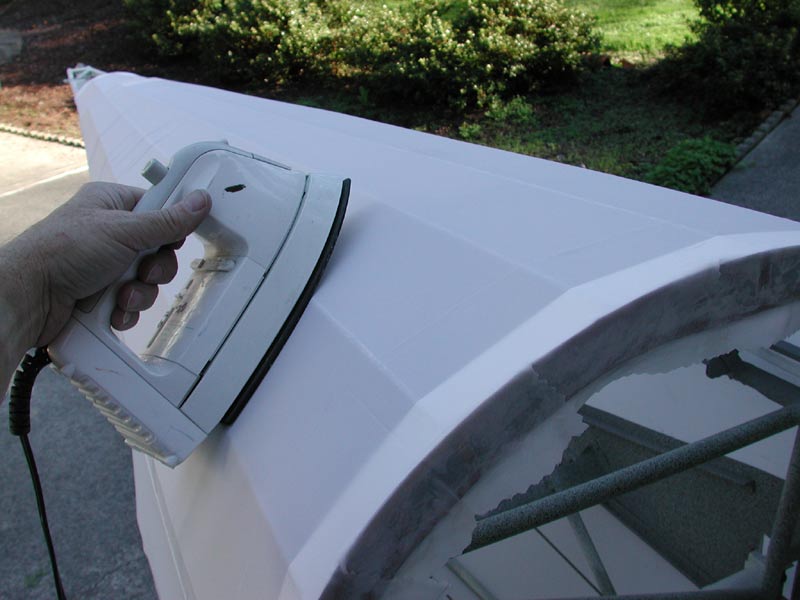
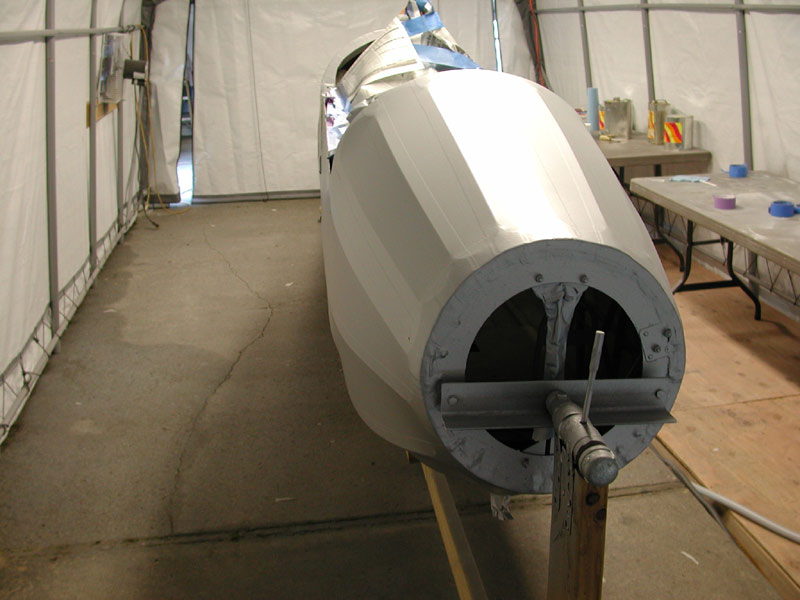
| Above - I use the iron set at 225° to heat form the tapes around tight curves - mainly around the tow hook cavity. |
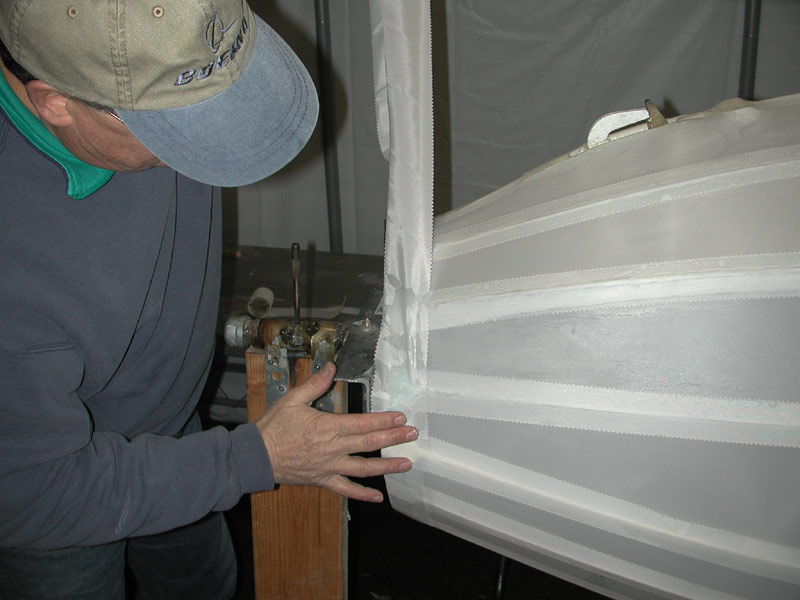 |
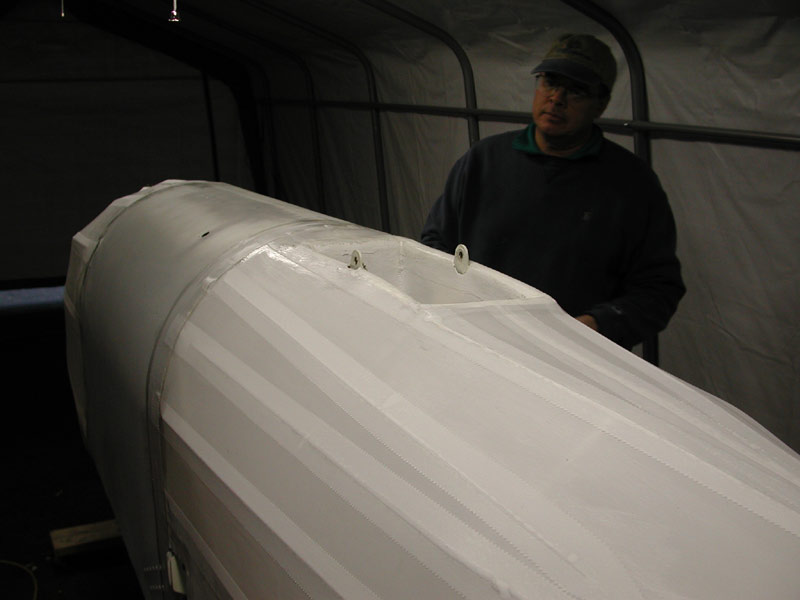
| 3 inch wide bias tape around the nose bulkhead. No gloves - duh! |
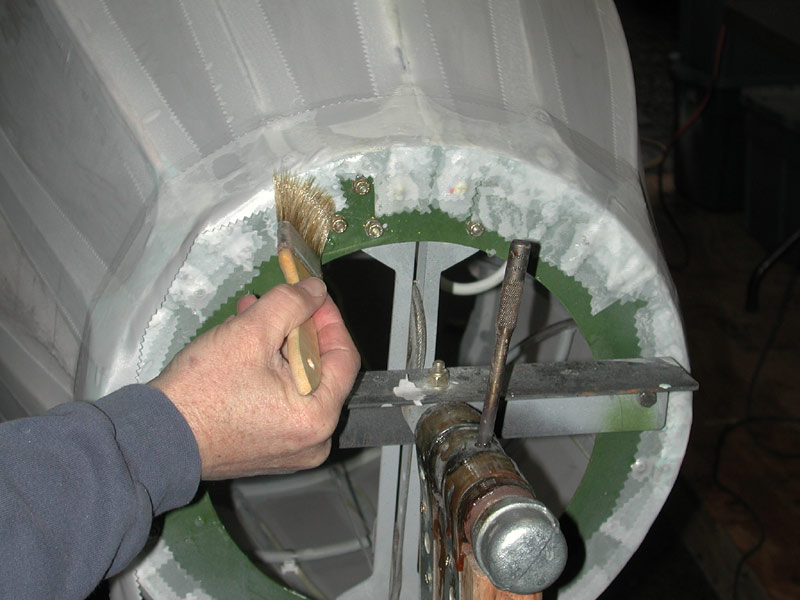 |
| Above - the bias tape forms nicely around the nose bulkhead, I'm laying it down with the Polybrush. |
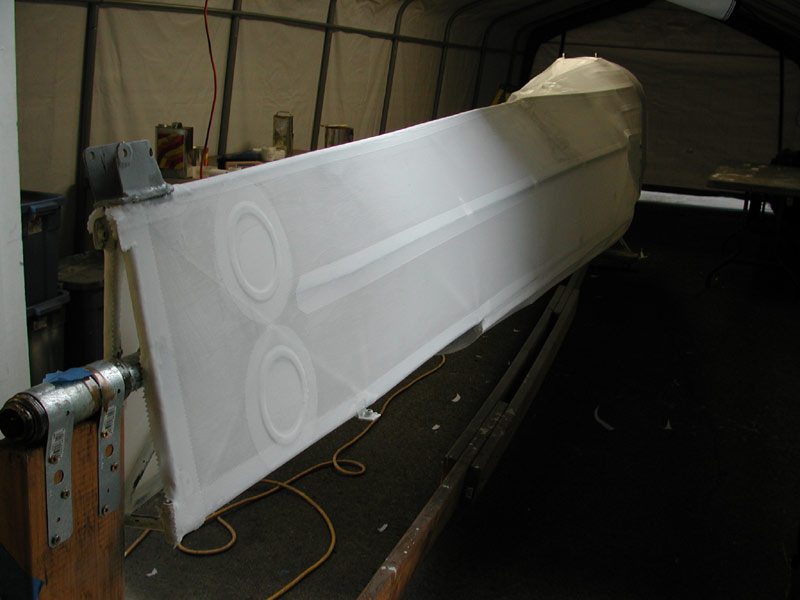 |
| Above - coffee-can sized doilies for the inspection panel cutouts. |
 |
 |
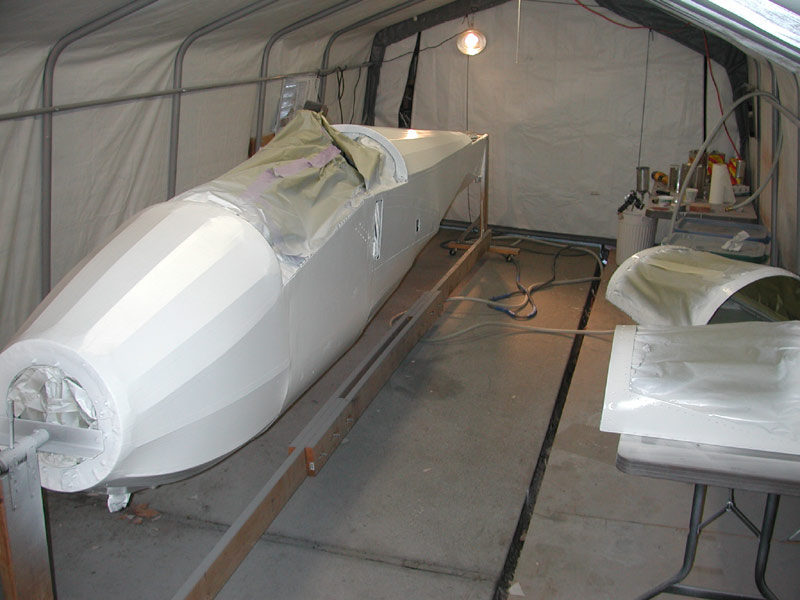
| All tapes on and ready for the sprayed coats of Polybrush. |
 |
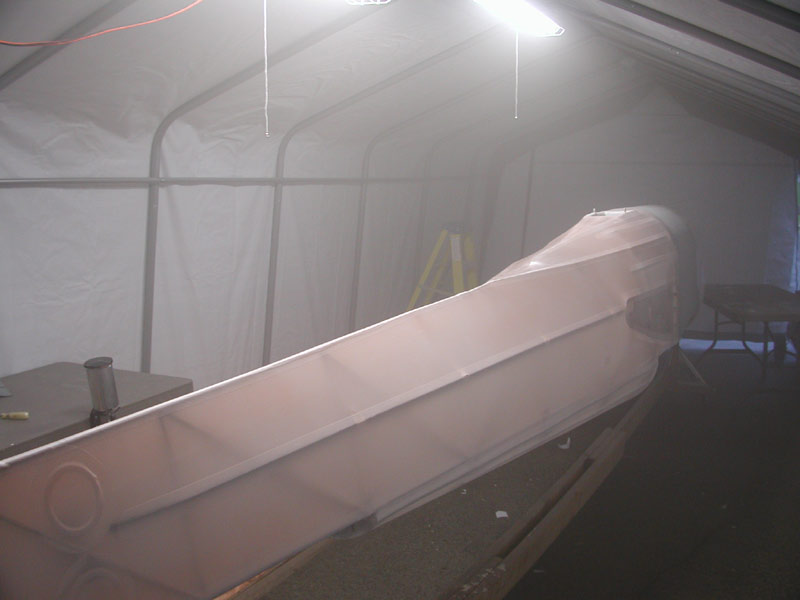 |
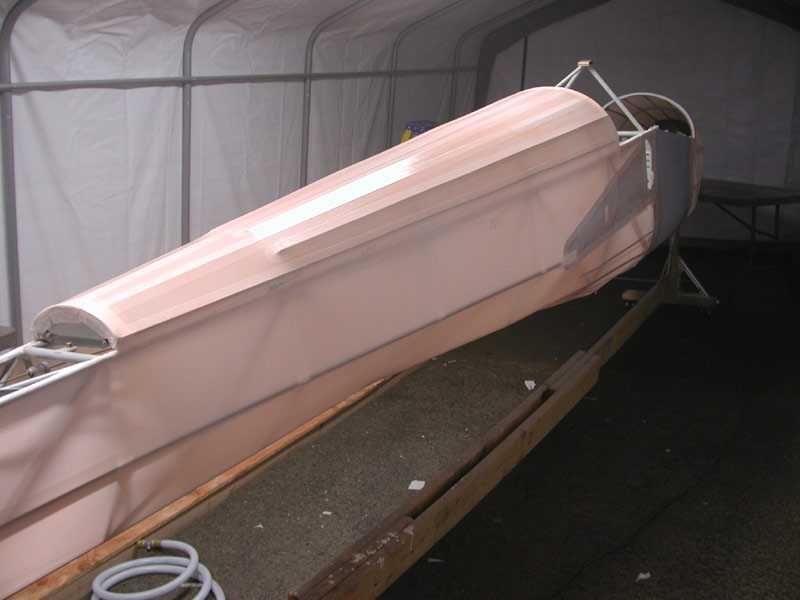
Above and below - the first coat of Polybrush goes on. I'm using tinted now so that I can see how much I've sprayed. I used clear Polybrush for the first brushed coat and the taping because I did not want the un-even brushing and runs to show up on the inside of the fabric. Using this method, I get a nice even pink-orange interior color with none of the typical sagging and brush marks you normally see on the inside surface of the fabric. |
 |
 |
| Second sprayed coat. |
 |
 |
| Third and final coat of Polybrush is sprayed. |
 |
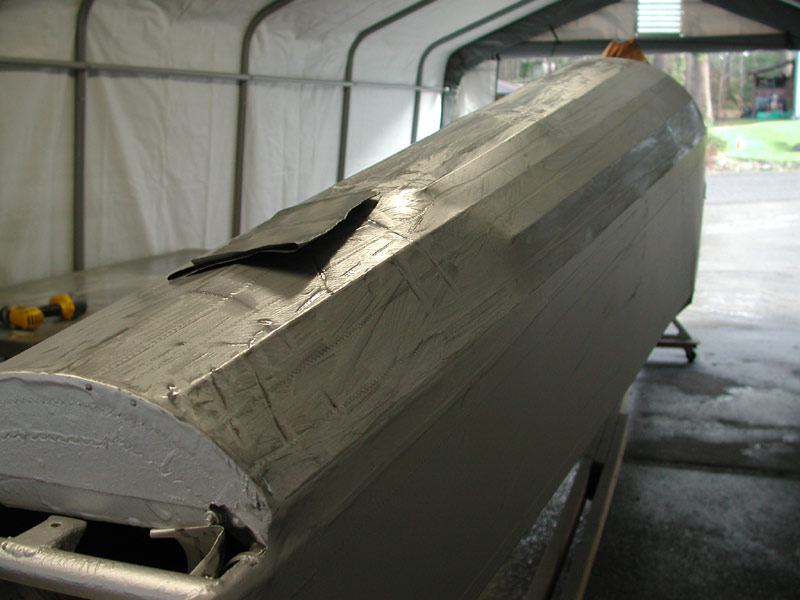
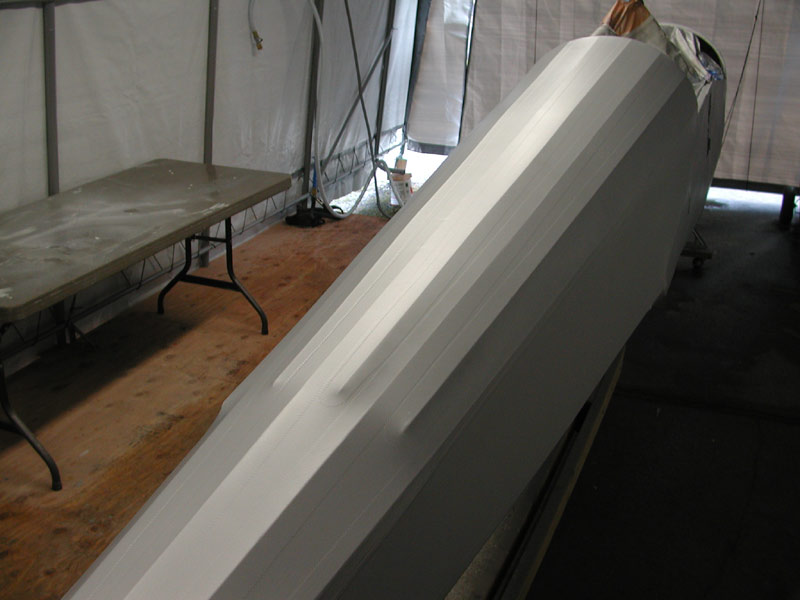
| New Years Day 2005 - the Polyspray goes on. |
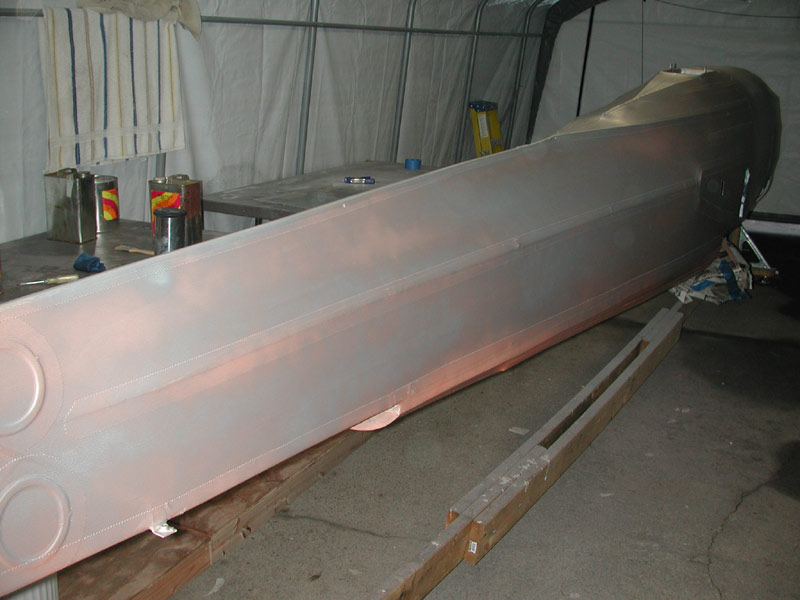 |
| I start spraying the silver Poly-Spray. |
 |
 |
 |
 |
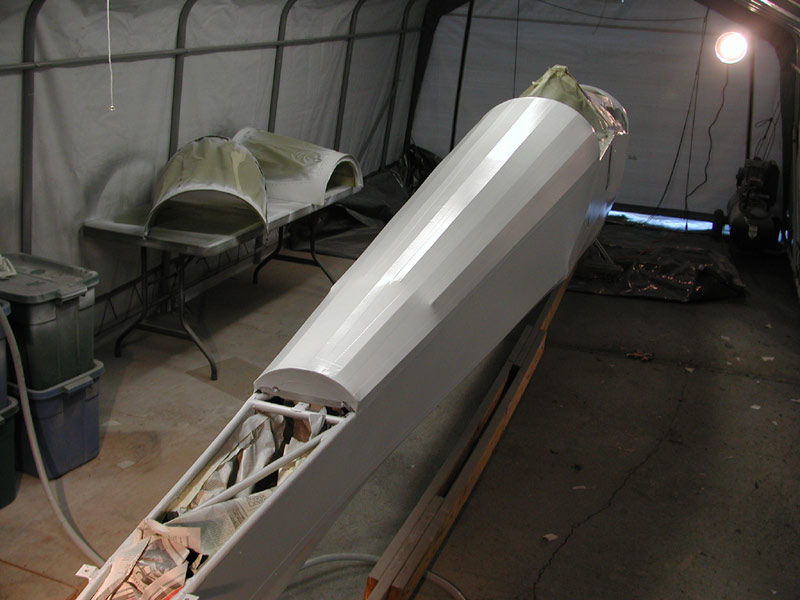
| Above - you can see the interior of the fabric - no runs. I'll trim the cloth protective tape from the top stringers when I'm done painting. |
 |
 |
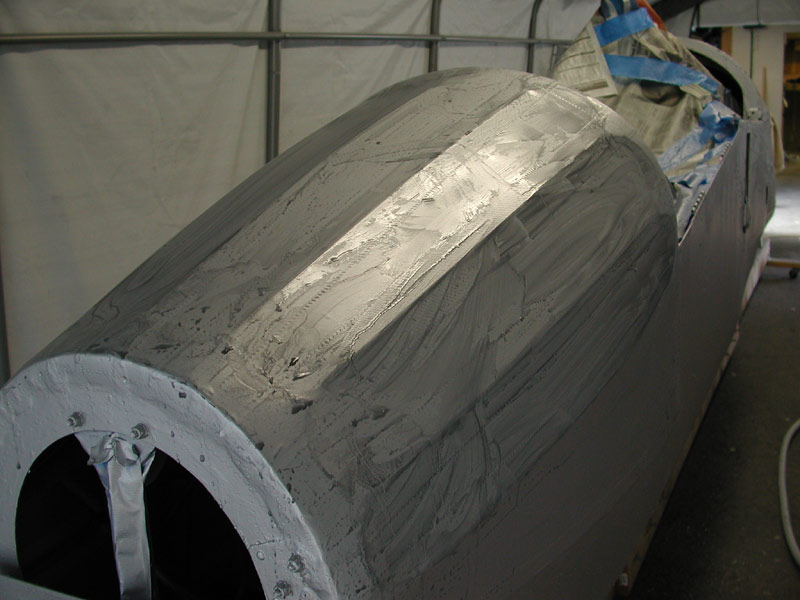
| January 8, 2005 - the second coat of silver Polyspray gets wet-sanded and the third coat is sprayed on. |
 |
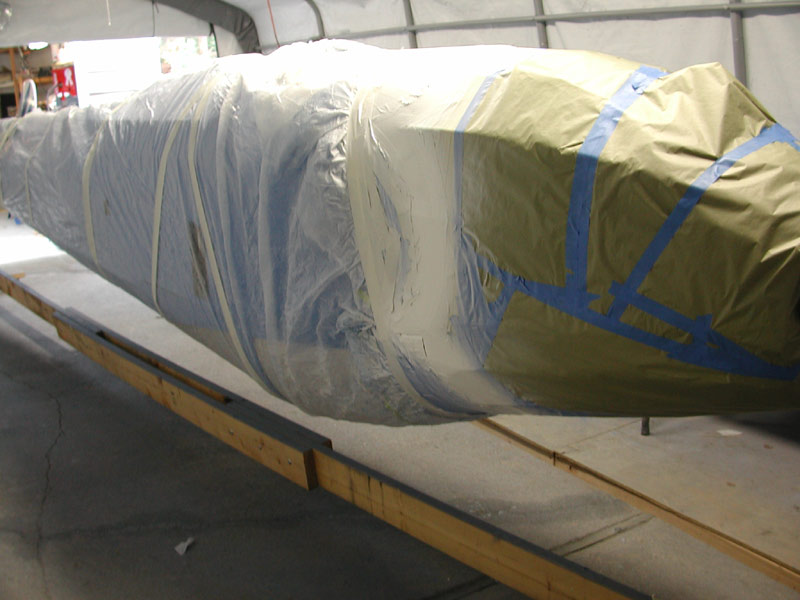
| Above - masked off for spraying - below, the inside of the canopy gets a coat of epoxy over the fleck-spray. |
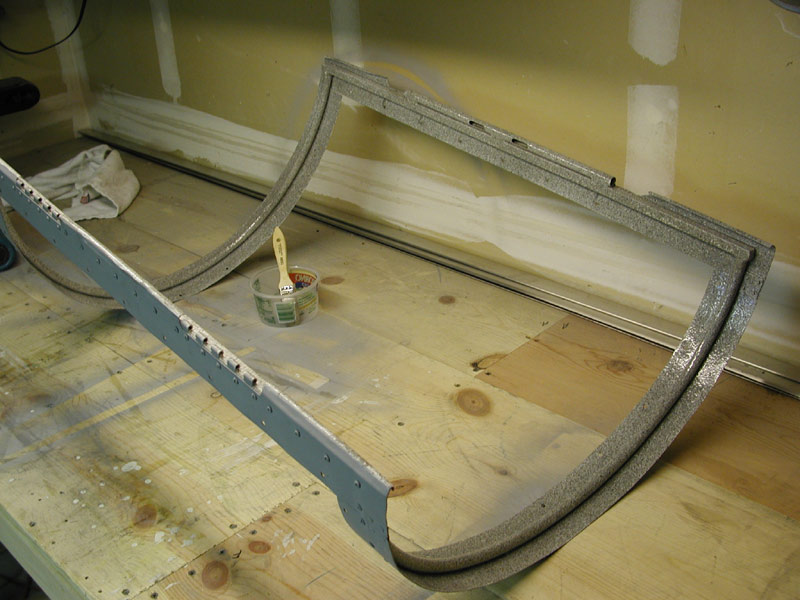 |
| The epoxy coating makes it tough and prevents moisture ingress between the aluminum frame and the steel tubing. |
 |
| Above and below - wet sanding with 600. |
 |
 |
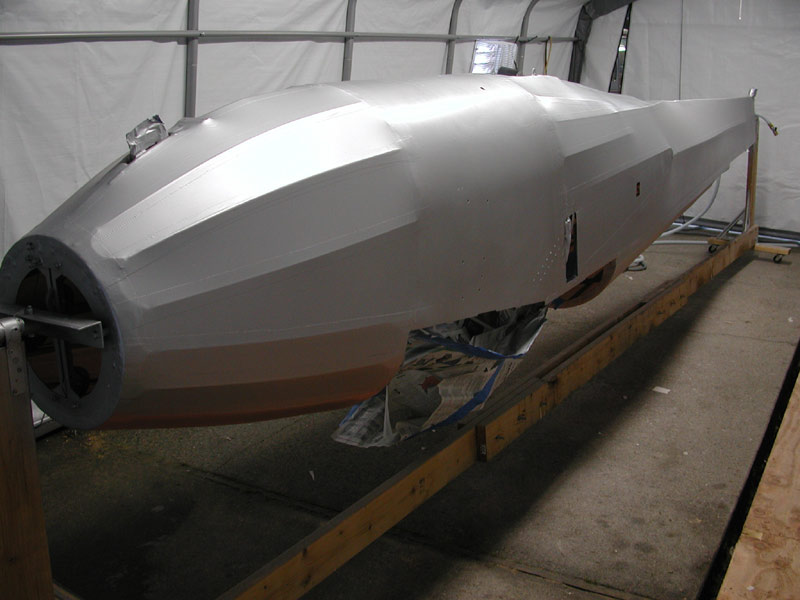
| Third coat of Polyspray - filling in the weave pretty well now, getting smoother and looking just about right. |
 |
| Next step is to spray the white Polytone followed by Bahama Blue. |
 |
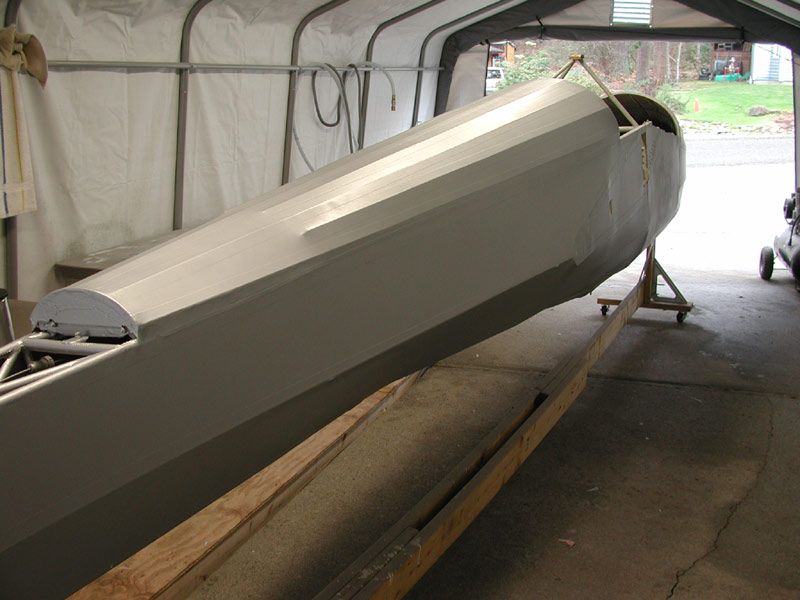
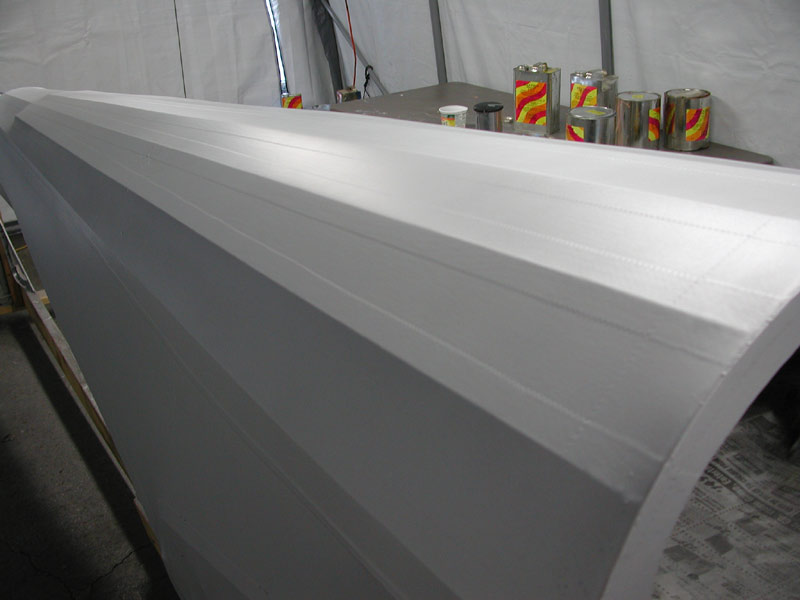
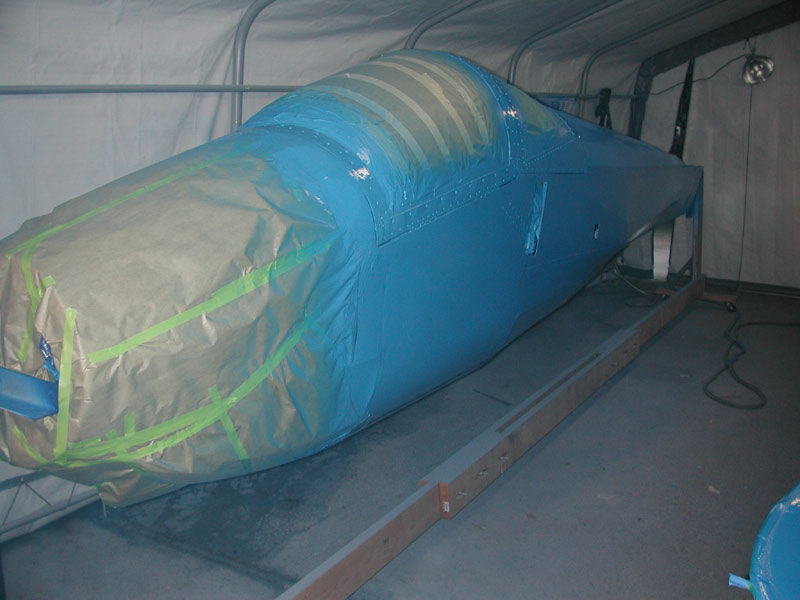
Below - 24 January 2005 and this morning I wet-sanded the entire fuselage again and sprayed two more coats of Polyspray. Next I sprayed two coats of Insignia white Polytone as a base for the Bahama blue Polytone. |
 |
 |
 |
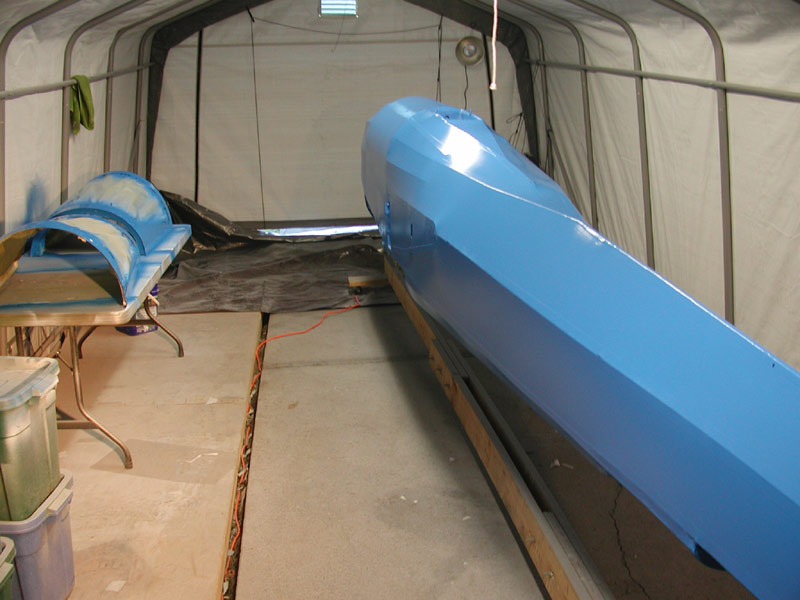
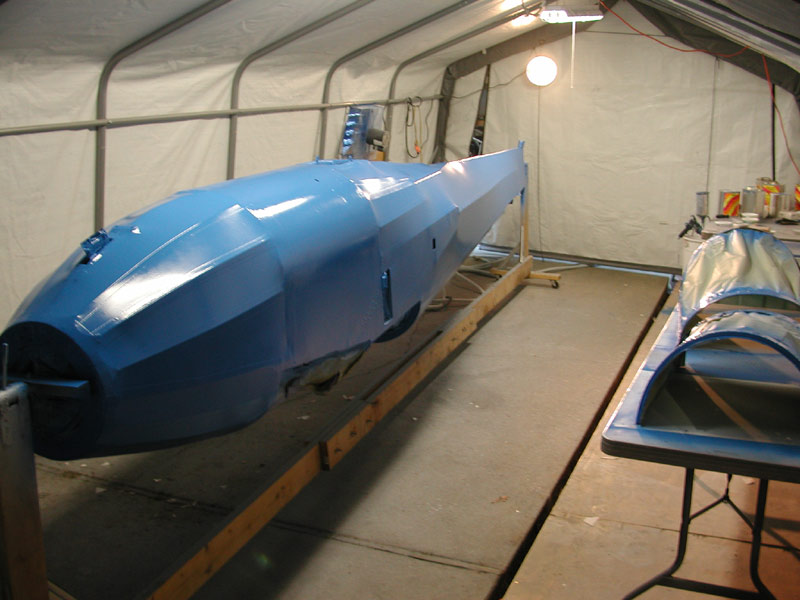
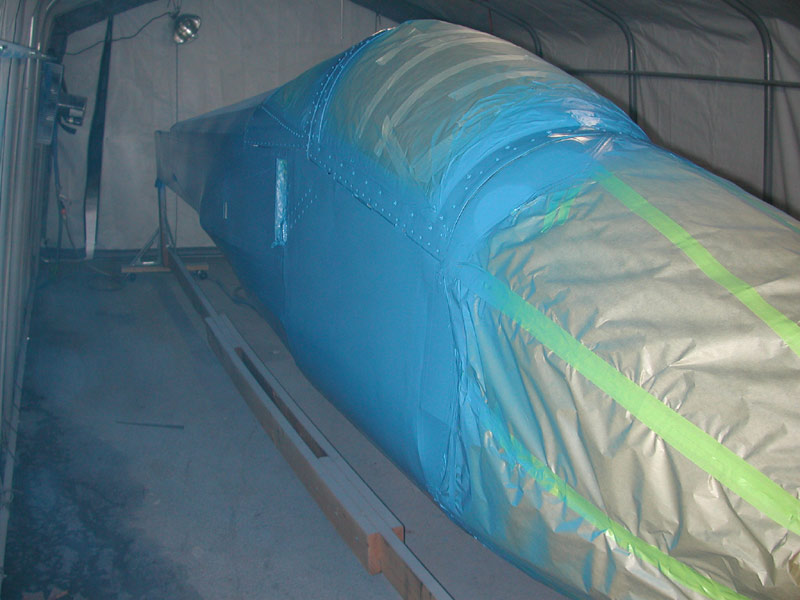
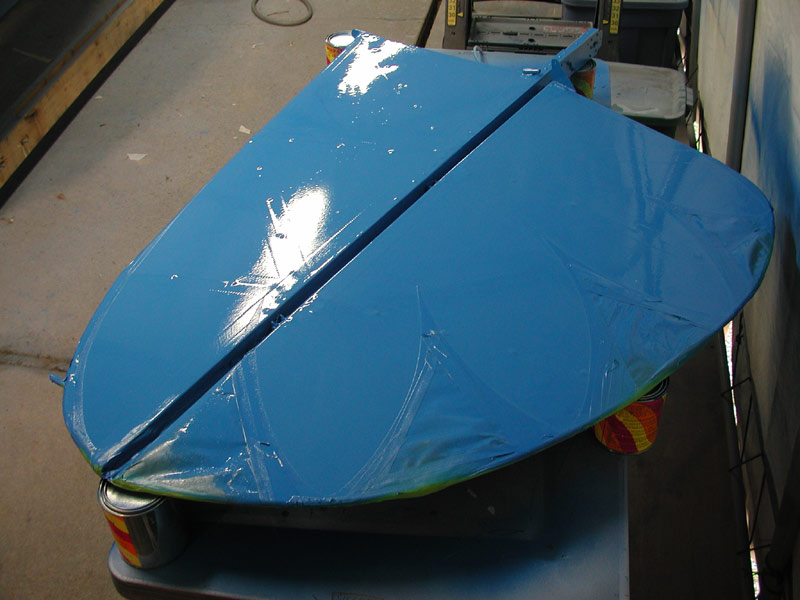
| Below - I spray the fuselage, canopy and turtledeck frames with Bahama blue Polytone. |
 |
 |
 |
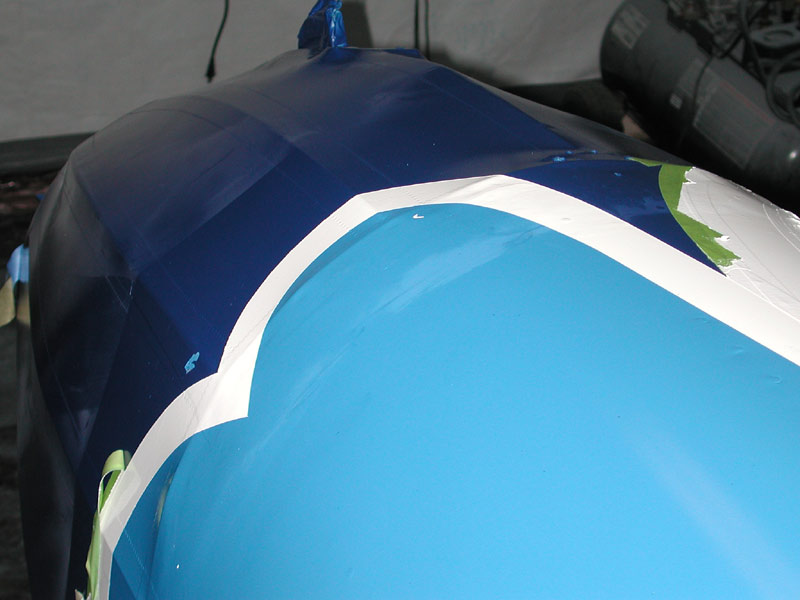
| Below - 30 January 2005 and I've wet-sanded the entire fuselage again with 600 wet or dry paper. |
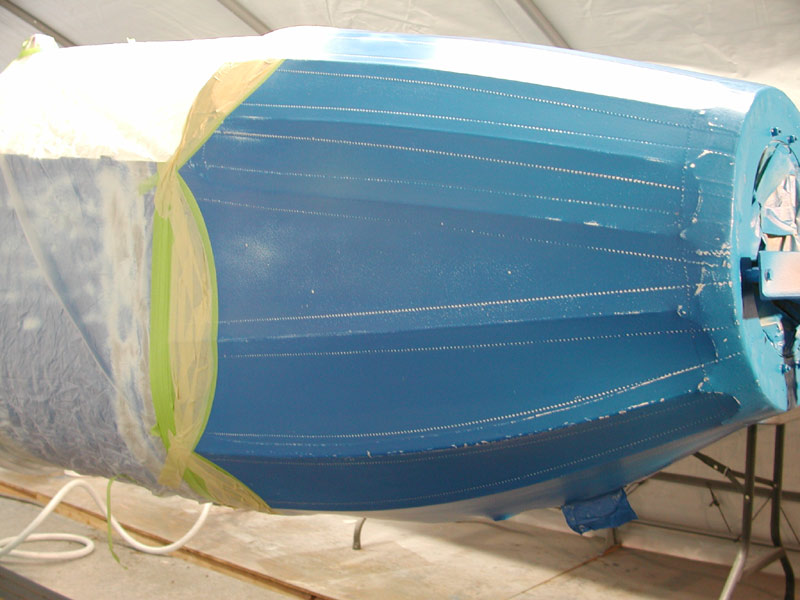 |
| After sanding and a thorough cleaning with PolyFiber C-2210 paint cleaning solvent, I mask the nose for the dark blue portion. |
 |
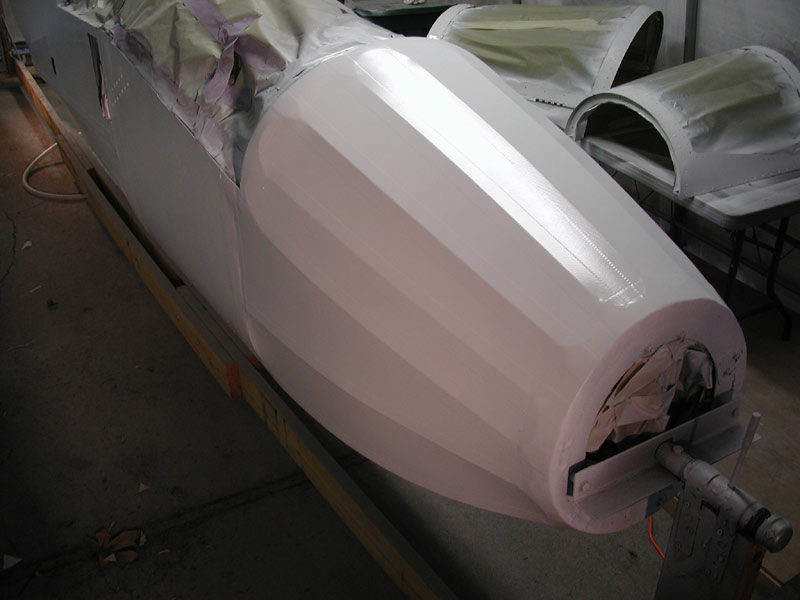
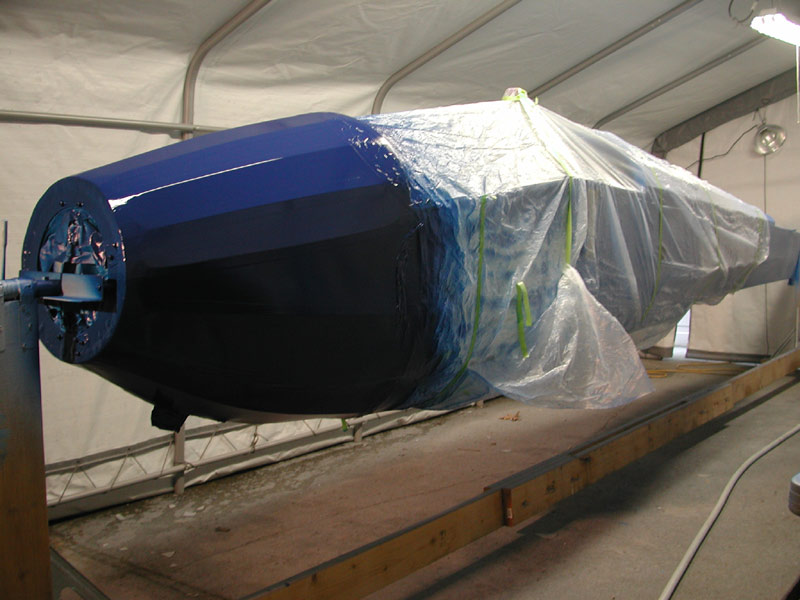
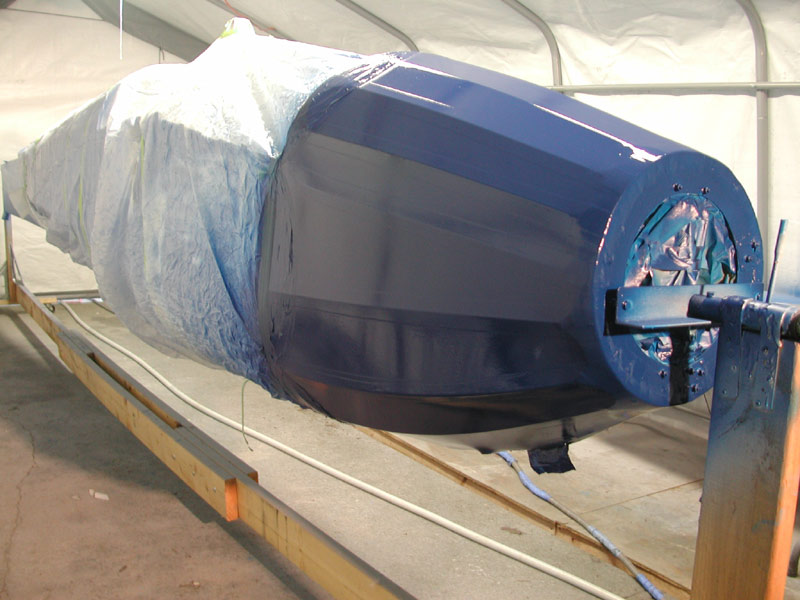
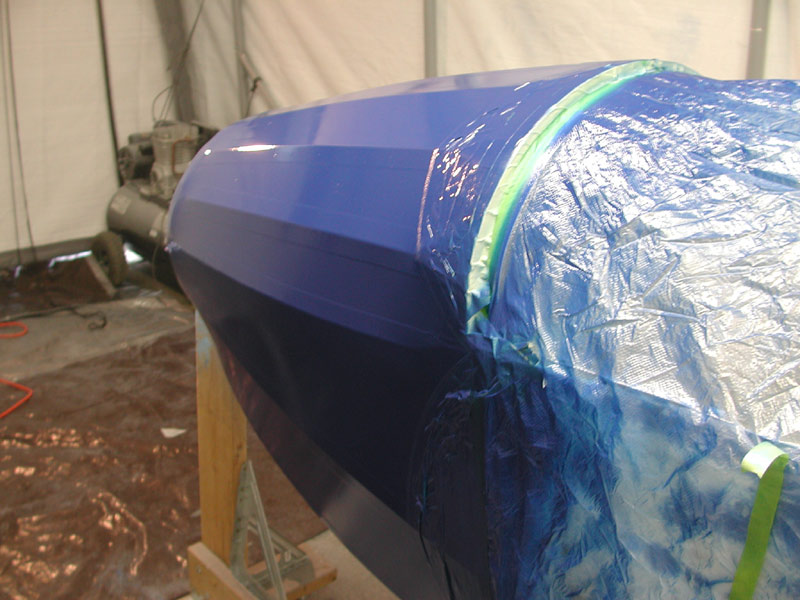
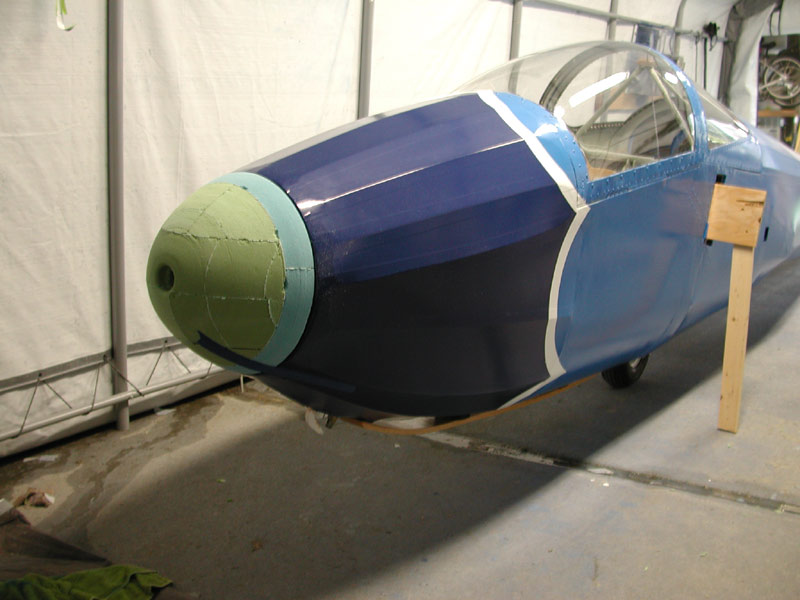
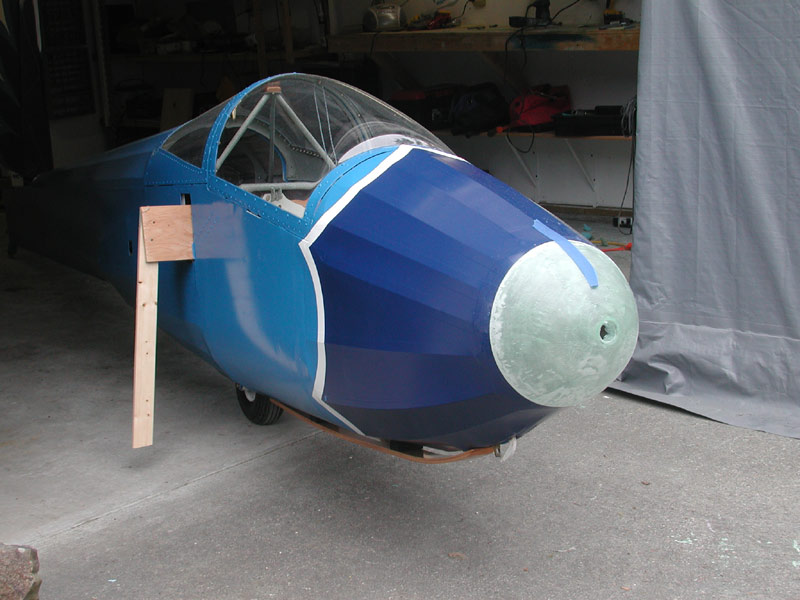
| Below - the nose is painted Christen Eagle Blue Polytone. |
 |
 |
 |
While this dark blue paint dries this evening, I'll finish installing the turtledeck glass and the canopy. Details here. |
 |
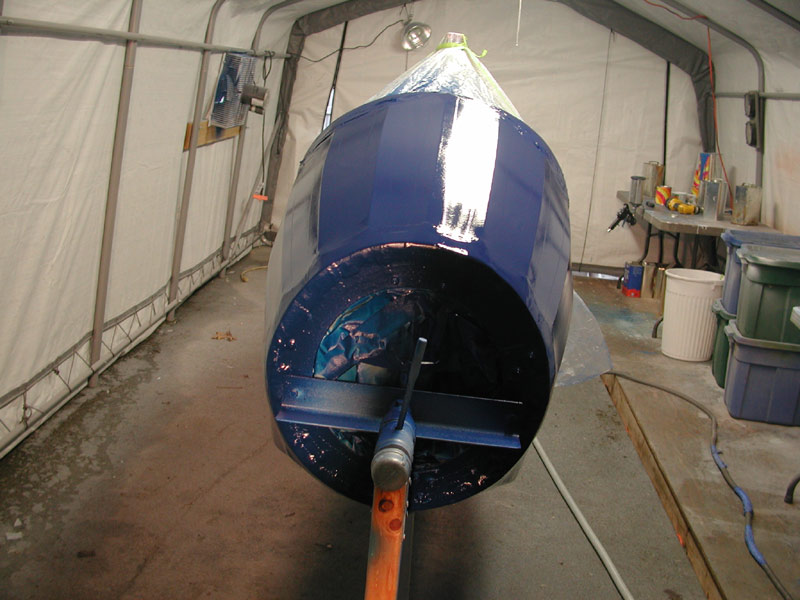
| Below - January 31, 2005 - I install the canopy glass and mask them off for final painting. |
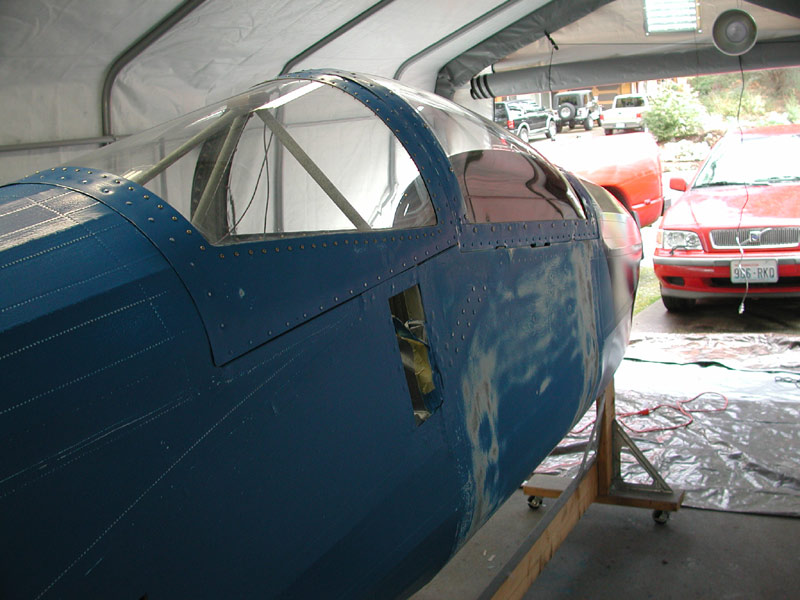 |
| I sanded the cockpit tub yesterday to make sure it is smooth and fair. Then I wet-sanded it to get the rougher sanding scratches out. |
 |
| Below - the last (hopefully!) coat of Bahama Blue Polytone goes on the fuselage and the vertical stab/rudder. |
 |
 |
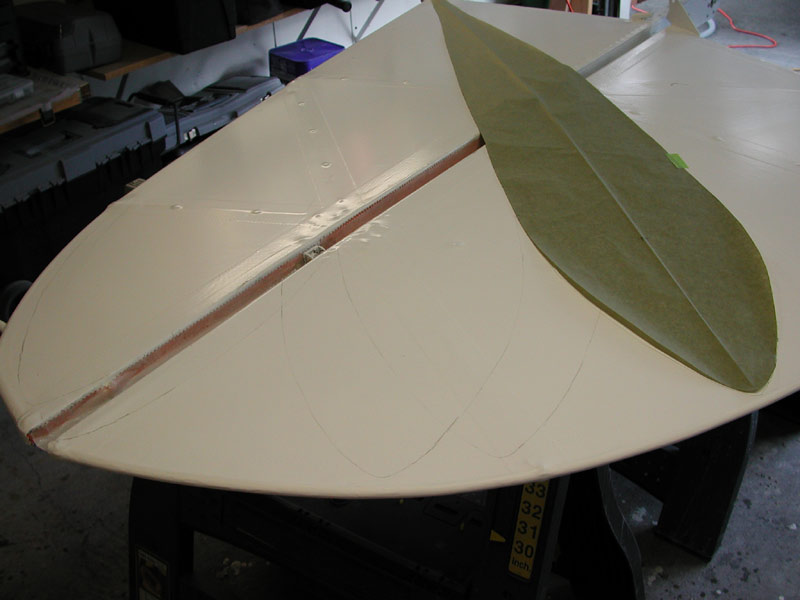
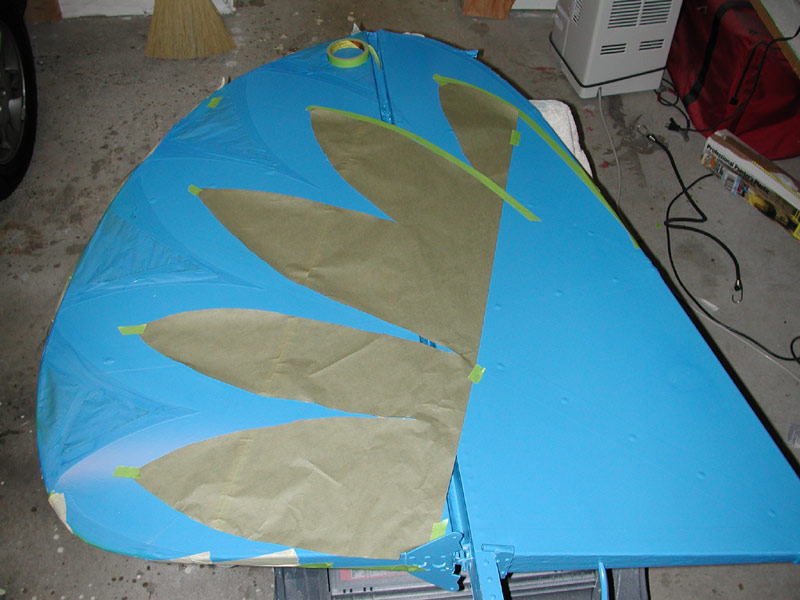
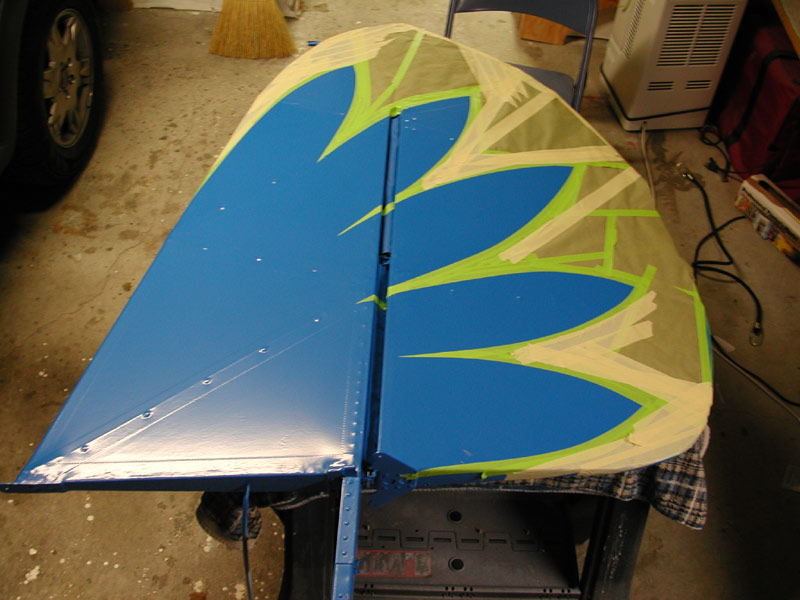
| Below - I masked the "feathers" for the rudder using a template to draw pencil lines to guide the masking tape. |
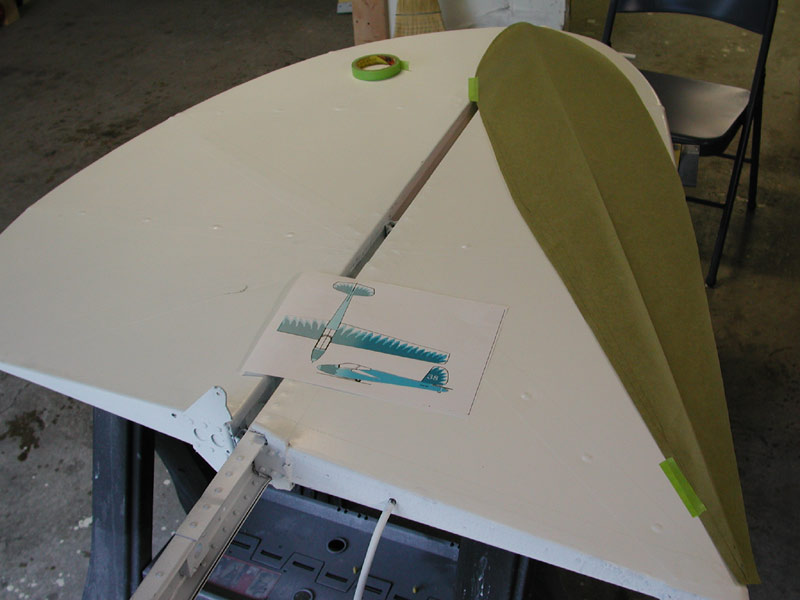 |
| Below - I move the template until I get six feathers sketched out. |
 |
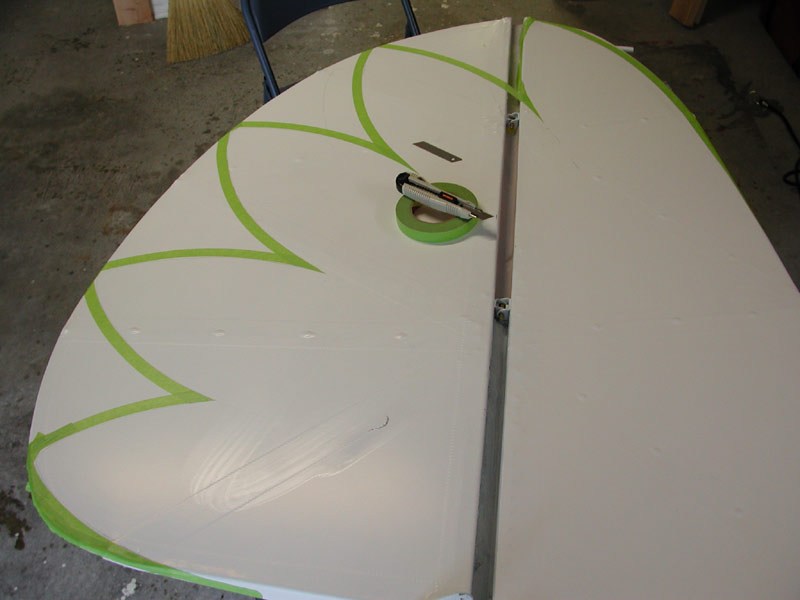 |
| Above and below - using masking tape, I mask out the Bahama Blue feathers. The rudder seal was installed this morning with PolyTak. |
 |
 |
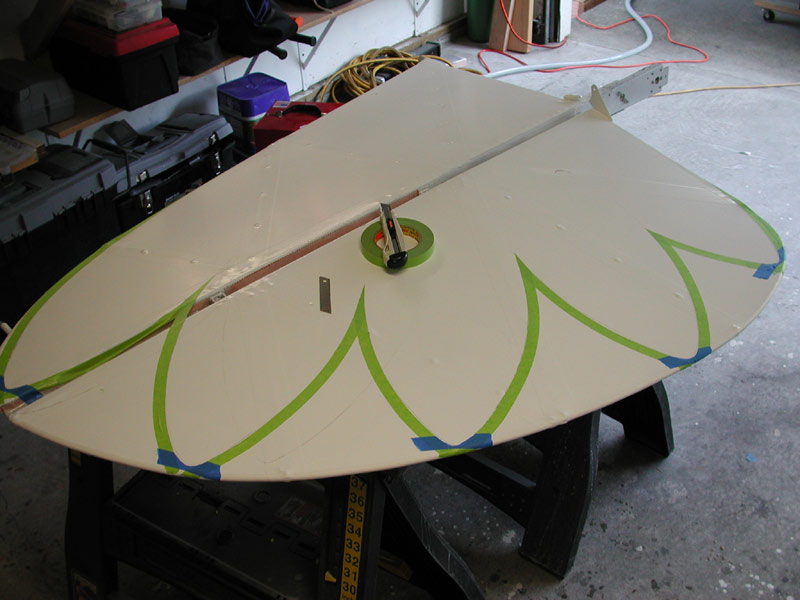
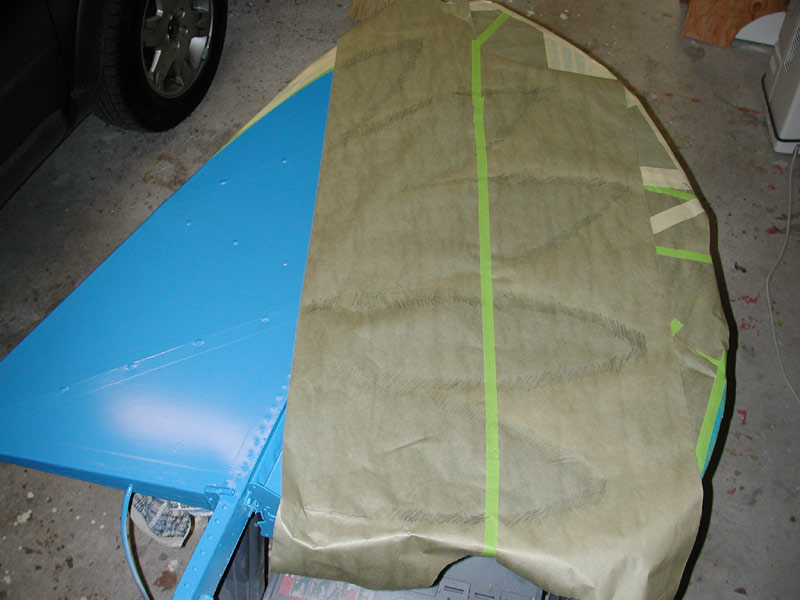
Above - both sides have the feathers masked - this took two hours. Below, both sides painted Bahama Blue. After the Bahama Blue sets up for a few days, I will mask the smaller feathers and paint the Christen Eagle (dark) blue. The sequence of painting is always lighter colors first - working your way into the darker colors. Going the other way would cause difficulty in getting lighter colors to cover a darker base. Needless to say, lots of planning is required to do this type of a paint scheme - and patience. This is a test for me - I like to move quickly. |
 |
| Below - February 3 - I mask off the rudder for the dark blue feathers. |
 |
 |
| Above - I make a tracing of the left side to provide a masking template for the right side - mirror image. |
 |
| Above - ready for paint - below - painted Christen Eagle Blue. |
 |
 |
Above - I mask off and paint the white accent stripe on the nose. Below, I remove the masking tape. The blue spot on the dark blue nose is where some Bahama Blue leaked through the masking paper - it's easily removed with some reducer. This Polytone paint is very easy to work with, sands easy, dries fast, easy and quick cleanup with reducer - no MEK or Acetone or other nasty chemicals needed. |
 |
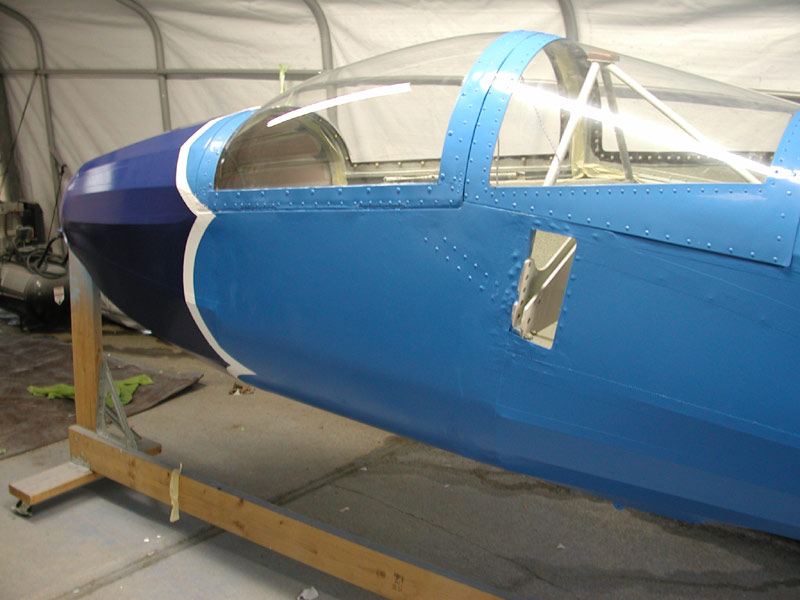 |
| Above - except for some touch up here and there - the fuselage painting is done!!! |
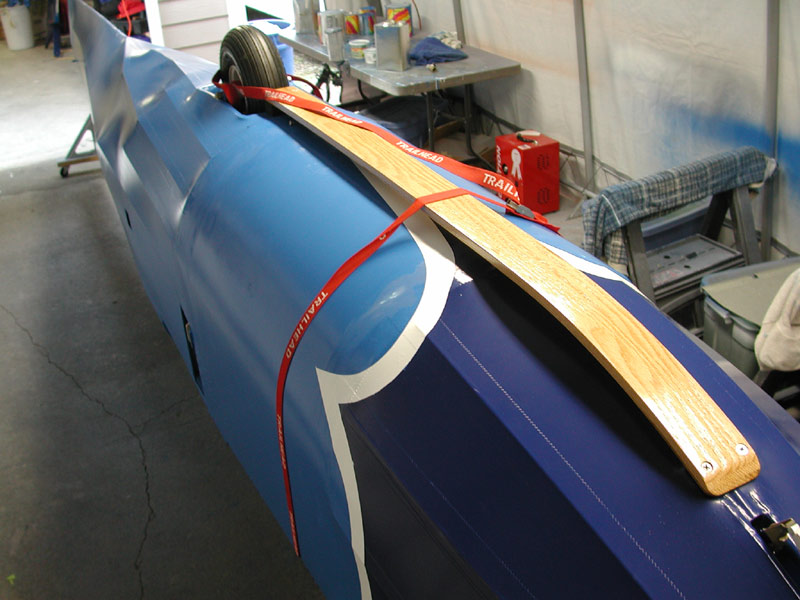 |
Above - Sunday February 6, 2005 - the wheel and skid are installed. The skid is a Kurt Strong Special - very nicely laminated oak that fits the A model perfectly. You can see two areas of light blue that need touching up, again an easy task with Polytone. It's much more difficult with Aerothane to get touch-ups to blend in. |
 |
| Off the rotisserie and on the ground for the first time since it came off the trailer. Time to install the rudder. |
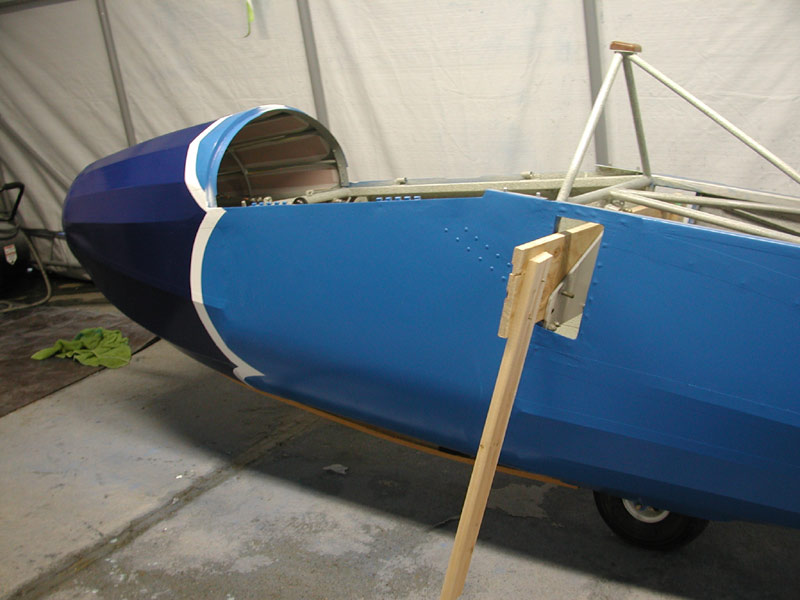
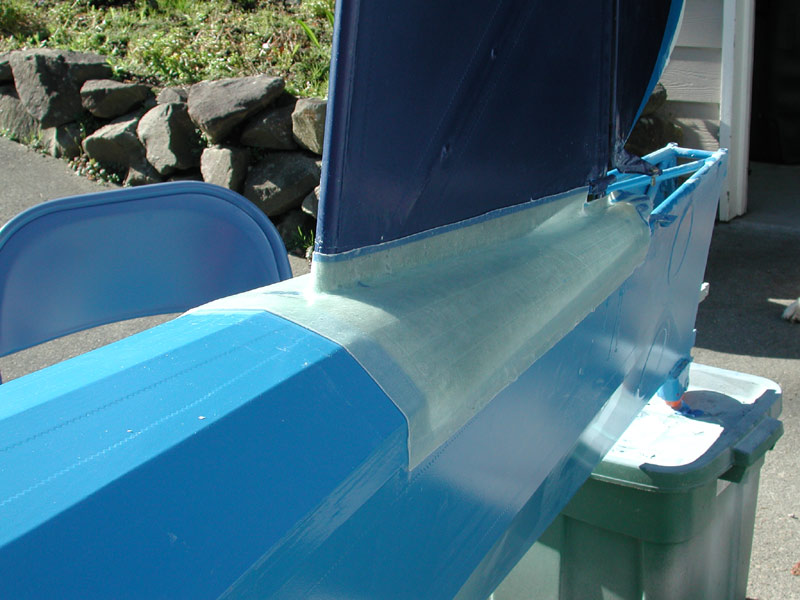
| Below - February 5, 2005 - I use some foam to make a plug for the vertical to fuselage fairing. |
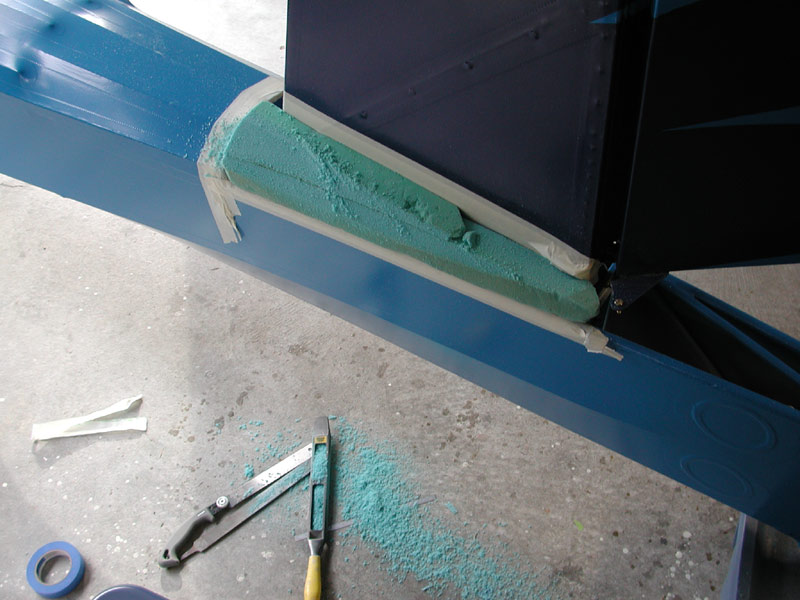 |
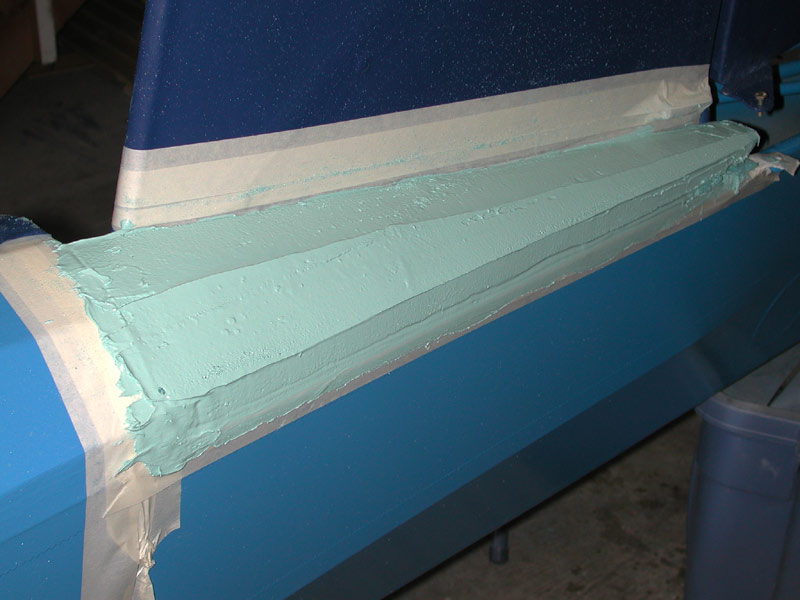
| Below - after shaping the foam, I use some lightweight body filler to build up the final shape in preparation for shaping and smoothing. |
 |
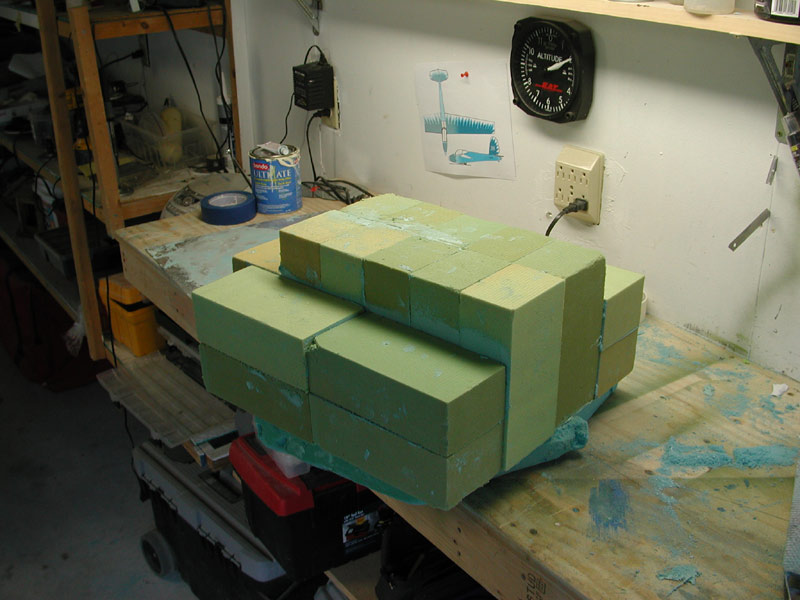
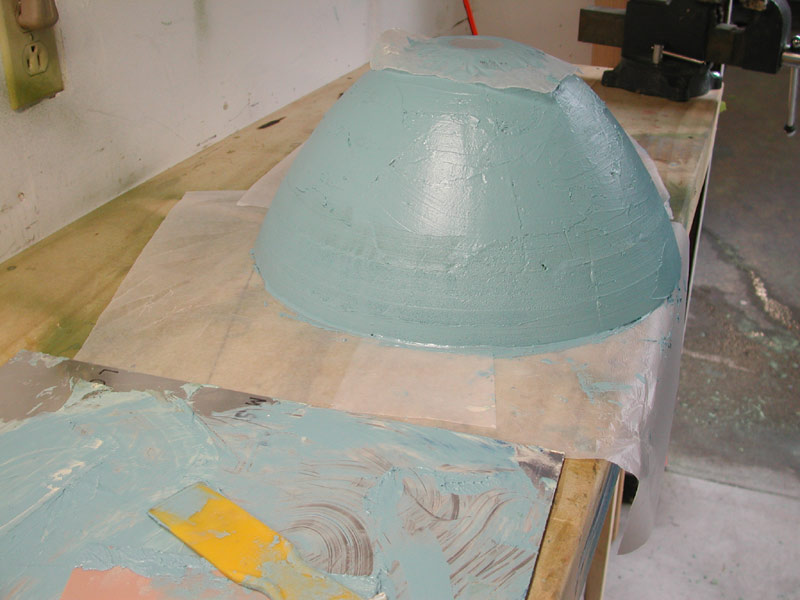
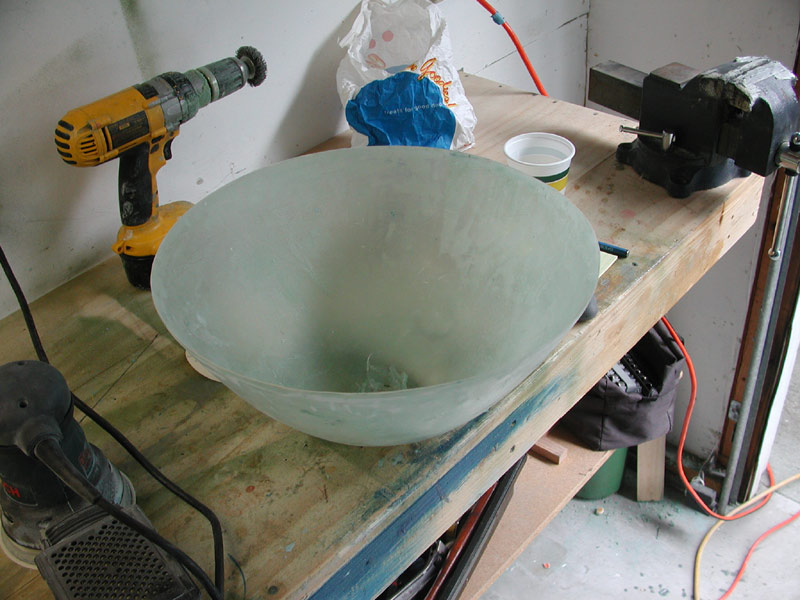
Below - I bought some flower arrangement foam blocks from Walmart for a $10 and glued them all together with body filler to make a block large enough to shape the nose cone from. |
 |
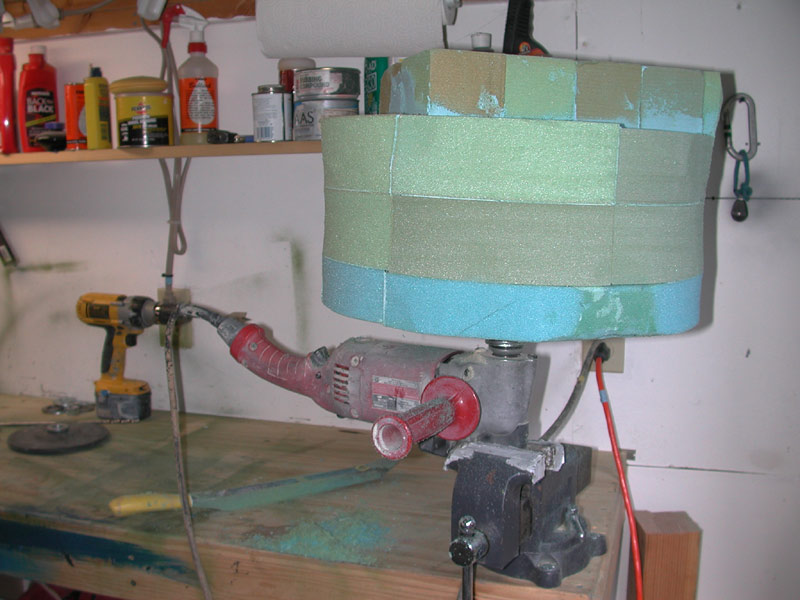
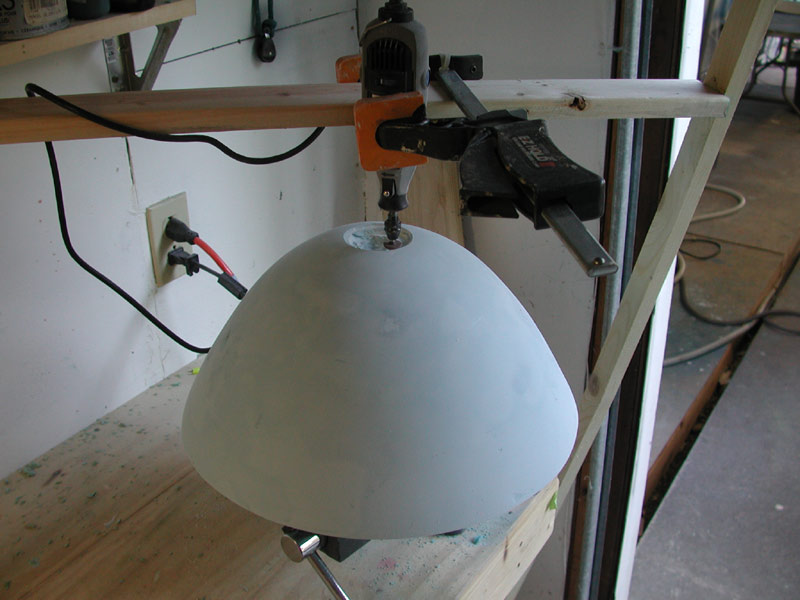
| Below - I mounted the glued blocks to my Milwaukee body grinder/gel coat polisher to serve as the arbor for the nose cone lathe. |
 |
Below - I made a template of the nose cone from an original Schweizer A model nose cone drawing and set up a 1x2 board to serve as a rest for the chisel that I'm using as a lathe tool to shape the cone. |
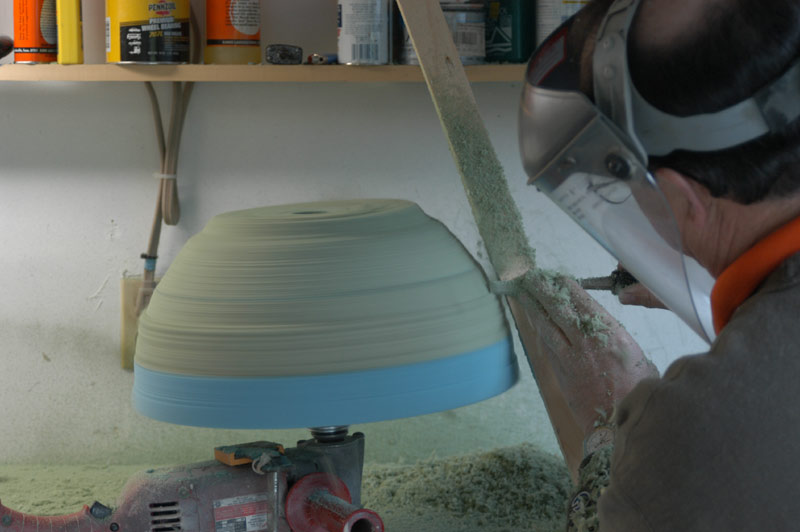 |
| Below - checking the shape with the template often to make sure it gets the right shape. |
 |
| Below - the nose cone is shaped. |
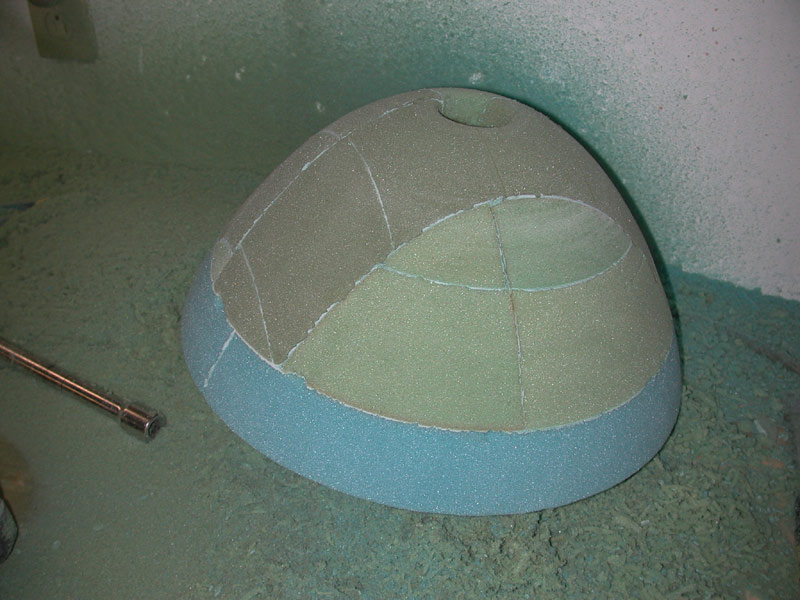 |
| Checking the fit. |
 |
| I spread more bondo on the nose cone and next I will sand it smooth to form a male tool base for the fiberglass lay-up. |
 |
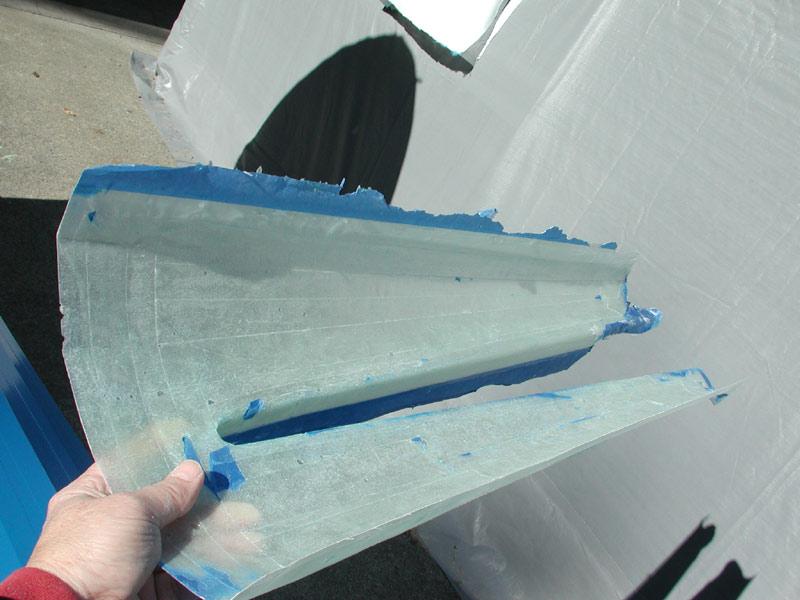
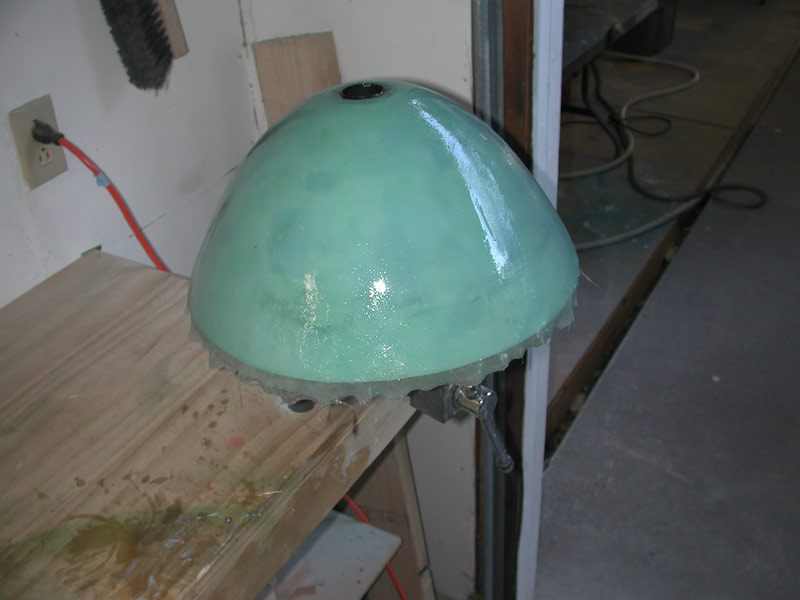
| Below February 20, 2005 - I remove the fiberglass fairing from the foam mold. |
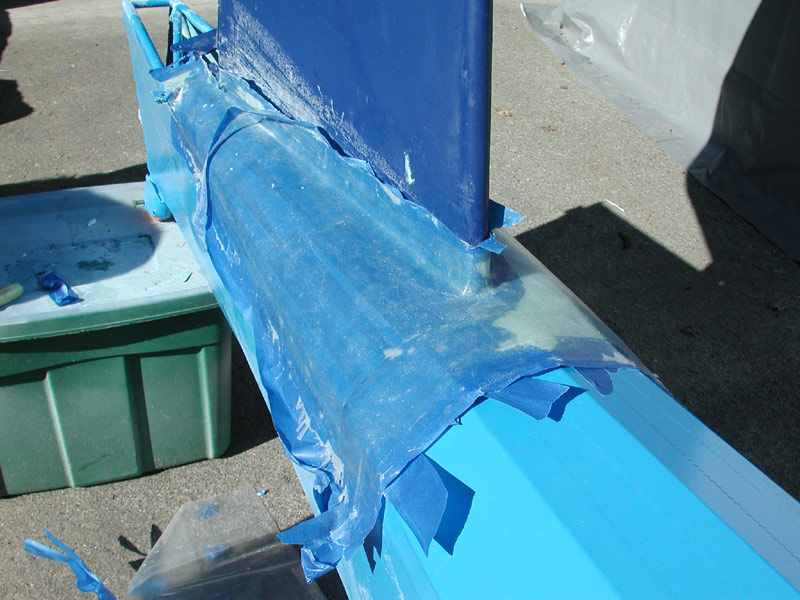 |
| Below - I trim the fairing - this is 3 layers of 3 oz. cloth in epoxy resin. |
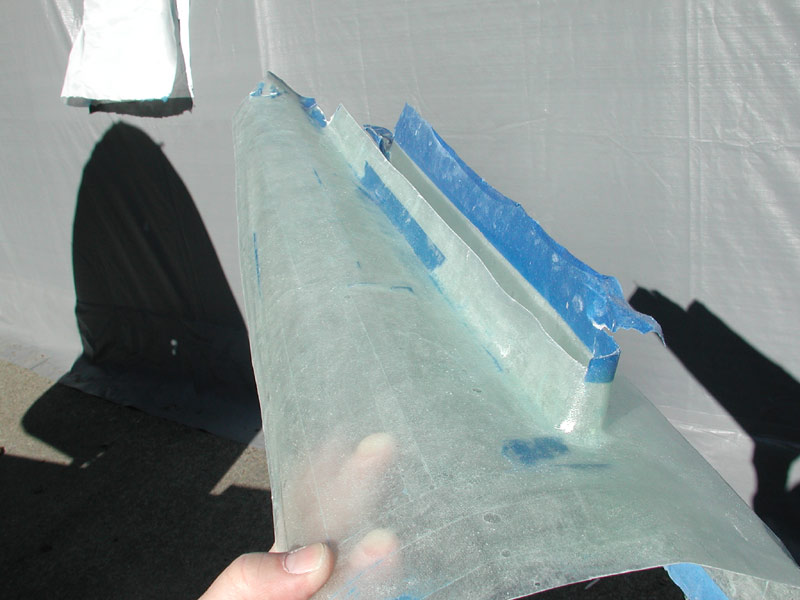 |
| Below - one side trimmed, the other not. |
 |
 |
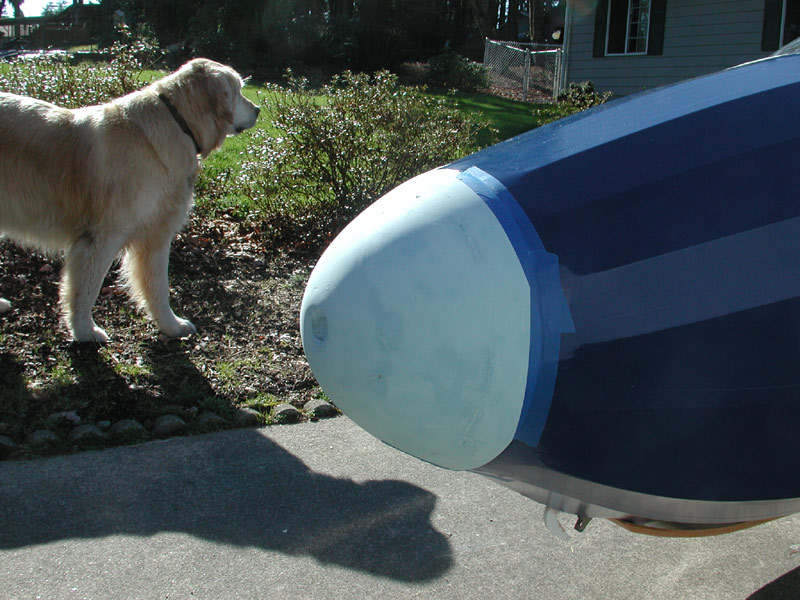
| Above - the preliminary trim looks good - below the new Golden Retriever/Great Pyrenees combo checks out the nose cone mold. |
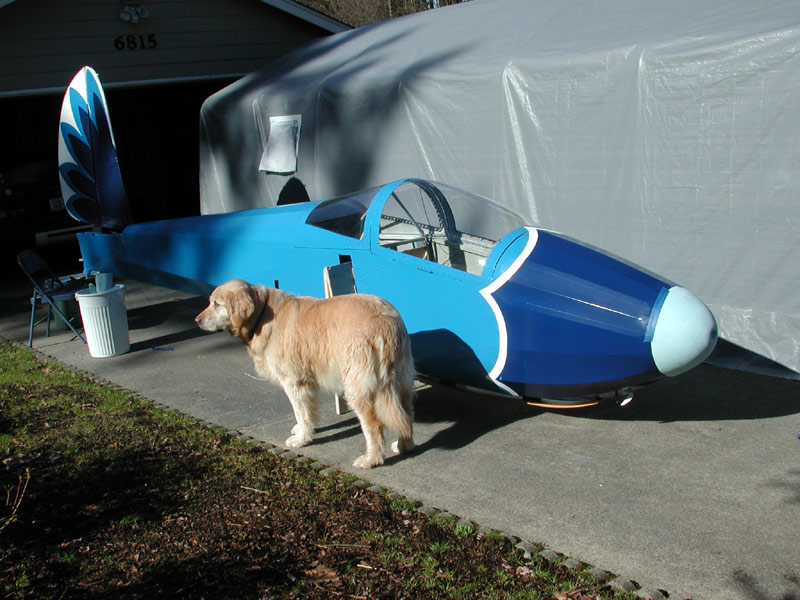 |
| Below Samson the big dog is enjoying another beautiful day in Seattle while I mark the mold for final shaping and trimming. |
 |
| Below - I set up this rig to cut the air vent hole perfectly round and centered. |
 |
 |
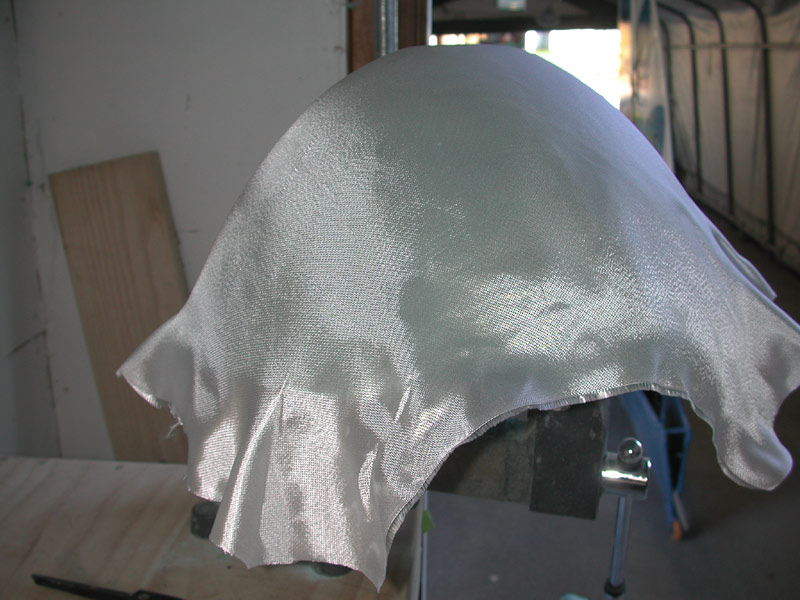
Above - February 20, 2005 - a layer of 3 oz. crowfoot weave cloth lies underneath the 9 oz. plain weave fabric. I'm using one layer of 9 oz. plain weave sandwiched between four layers of the 3 oz. crowfoot to give it good strength and stiffness. |
 |
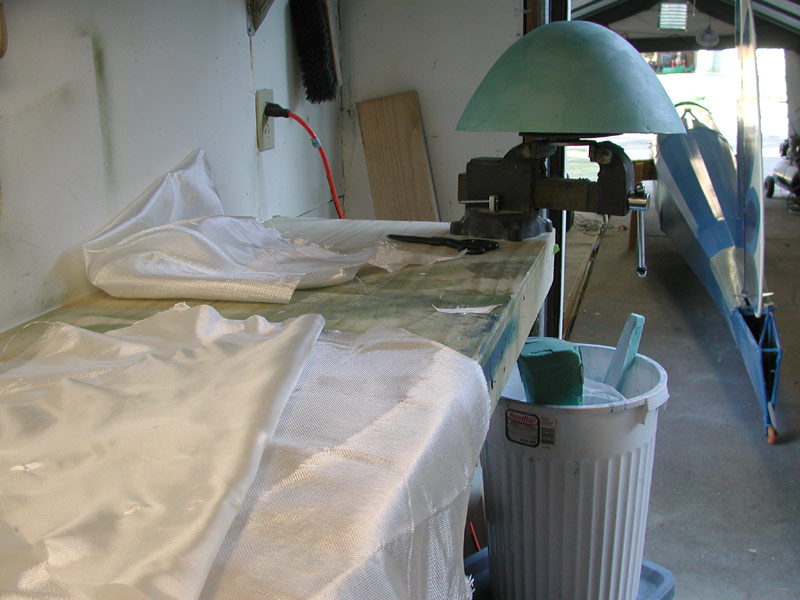
Above - I coat the mold with a hot layer of melted mold release, next a layer of resin and the first layer of crowfoot cloth. The crowfoot 4-1 weave drapes very nicely over the nose cone. |
 |
| Layering on the cloth and filling the weave in with lots of epoxy resin. |
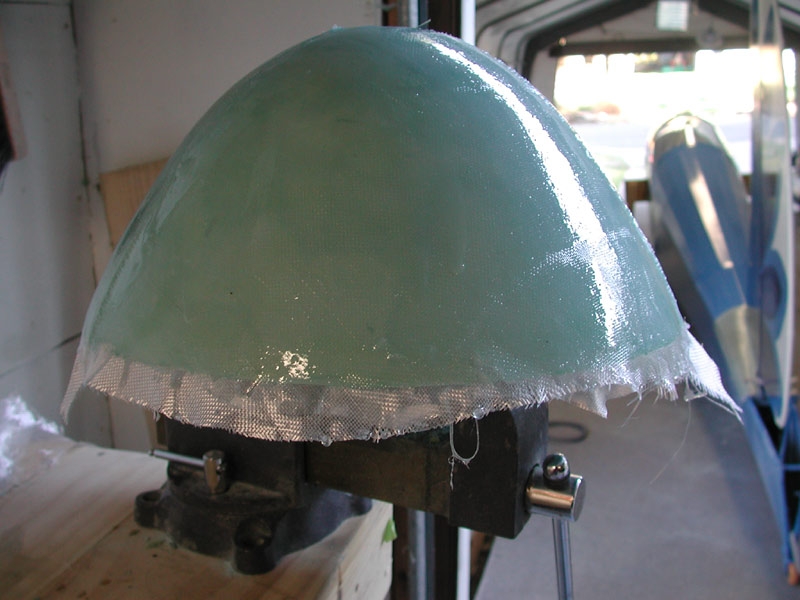 |
| Below - 5 layers total. |
 |
 |
 |
 |
| Below is a rough draft the planned paint scheme that Renee composed using Adobe Illustrator. |
 |