| Hull |
|
|
|
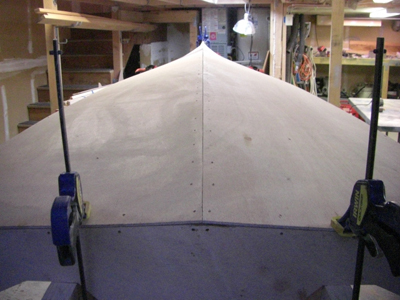
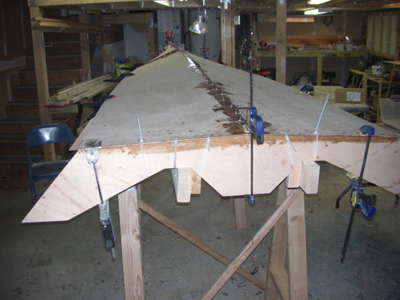
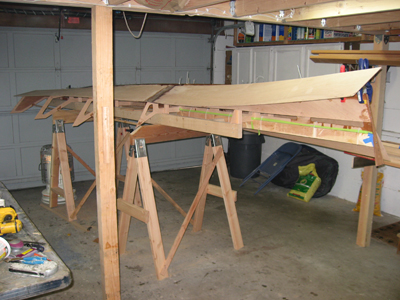
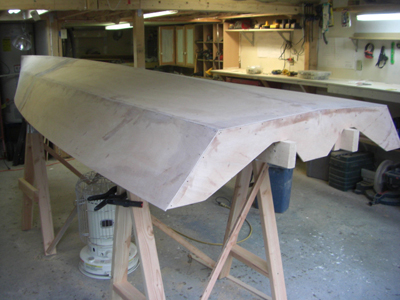
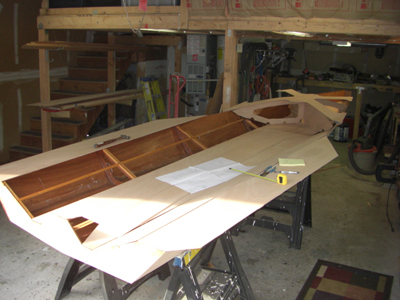
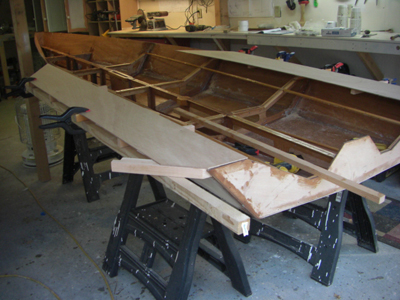
October 31, 2008 - Above - time to fit the hull panels. |
|
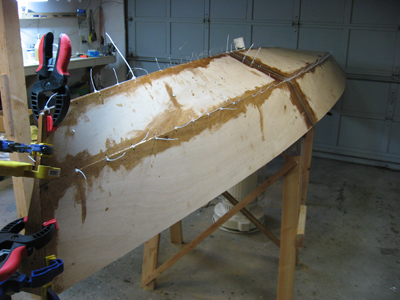
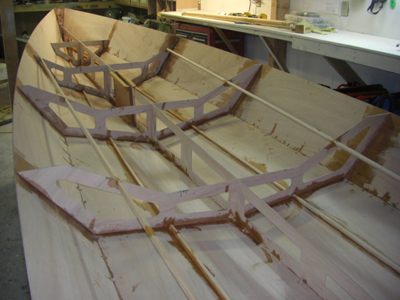
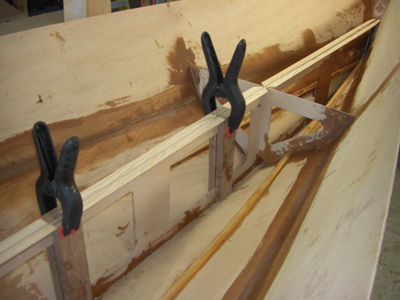
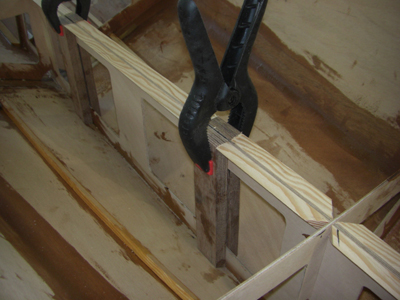
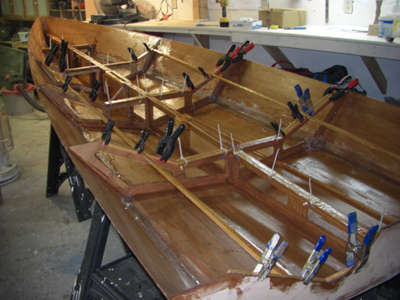
| I clamp the bottom hull panels in place to check the fit and make some adjustments to insure everything is straight and aligned. |
|
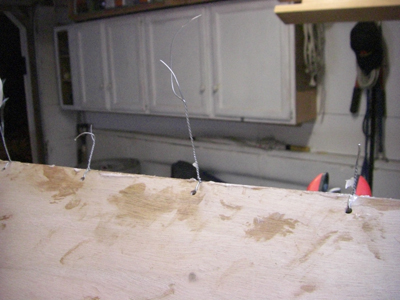
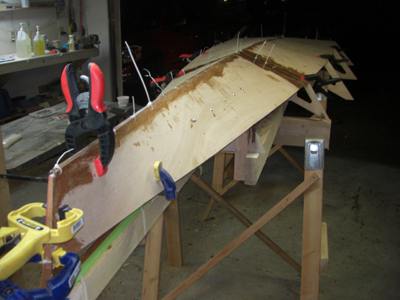
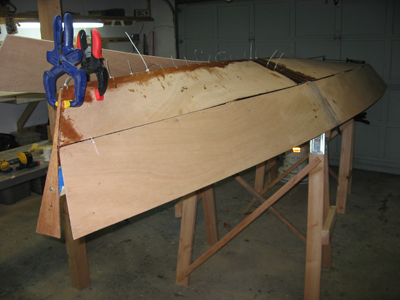
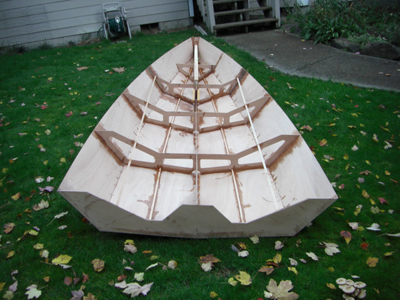
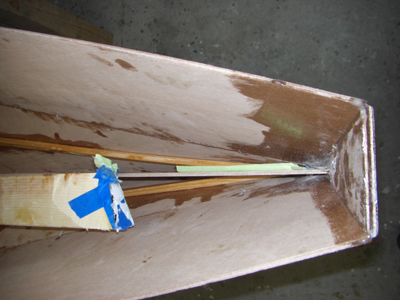
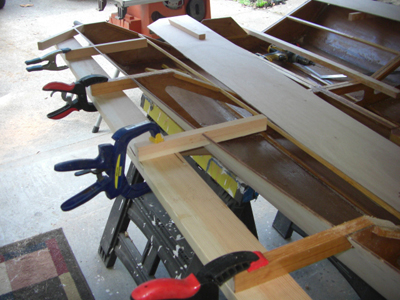
| Above - I used stainless safety wire to pull the panels together in the forward and middle sections of the hull because the tie-wraps small enough to fit through the holes were too small to take the load. I could not get 4mm wide tie-wraps through the holes that are routed in the panels, the smaller size tie-wraps are just not strong enough to pull the panels together in the forward and center portions of the panels. |
|
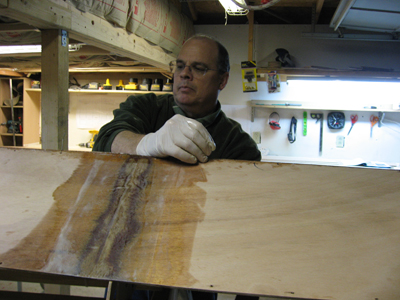
| Tedious work, but listening to "Wait, Wait, Don't Tell Me" on Sirius helps pass the time. Renee takes photos while I make a mess with the epoxy. |
|
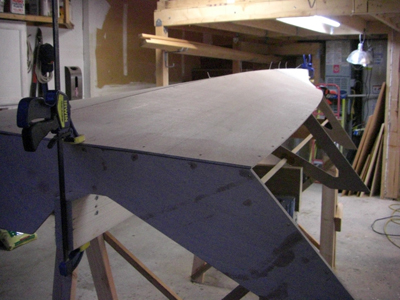
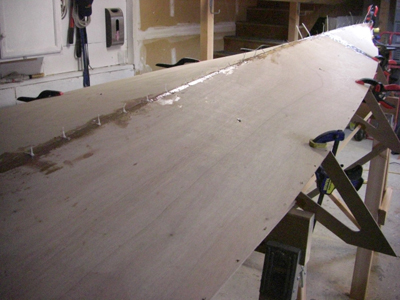
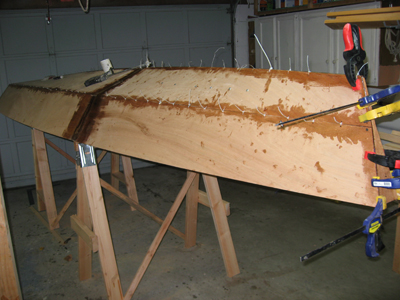
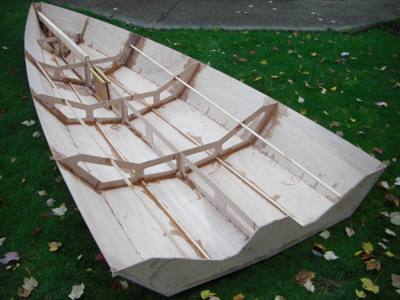
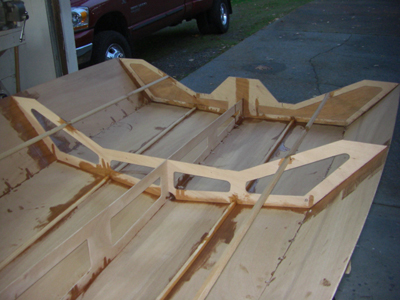
| The bottom panels installed, all the Trick or Treaters gone to bed and tomorrow I'll attach the side panels. |
|
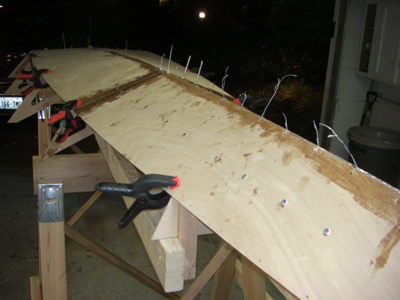
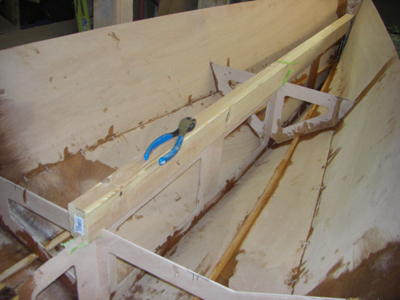
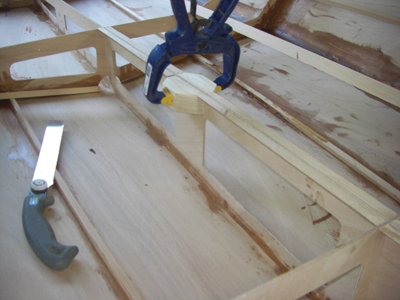
I use some flat head screws to pull the hull panels up against the stringers. |
|
| |
|
| |
|
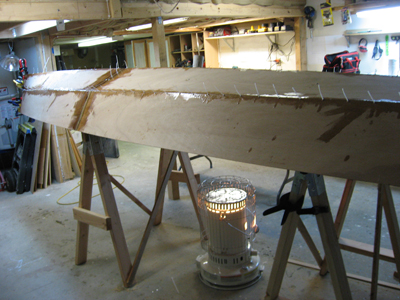
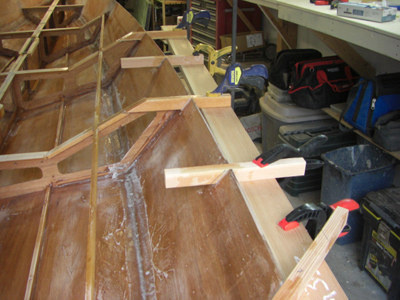
| Above - November 1 - I close the garage door and light the Kero-Sun heater to get the temperature in the garage up to 75°. It's raining outside and about 50° ambient. I need it warmer in here so the epoxy will set up properly. Side panel in held in place with 3 tie-wraps, but flipped up out of the way while I lay on the epoxy. |
|
Above - fitting the right side panel. |
|
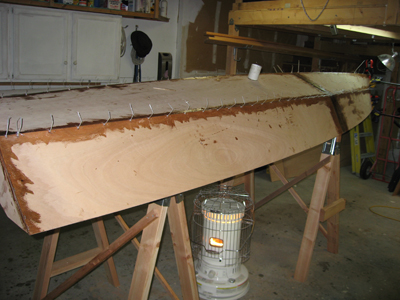
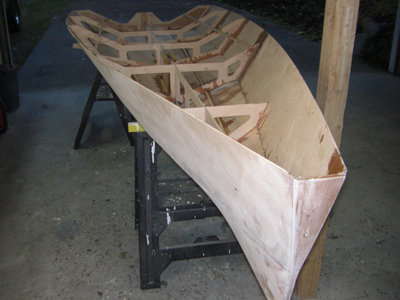
Side panels fitted, glued and tie-wrapped into place. |
|
The Kero-Sun heater placed underneath the hull quickly produces a nice warm hull and gets the garage up to almost 80°. |
|
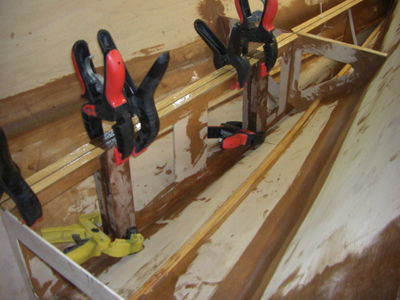
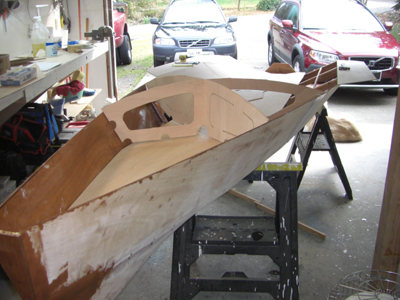
| Side panels glued in place, forward end clamped up, should be all set up tomorrow morning. |
|
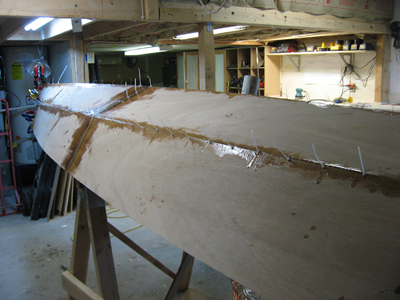
Looking more like a boat now. |
|
Back for the long weekend from Boise. Nice place, but I like Seattle. |
|
I remove the tie-wraps and safety wire now that the epoxy has had a week to harden. |
|
Then I remove I remove the boat from the building stocks. |
|
| |
|
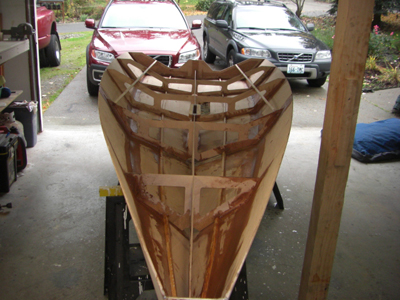
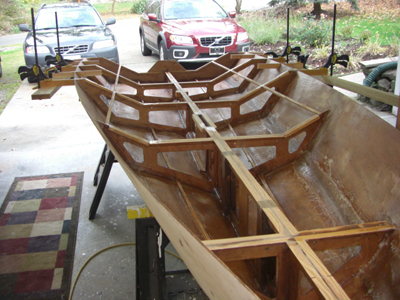
Looks nice and square, pretty light. |
|
| |
|
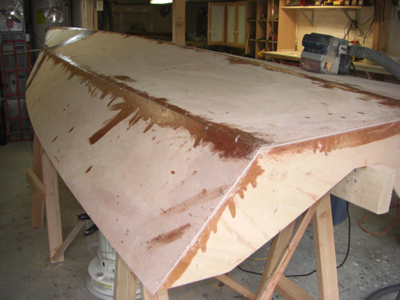
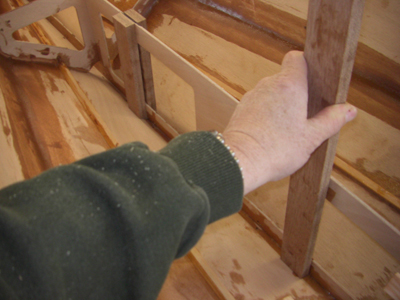
| I remove the center rail. Good thing I taped up the rail to backbone joint or else the dripped epoxy would make this removal much more difficult. |
|
| |
|
| |
|
| |
|
| |
|
| |
|
| |
|
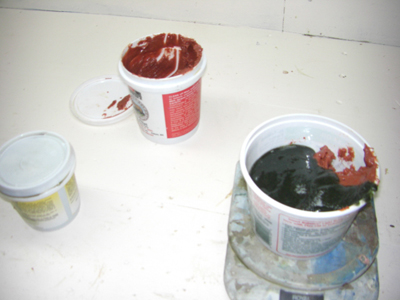
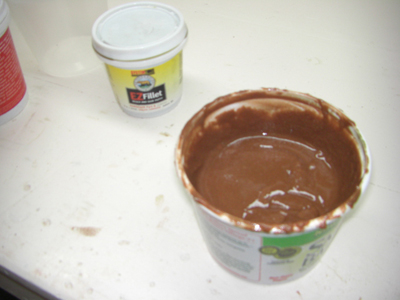
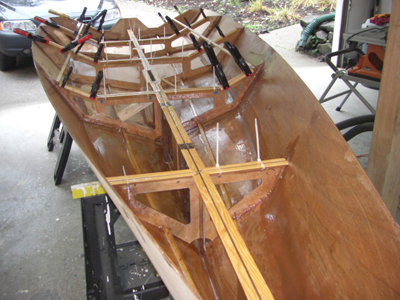
| I mix up some System Three EZ Fillet, starts out as red and green and ends up brown as it mixes together. This stuff works very well. I like it. |
|
| |
|
| |
|
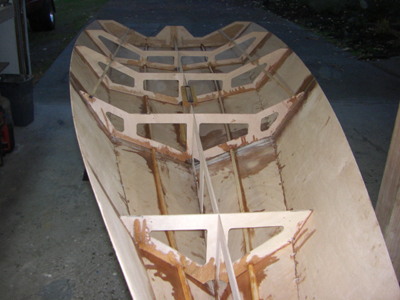
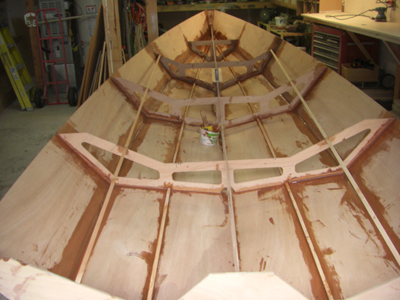
I start to apply the EZ Fillet to the seams and bulkheads. |
|
| |
|
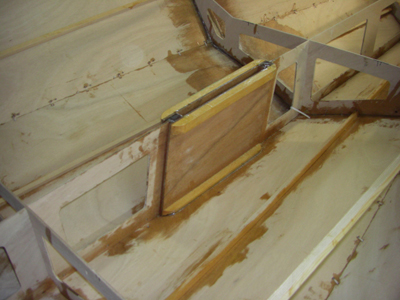
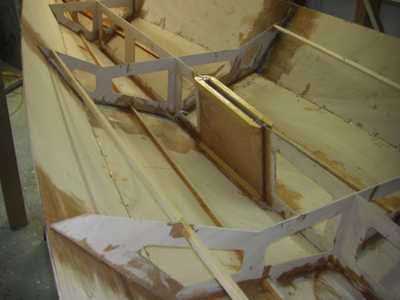
| Above - I cut the mast steps compression posts per the plans. bevel the bottoms to match the hull angle and start gluing them in place. |
|
| I rip some fir into triangular shaped stiffeners and fit them to the backbone and bulkheads. |
|
| The triangular shaped blocks support the deck and give the backbone some rigidity. |
|
| Above - I cut the mainsheet support blocks from pine per the instructions and below - I start epoxying everything. |
|
| Tomorrow is Veteran's Day, I'll finish filleting and gluing the deck support, etc., then Wednesday I'm back to Boise for the rest of the week. Back on the weekend for the next tasks. |
|
| Nov. 11, 2008 - I coat the hull in epoxy, finish installing the deck supports and finish filleting the frames and bulkheads. |
|
| |
|
| |
|
Below - I cut the fiberglass fillet tapes and soak them in System Three laminating epoxy.
|
|
| |
|
| Everything epoxied and fit and filleted and taped, now I go back to Boise until Friday, by then it will be all set up and I can start on the wings. |
|
| Saturday, Nov. 15 - Had a nice ride home for the weekend yesterday evening in the cockpit of a Horizon Q400 with Chuck the Captain and Katy the First Officer. Beautiful evening for flying in the Pacific Northwest with an excellent sunset followed by a stunning moonrise. So, this morning I get out some measurements for the wing beam supports. |
|
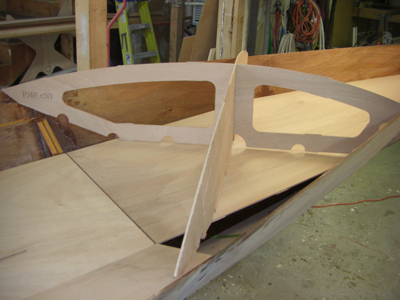
| I assemble the deck pieces to see what it's gonna look like and it's looking pretty cool. I like the PJ sail number 017 routed into the mast brace, very nice touch. |
|
| |
|
| Time to go down to the Monk on another beautiful Puget Sound day for some fun before I get back to the cutting, fitting and gluing. |
|
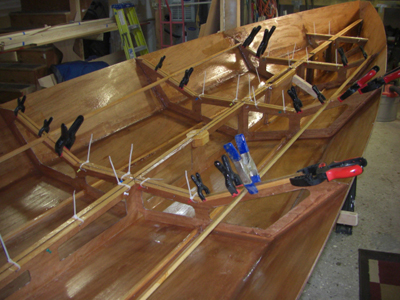
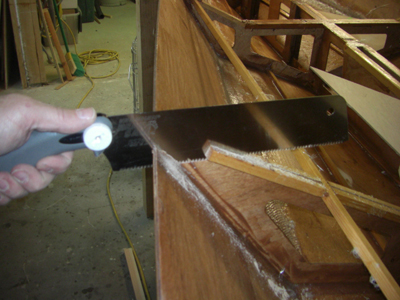
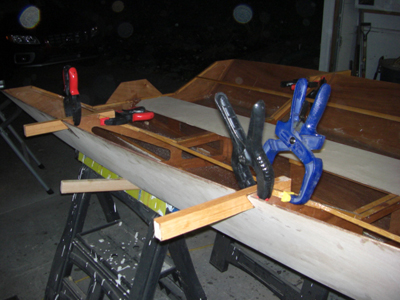
Cutting the slots in the hull sides for the wing beams. |
|
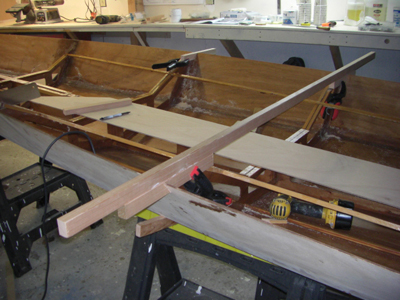
I use a long piece of fir to align the beams level with the deck. |
|
Making the cutouts with the backsaw. |
|
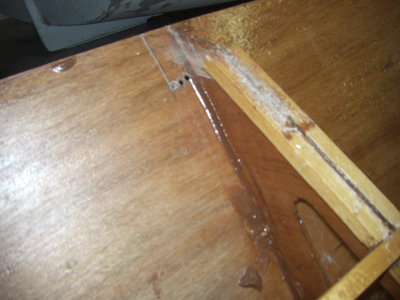
Below - beams epoxied in place. |
|
| |
|
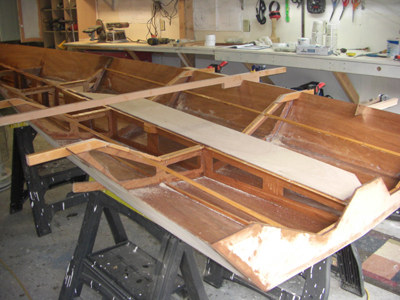
| Above - Sunday Nov. 16, I use the very straight piece of fir to span the gunwales and align the imtermediate beams. |
|
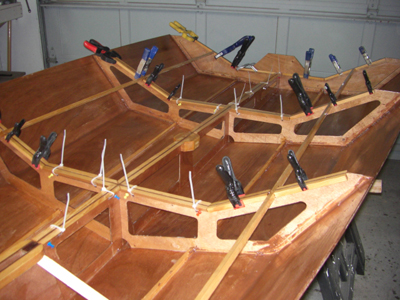
| I cut the intermediate beams 12" long and cut the slots in the hull sides to accomodate them. They are placed halfway between the bulkhead stations. |
|
| |
|
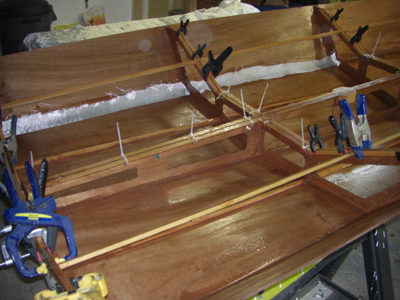
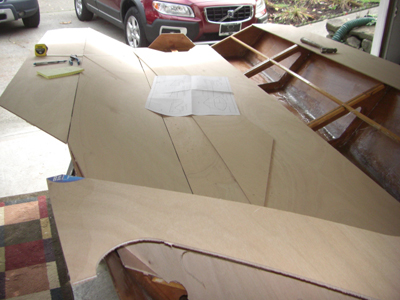
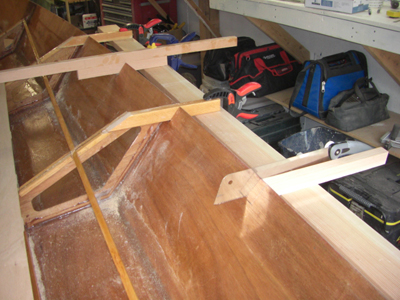
I set the wing decks in place to get the location of the aft beams. |
|
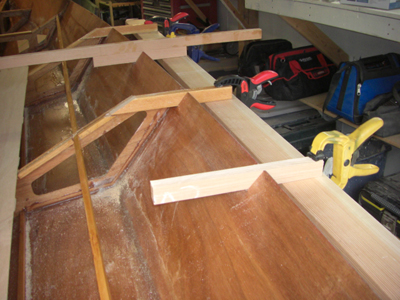
| I spend some time, aligning and locating and marking all the beams in preparation for epoxying them in place. |
|
All beams located and glued in place. |
|
|
|
|